The harvest and use of herbs and greens is a year-round process in my kitchen. Generally, I use wild herbs and seasonings or those grown in my garden, but of course many fine farms and friends grow herbs as well, so there is plenty of bounty to preserve, even in the off-season. I am always looking to explore ways to keep the ingredients seasonal, but extend their life by various preservation methods, so that I can have my cilantro in winter and not feel too guilty about it. One of the best ways to do this is to employ a bit of salt. Indeed, quite a bit of salt. By chopping fresh herbs (augmented if you desire with a little vegetable material such as leek, celery or carrot) and combining with salt you can keep some of the bright intensity of fresh aromatics from decaying.
Our culinary herbs, especially those that dominate the cooking of the Mediterranean basin, are nearly all drawn from two plant families. The majority of plants that most cooks from that tradition (and indeed, many others) will recognize as herbs are either a member of the Lamiaceae (Mint Family) or Apiaceae (Carrot Family). The first includes the obvious “true” mints such as spearmint and peppermint, but also widely-used seasonings such as thyme, oregano, rosemary, basil, shiso, savory, lavender, etc. The second contains cilantro and parsely, alongside dill, fennel, caraway, chervil, anise, angelica, and many more. In addition to aromatic herbs, the carrot family has a number of vegetables (celery, carrot, parsnip, fennel) and plants whose seeds are used as spices (cumin, coriander, ajwain, caraway, alexanders). It might come as no surprise that a number of the wild plants we can use as herbs also come from these same families.
There are a number of methods available to preserve the flavor of fresh herbs when they are in season. The one most people will be familiar with is drying, I have found this to be a particularly excellent method to use when dealing with the mint family. Indeed, many of the mints which we collect as wild plants or grow have a marked flavor improvement when dried. Oregano, for instance, or the plant Monarda fistulosa (Wild Bergamot) are herbs I don’t use great amounts of fresh, finding them a bit too intense for most things. However, when dried they are huge staples of my kitchen year-round. But while dehydration is effective for the mints, it tends to make the more subtle flavors of the carrot family disappear. Anyone who has used dried parsley will discover pretty quickly that it tastes precisely like nothing. Again, this extends to the wild members of the family–my attempts to dry pushki (Heracleum maximum) leaves without treating them first has invariably resulted in a tasteless product. Drying of aromatic members of the genus Allium (Onions, Chives, Leeks, etc) is also sometimes fraught with difficulty. Leek greens hold up fairly well, and sometimes chives, but the wild members tend to lose their more ephemeral flavors.
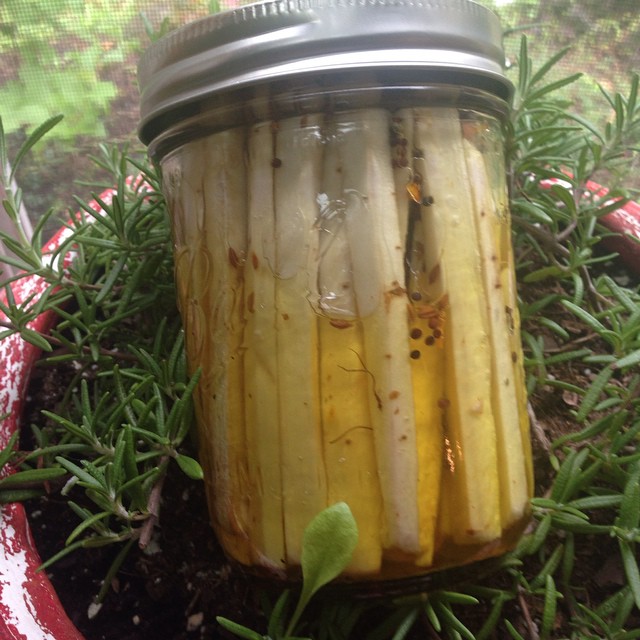
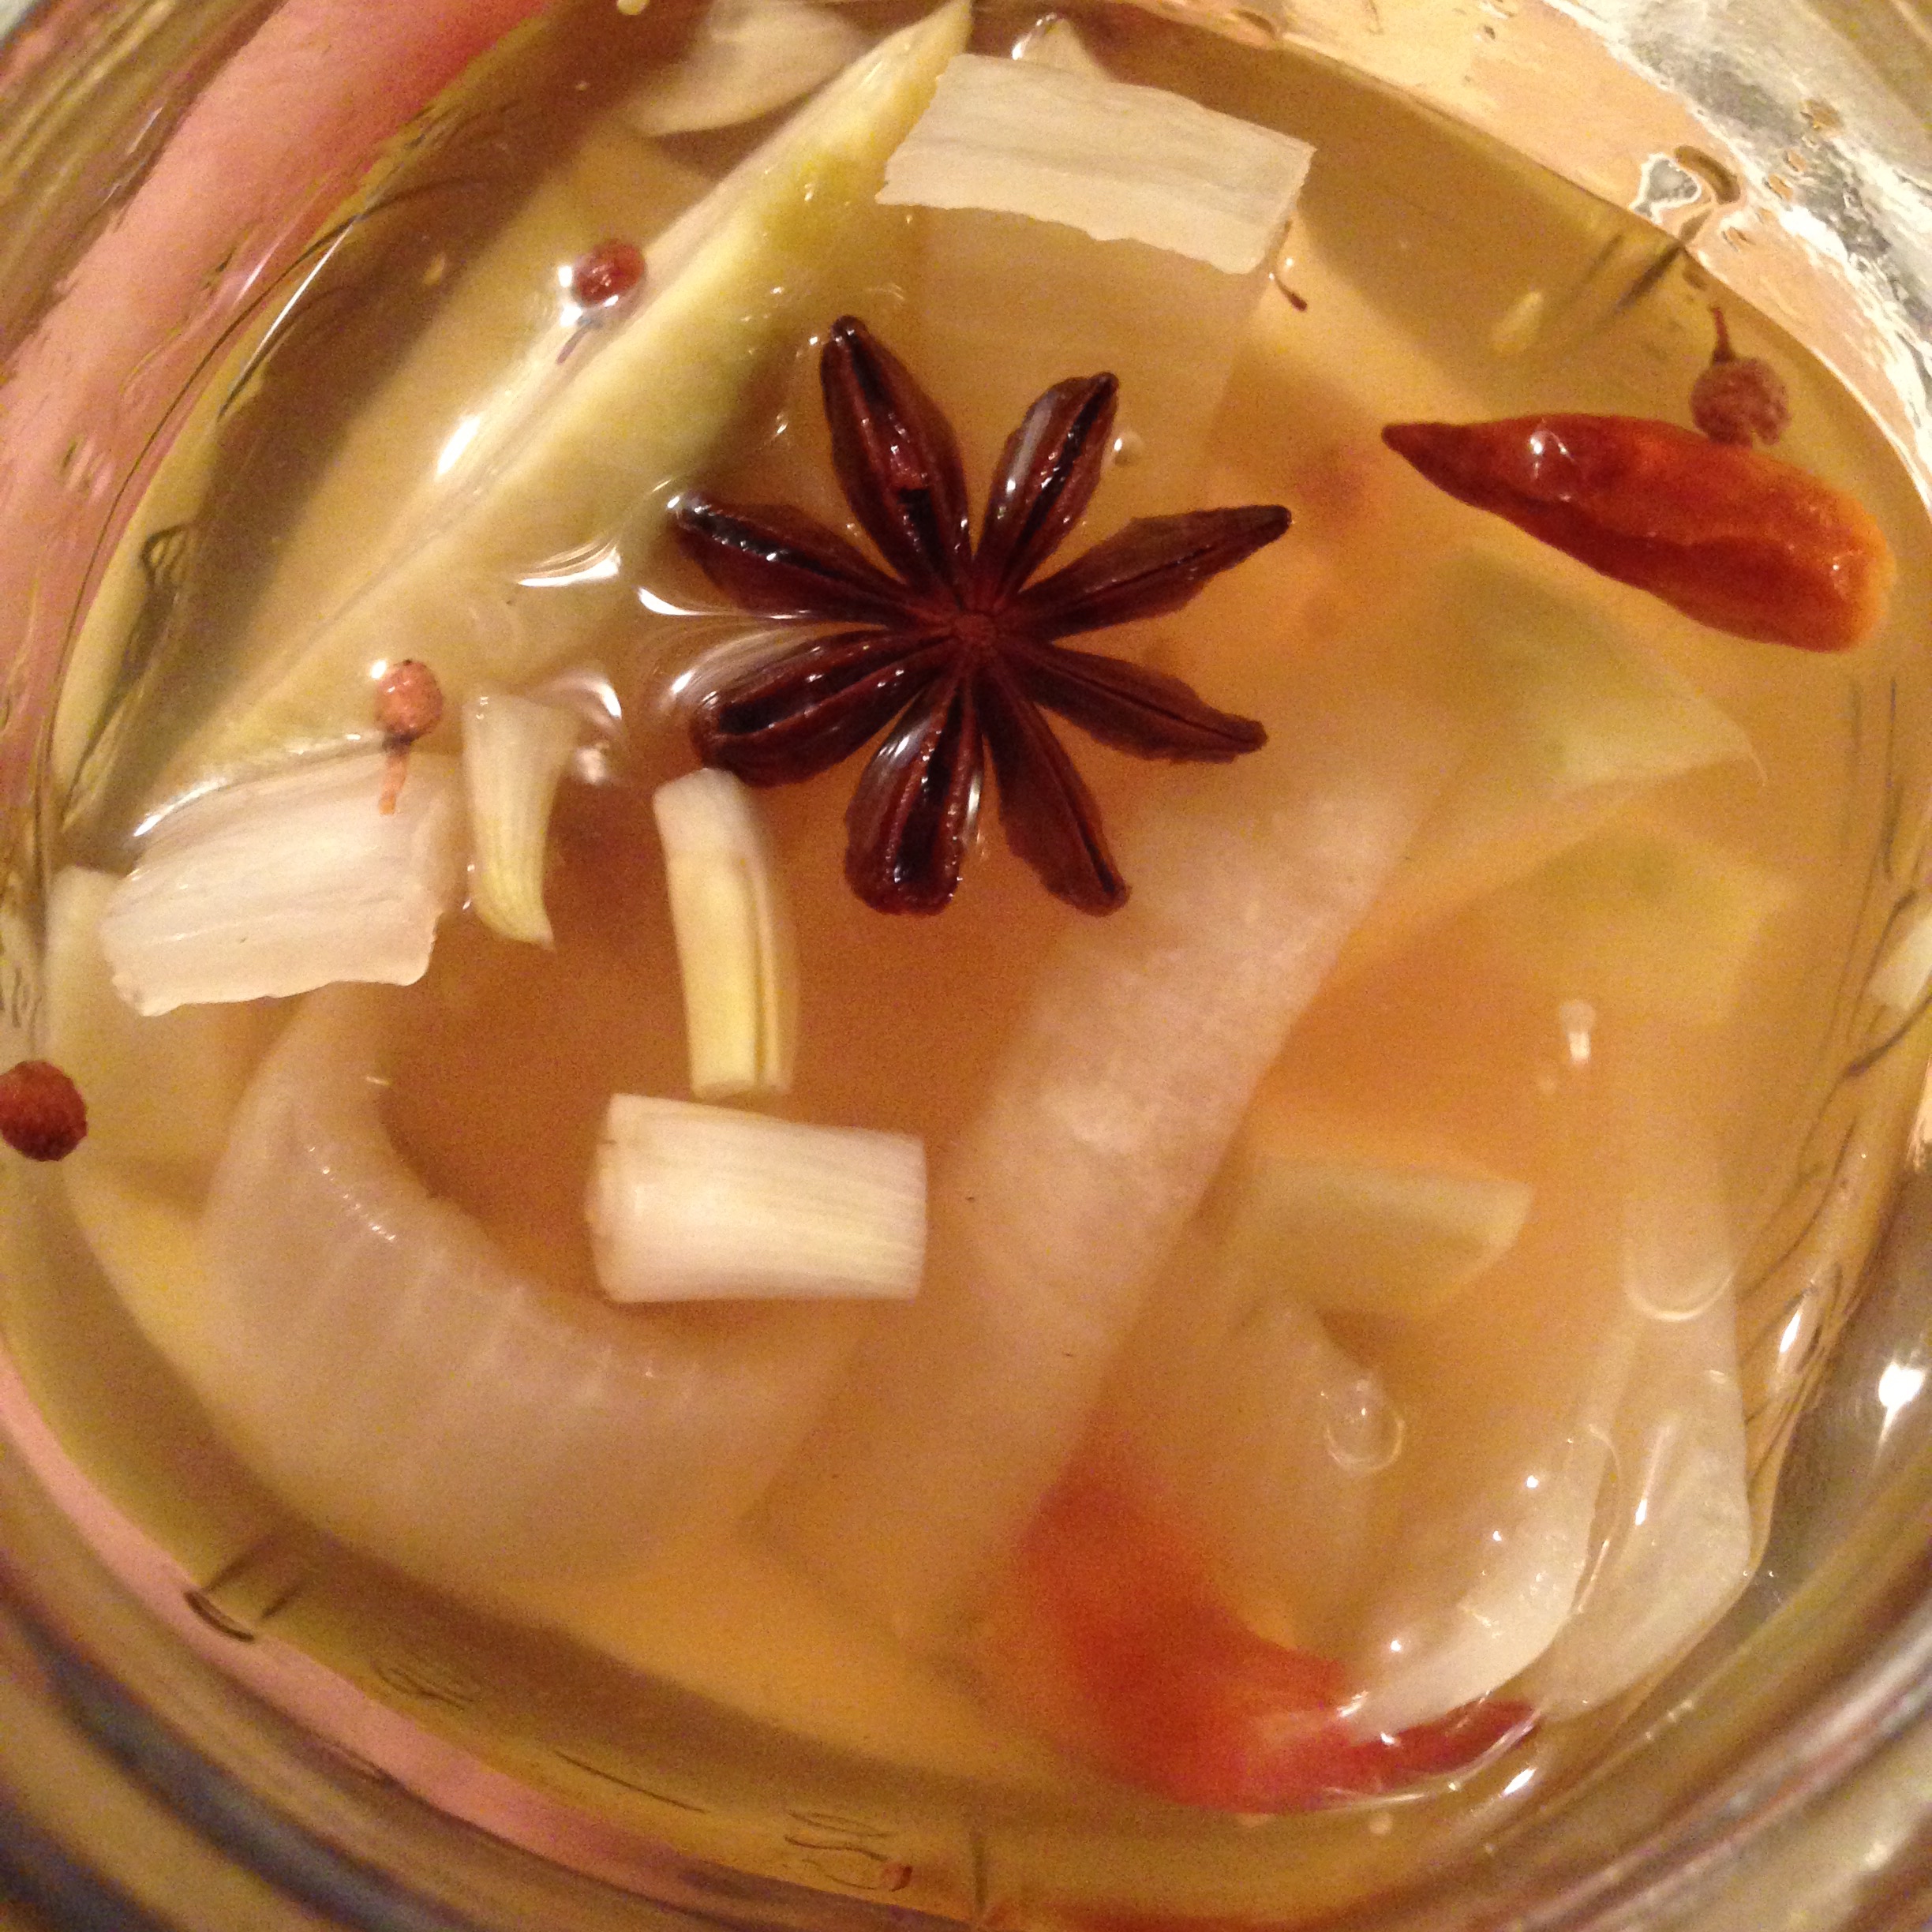
My preferred methods to preserve both Alliums and Apiaceae are to use brine or vinegar, infusion or lacto-fermentation, and very occasionally freezing. But the best technique is the one detailed here. What you are creating will be high enough in salt that it becomes a substitute for that when used in a dish. In much the same way that one would use a seasoned salt, or a curry paste, or a pickled or fermented ingredient high in salt, you will want to taste your dish before adding any additional salt or salty ingredients like soy sauce to it. But a small amount of herbs preserved in salt can be used as the base for a vinaigrette or soup, added to a sauce, stirred in with dressing for a composed salad, added to the salt bill for curing meat or fish, stirred into a pasta with a bit of the cooking water, or used as the basis for a fresh salsa. Of course one could get even more creative than this, and luckily there will be plenty of time to–my herbs in salt mixes tend to last at least one year, some may linger even longer.
The recipe I use originated in a book called The Mediterranean Pantry by Aglaia Kremezi, and she uses US/Imperial measurements, always at a ratio of 6 ounces of vegetables for every 1.25 ounces of salt. This works out at a ratio of 4.8:1. For more precise measurement, I tend to use grams, and simplify the ratio to 5:1, but of course you can do as fits your kitchen and scale best. No matter what vegetable and herb components are used, however, the ratio should stay the same. This makes for 20% salinity, which means these herbs will likely stay fresh a lot longer than you. It is quite likely that a lower salinity would work fairly well too, but I tend to stick with this recipe as the color and taste stay so bright and fresh that I simply use the herbs as a salt substitute, and especially when added as the base for soups or stews the intensity of flavor is such that I feel I end up actually using less salt in the long run.
Absolutely any combination of herbs and vegetables is viable and I encourage you to experiment widely with this recipe, but I’ve included a few different iterations of it just as basic models. I always use a fine sea or other natural salt for this, such as Himalayan pink salt. Never use industrial salts like iodized table salt or kosher salt, and never use large crystals or rock salt unless you grind them first. Do not make the mistake either of combining the salt and the herbs and then processing, or you will wind up with more of a slurry than a condiment. In all cases, pack the herbs in salt well into 4 or 8 oz jelly jars (each recipe makes two of the former or one of the latter) and keep refrigerated. Should last at least one year, and often longer. Make sure that you integrate the salt well into the chopped herbs, tossing in a bowl several times before packing into the jars.
Cilantro & Leek
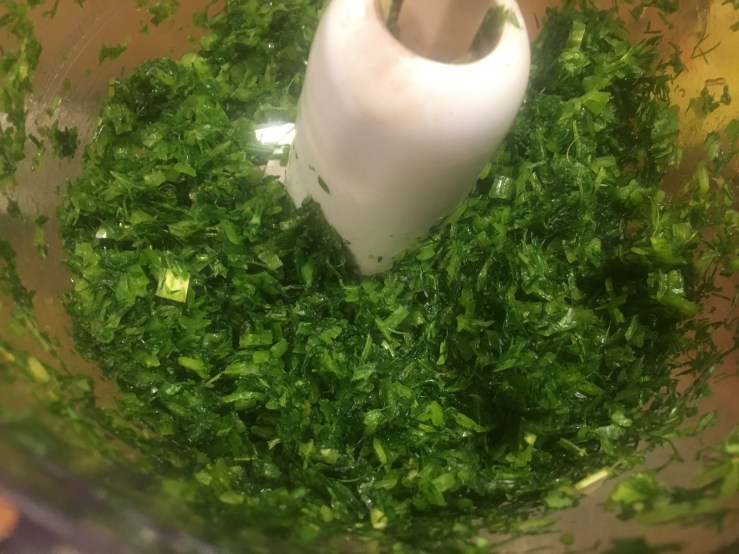
chop extremely fine by hand or pulse in a food processor:
160 g chopped cilantro
40 g chopped leeks
mix in:
40 g fine sea or other natural salt
Parsley & Dill or Fennel Frond & Leek
hop extremely fine by hand or pulse in a food processor:
100 g chopped parsley
60 g dill or fennel fronds
40 g chopped leeks
mix in:
40 g fine sea or other natural salt

Bittercress, Dandelion & Field Garlic
I make this in spring when all three herbs are at their finest and I can collect them from my yard. This combination of herbs also makes an excellent base for pesto. Make sure that you use a food processor if using field garlic, and that you snip it very fine first as it is quite fibrous. The same can be said of chives
chop extremely fine by hand or pulse in a food processor:
100 g bittercress (Cardamine species)
60 g dandelion greens
40 g field garlic greens or chives
mix in:
40 g fine sea or other natural salt
Waterpepper & Shiso
The sharp intensity of waterpepper (one of the flavorful smartweeds will work too) is balanced by the distinctive herbaceous flavor of shiso. Both grow abundantly in my area as invasives, and I make this in mid-summer before both plants begin to flower.
chop extremely fine by hand or pulse in a food processor:
80 g shiso (Perilla frutascens) or thai basil
80 g waterpepper (Persicaria hydropiper), smartweed or rau ram (Vietnamese coriander)
40 g field garlic bulbils or leeks
mix in:
40 g fine sea or other natural salt