A Broth of Fallen Leaves

IMG_9756
A typical basket of fallen leaves and pine needles, circa late October

This is that rare preparation that sounds as poetic as it tastes. But between making a success out of it and a shambles there lies a very thin line.

If you just grab a bunch of random leaves from the forest floor and bring to the boil (Latin bullire, hence “bouillon”), you will certainly achieve some kind of a broth from them. But its flavor will be questionable. At best, it’s a roll of the dice that might make you lucky. At worst, it’s your stomach that is tumbling.

Leaves fall at different times. They contain many different flavors and elements that age and decay in different fashion. They aren’t all “edible,” but the ones you use should all be non-toxic. A handful of trees bear leaves that should be avoided (eucalyptus, yew, certain fabaceae family trees). Every leaf that makes its way into my broths is non-toxic, and every tree type mentioned below is broadly “edible” in my area. As always, your local species are the ones you need to look into.

I eat a lot of tree leaves. They don’t remain edible for very long, usually only a couple of weeks, but within that time frame things like beech and basswood leaves have become some of my favorite spring greens. The leaves of fruiting and non-fruiting Morus alba (White Mulberry) are another favorite, a sweet leaf more mild than cultivated lettuce once briefly boiled. Maple leaves can be or become bitter quite quickly but in their earliest incarnations most are mild enough to make a tempura or mead from, or boil and add to a salad.

I also use a lot of tree leaves. Oak leaves in particular, both for their tannins to stiffen a pickle a la grape leaves, and for their bite in brews and forest infusions. Those maple leaves that have become sharper are fine in small quantities in these same preparations. Dried black walnut (and by extension hickory and walnut leaves) are a traditional bittering agent, adding astringency and woody richness to alcohol, honey, or vinegar. As they age, edible or non-toxic tree leaves change in character, appearance and flavor. These intriguing elements can be used in the kitchen, but only once you have ascertained which leaves are safe to experiment with.

IMG_9688.jpg
Its more complicated than throwing a bunch of leaves in some water and boiling, but not that much more.

There is no substitution here, not for ingredients and not for experience. Learn which trees grow locally, and learn which ones are generally safe for food use. Taste and use the ones that are safe. Experiment with them – whether it be in a salad or a vinegar. Roll the dice, but set your own limits. Nibble before you bite, and bite before you swallow.

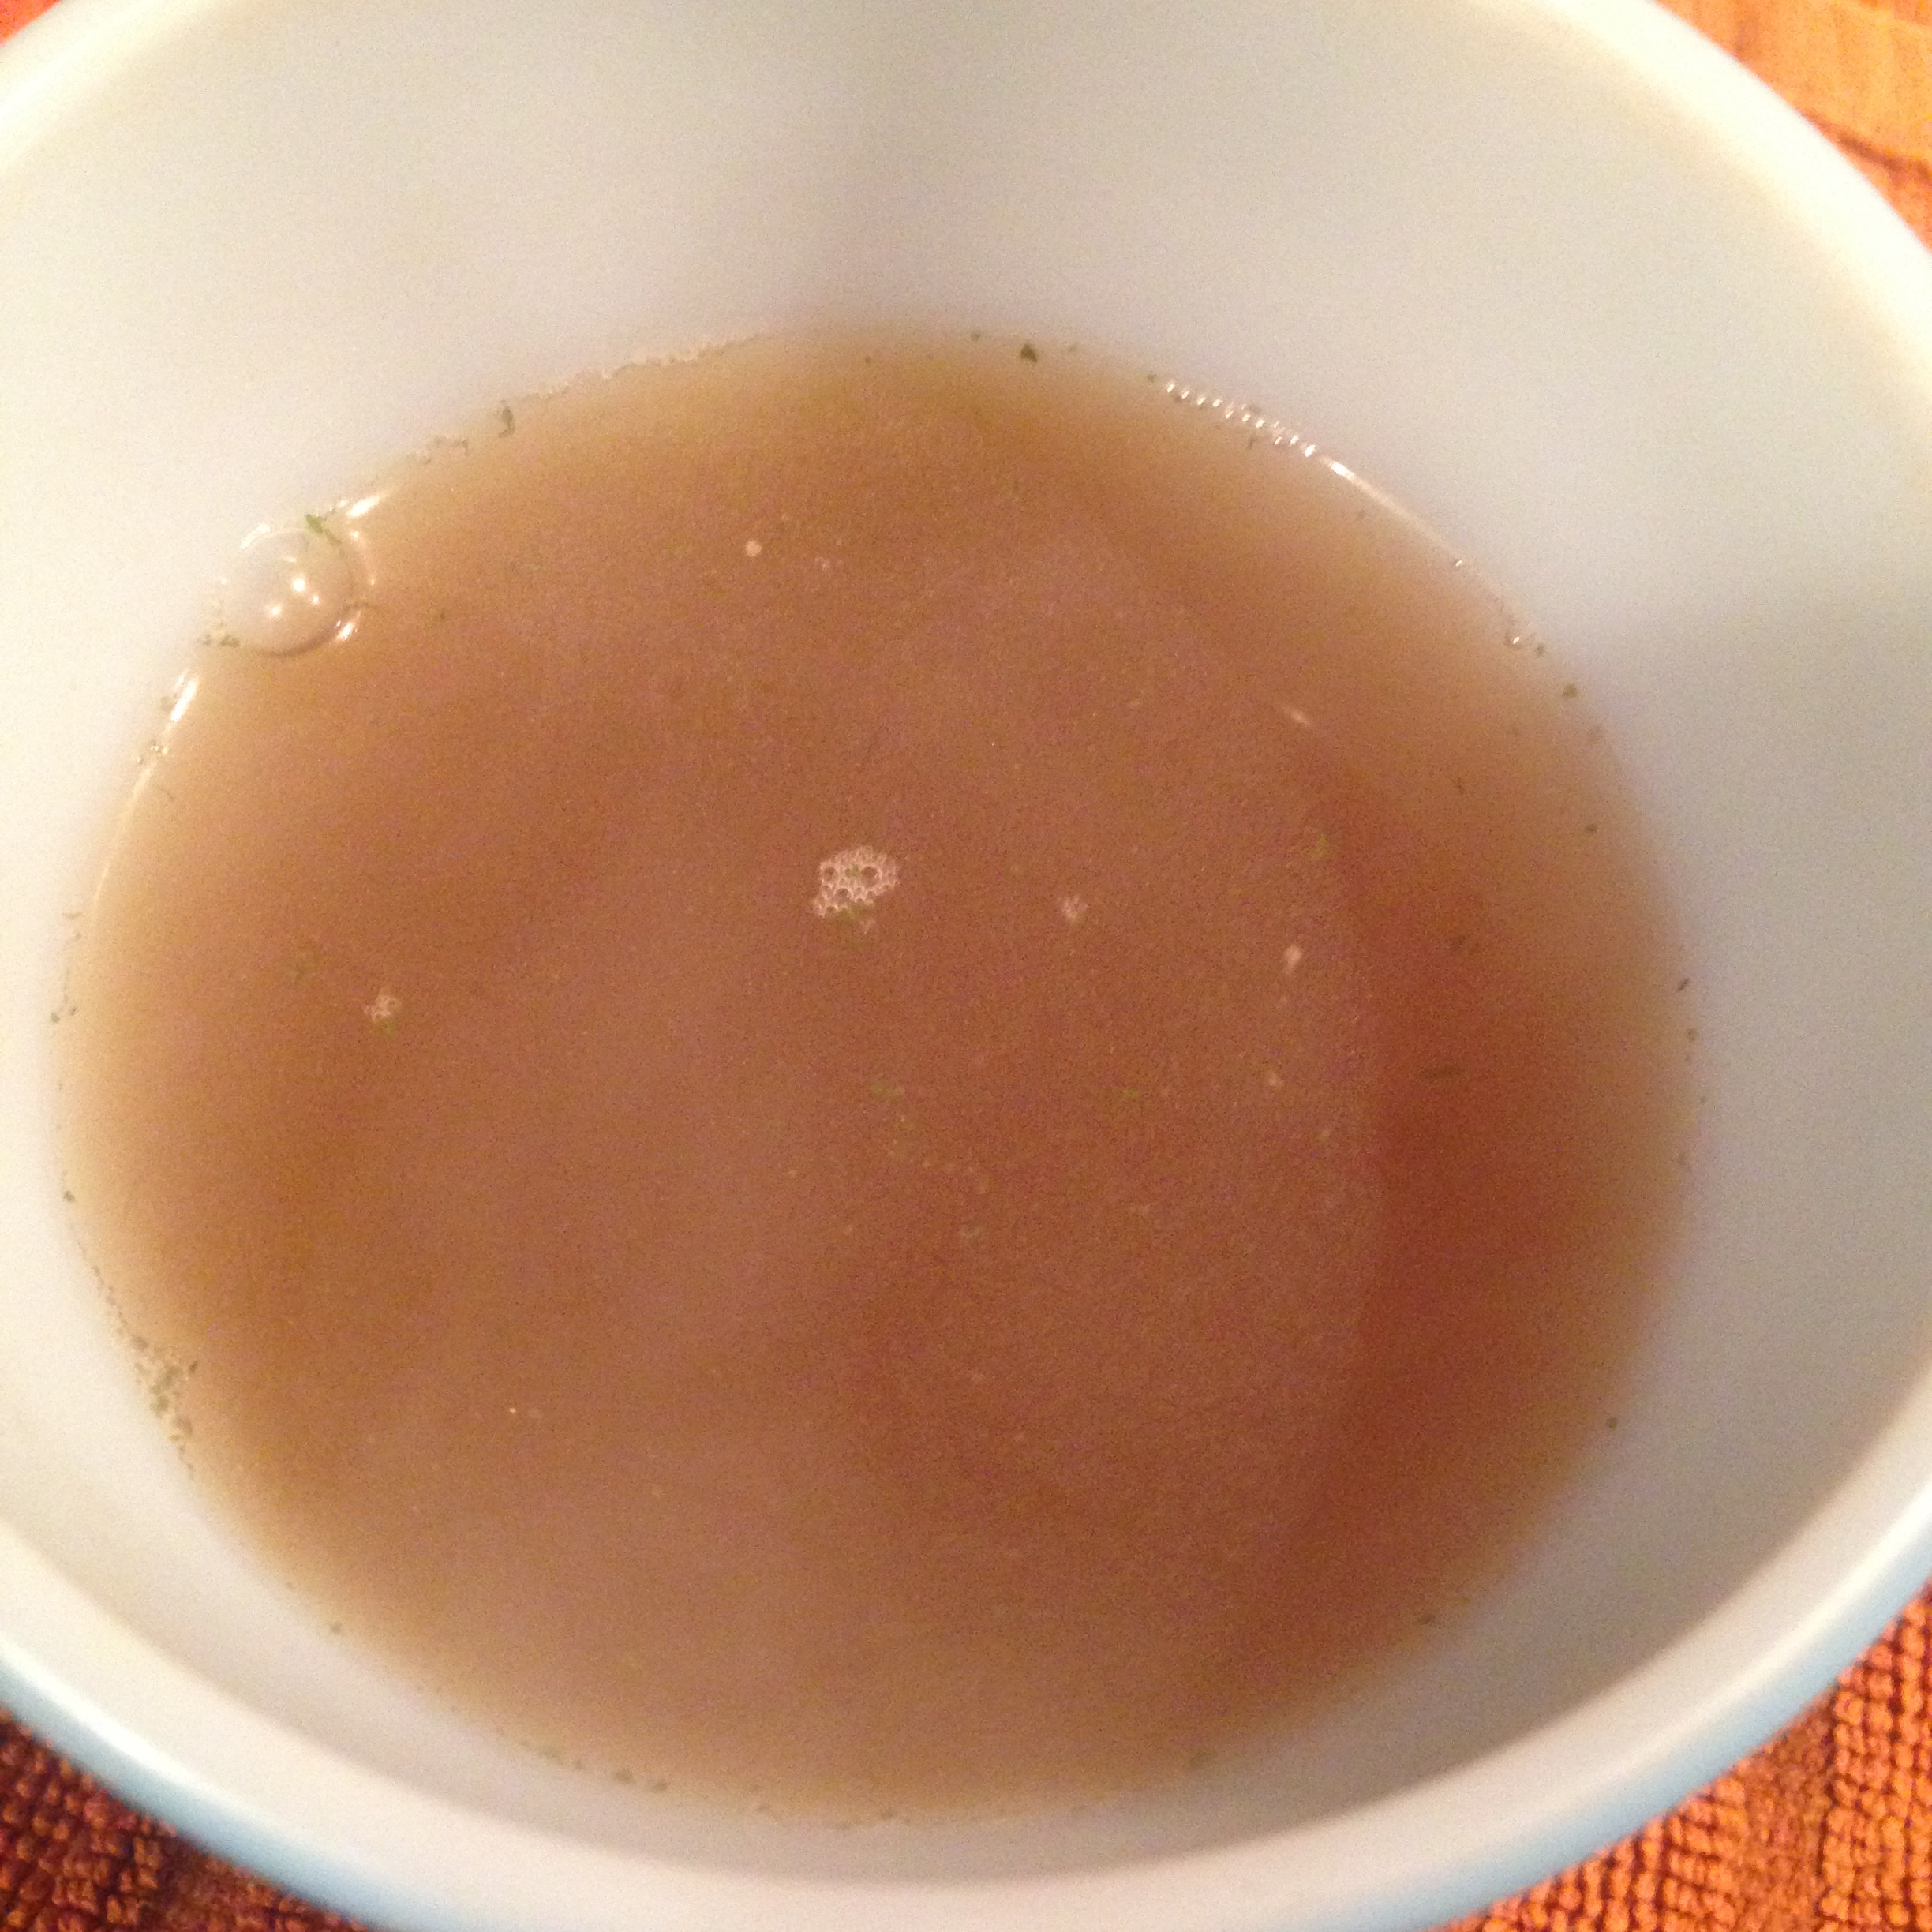
To make a broth of fallen leaves, you should worry more about proportion than volume. A good place to start is a few handfuls in the bottom of your stock pot, maybe about 6-8 cups of loosely packed leaves to about 4 quarts of water. Start small at first–what do you have to lose? My first broths of fallen leaves were a handful in a saucepan, filled with water and just simmered until flavorful, then drained and immediately used in miso soup, or a noodle dish, or mushroom soup. Or simply drunk, almost like tea, or better yet bone broth, with perhaps a pinch or three of sea or seasoned salt.

While I approached it very tentatively at first, you can be a bit bolder. I would suggest that for starters you can make a stock pot full of this broth, as long as you follow three simple rules :

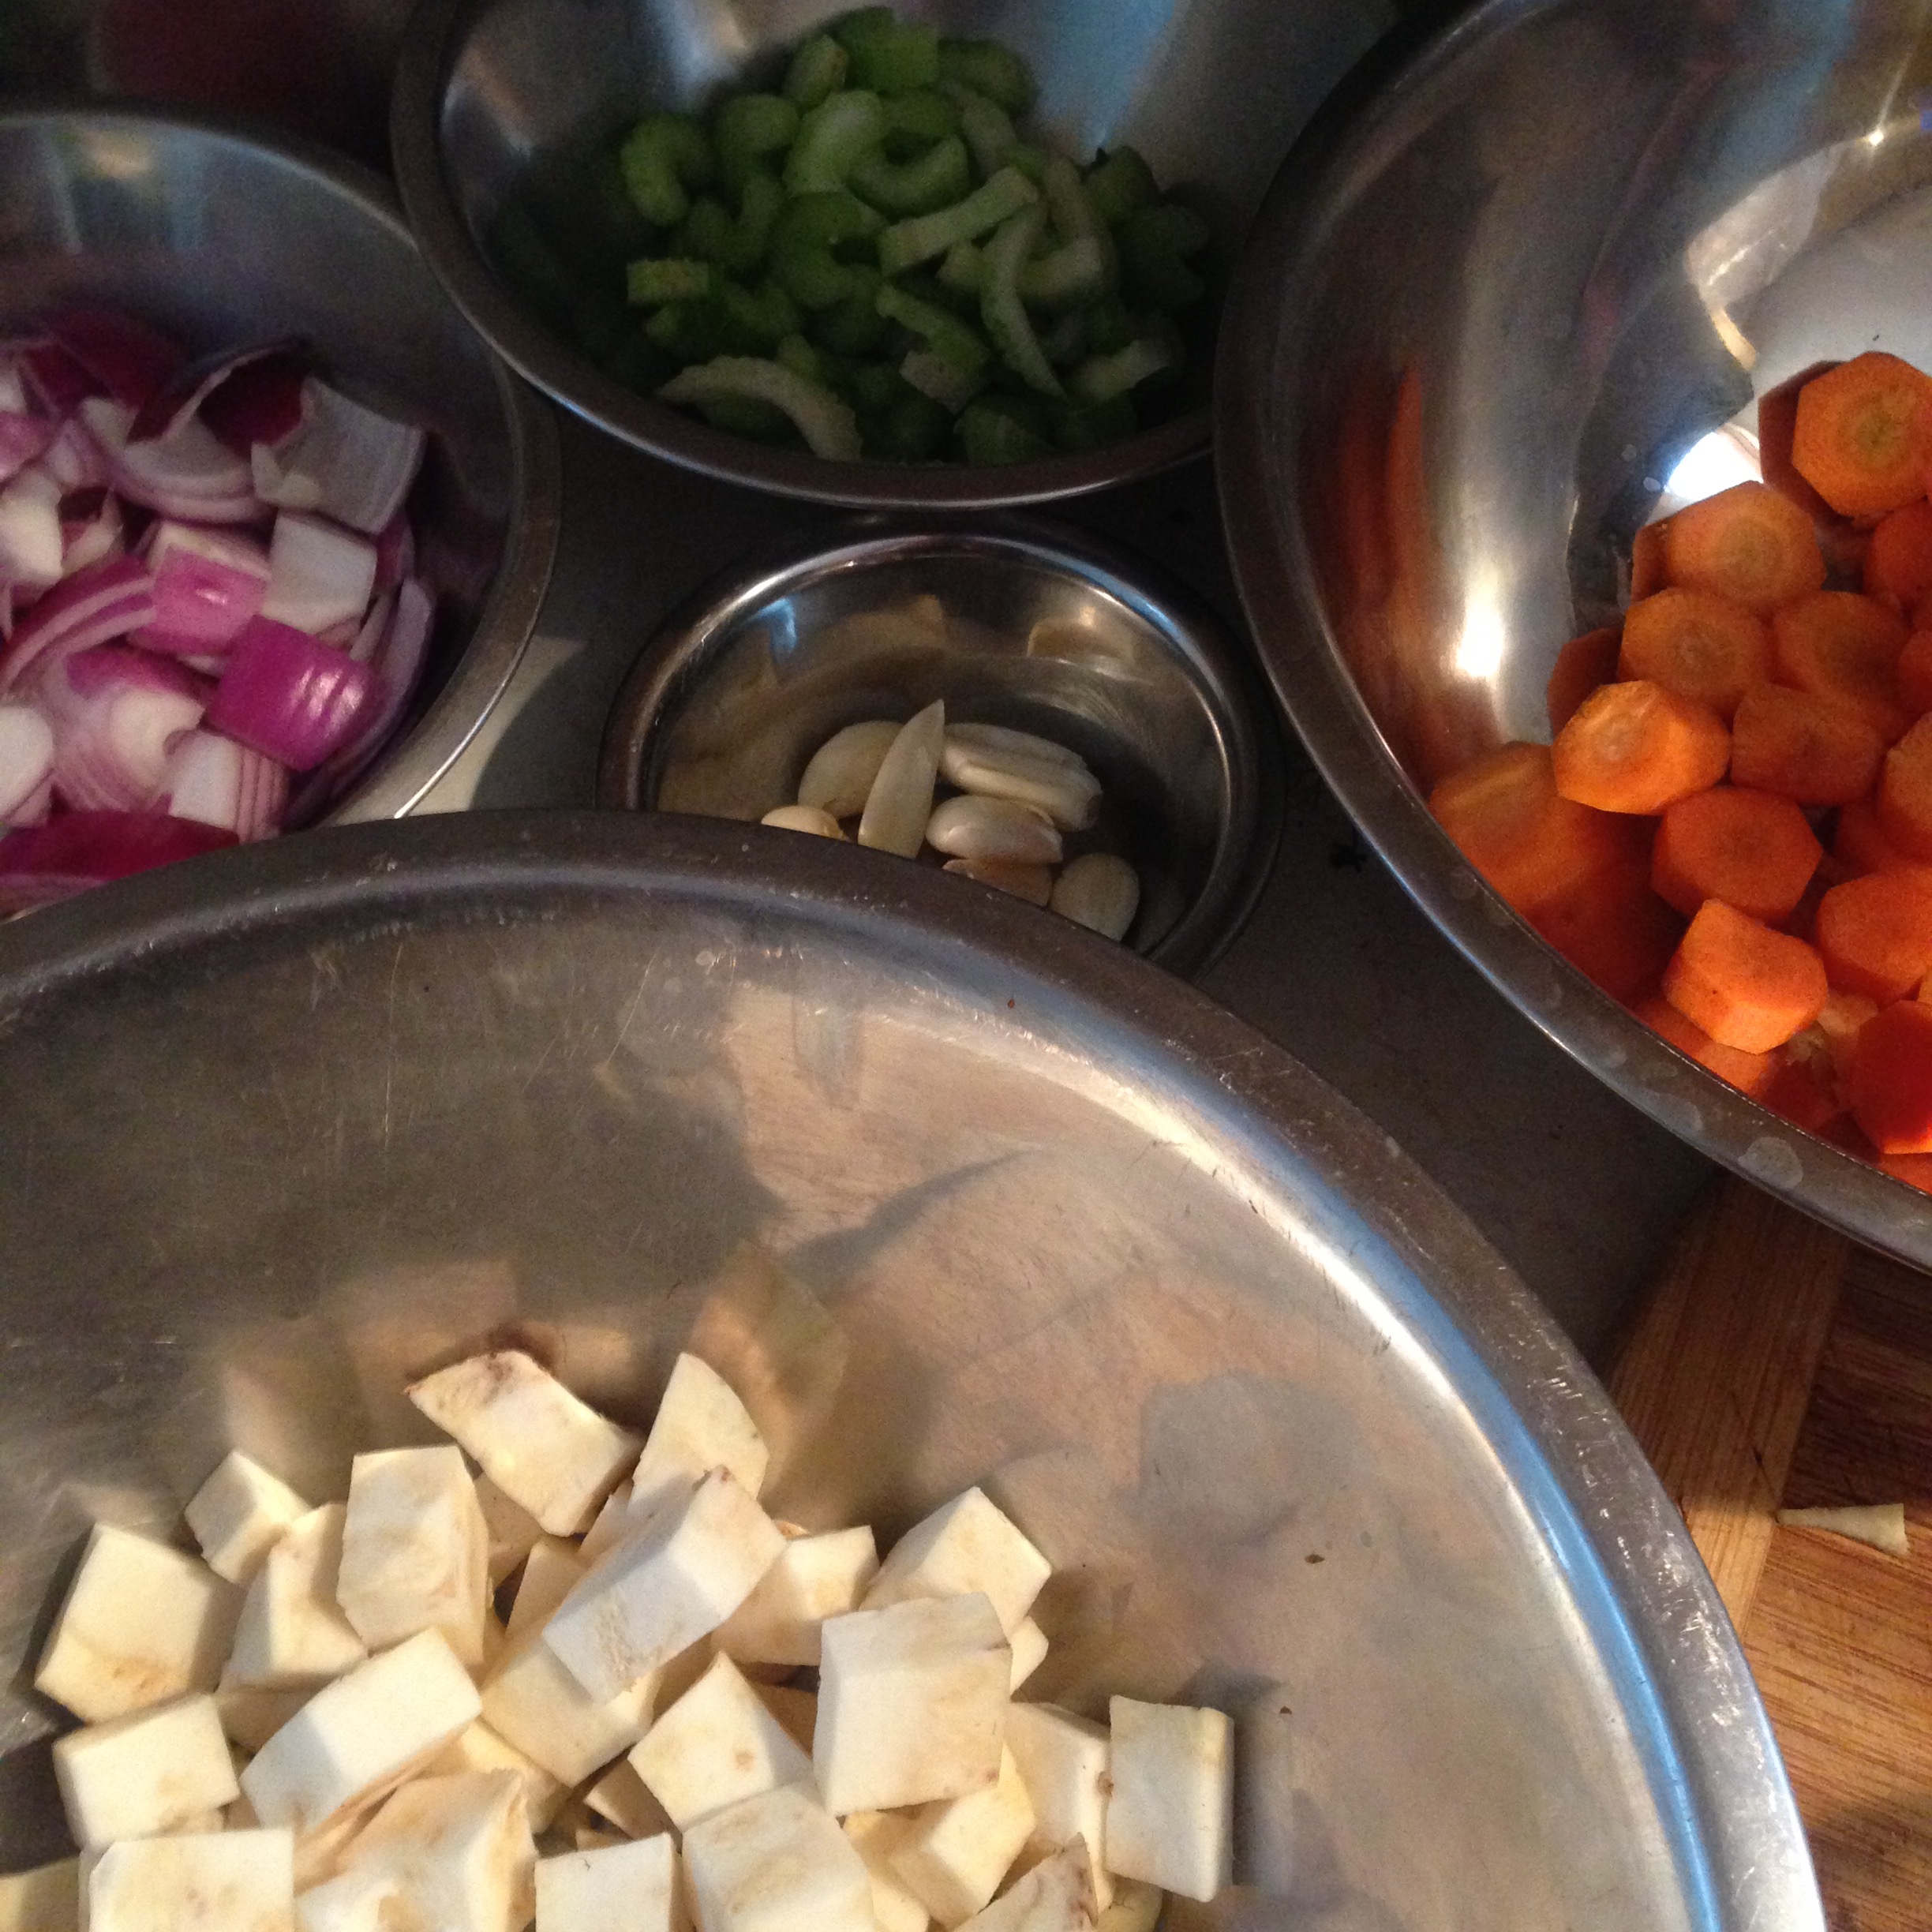
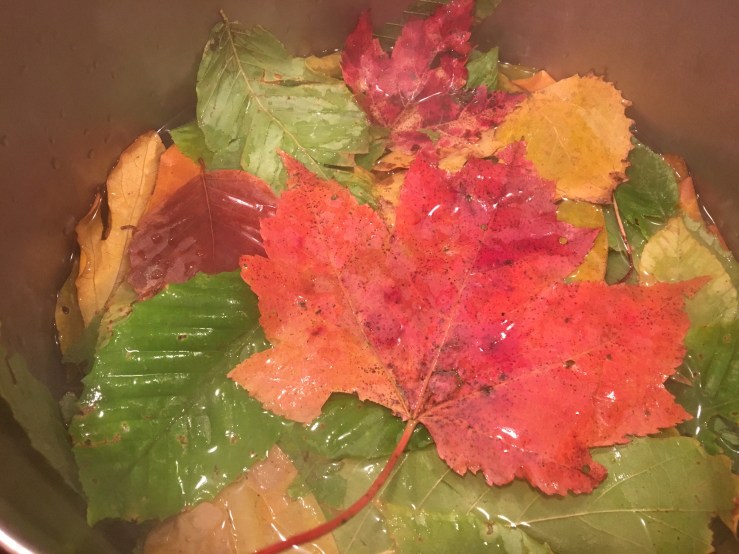
1) pick clean, newly fallen leaves or tug leaves which are nearly ready to fall from the lower branches. its more poetic to gather the cast off leaves, but rule no.2 is more important than poetry – generally the milder leaves (mulberry, beech, linden) are later to fall. Carefully wash and sort your leaves, and strain the finished broth through a clean dishtowel or cheesecloth to filter out any noise, including the resinous issue which exudes from all the conifers.

2) use the proportions listed below to keep your broth within the bounds of reason. Feel free to deviate from them, but at your own peril. Adding a few more oak leaves can mean a wide shift in the dryness, aroma, and taste of your final broth.

OF THESE LEAVES, USE

50 % mild, edible leaves (beech, linden/basswood, white mulberry, birch, sumac, some viburnums)

10 % bitter, astringent or strong leaves (oak, hickory, black walnut)

20 % aromatic, seasoning leaves (spicebush, sassafras, maple)

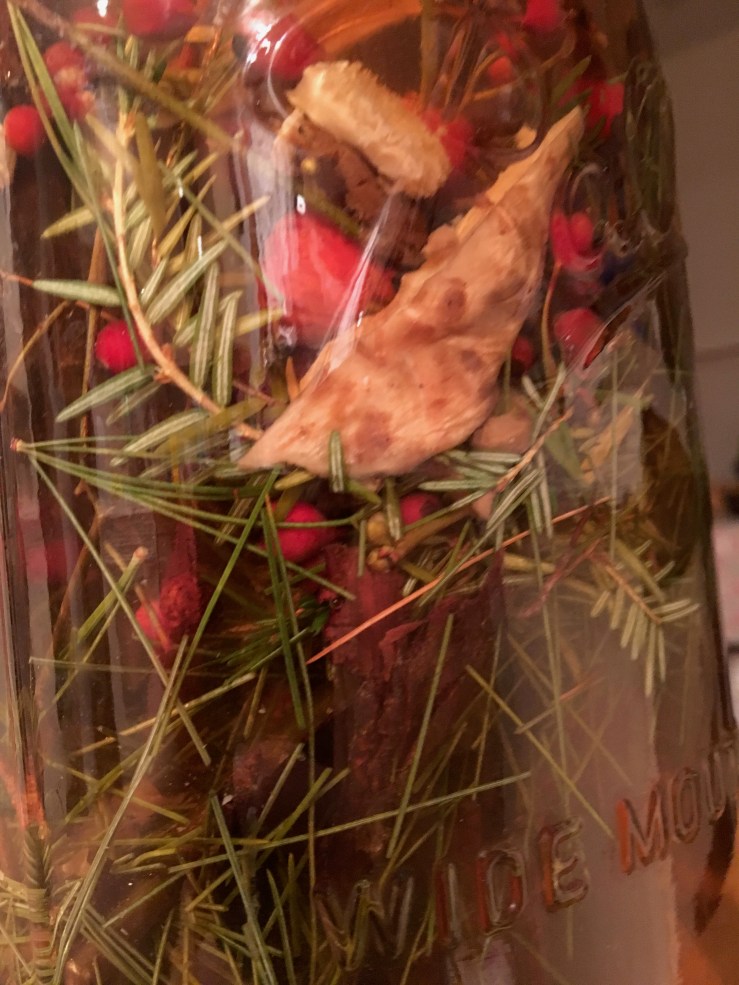
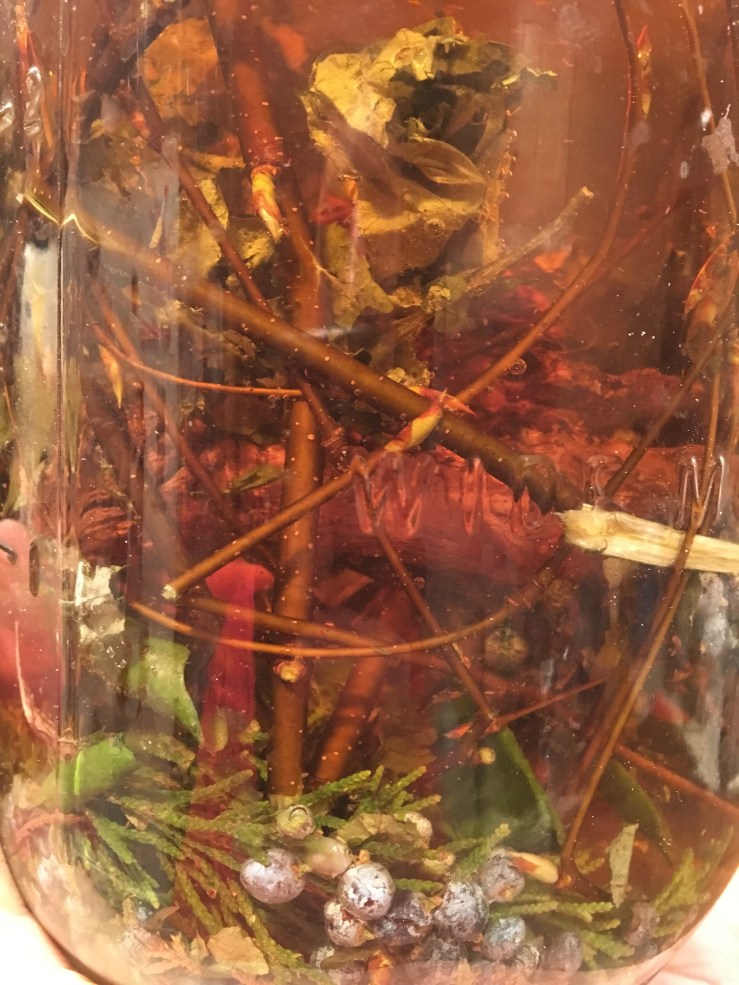
20 % coniferous needles or branches (pine, spruce, hemlock, fir)

3) taste your broth, and pull it when it is to your liking. Don’t allow the leaves to sit and linger once you’ve achieved the flavor you want, or it will become much more woody and bitter. Of course, this can work too–and is a great basis for beers or vinegars. But we will discuss that elsewhere. Before all else, a broth should be sippable, soothing, nourishing. Something you can reach for when at your worst. Remember, this is a base. It should be flavorful but restrained enough to be a background for other flavors.

IMG_9679.jpg
A broth of fallen leaves that is on its way to becoming a tea, with sweet birch bark and a larger handful of white pine needles.

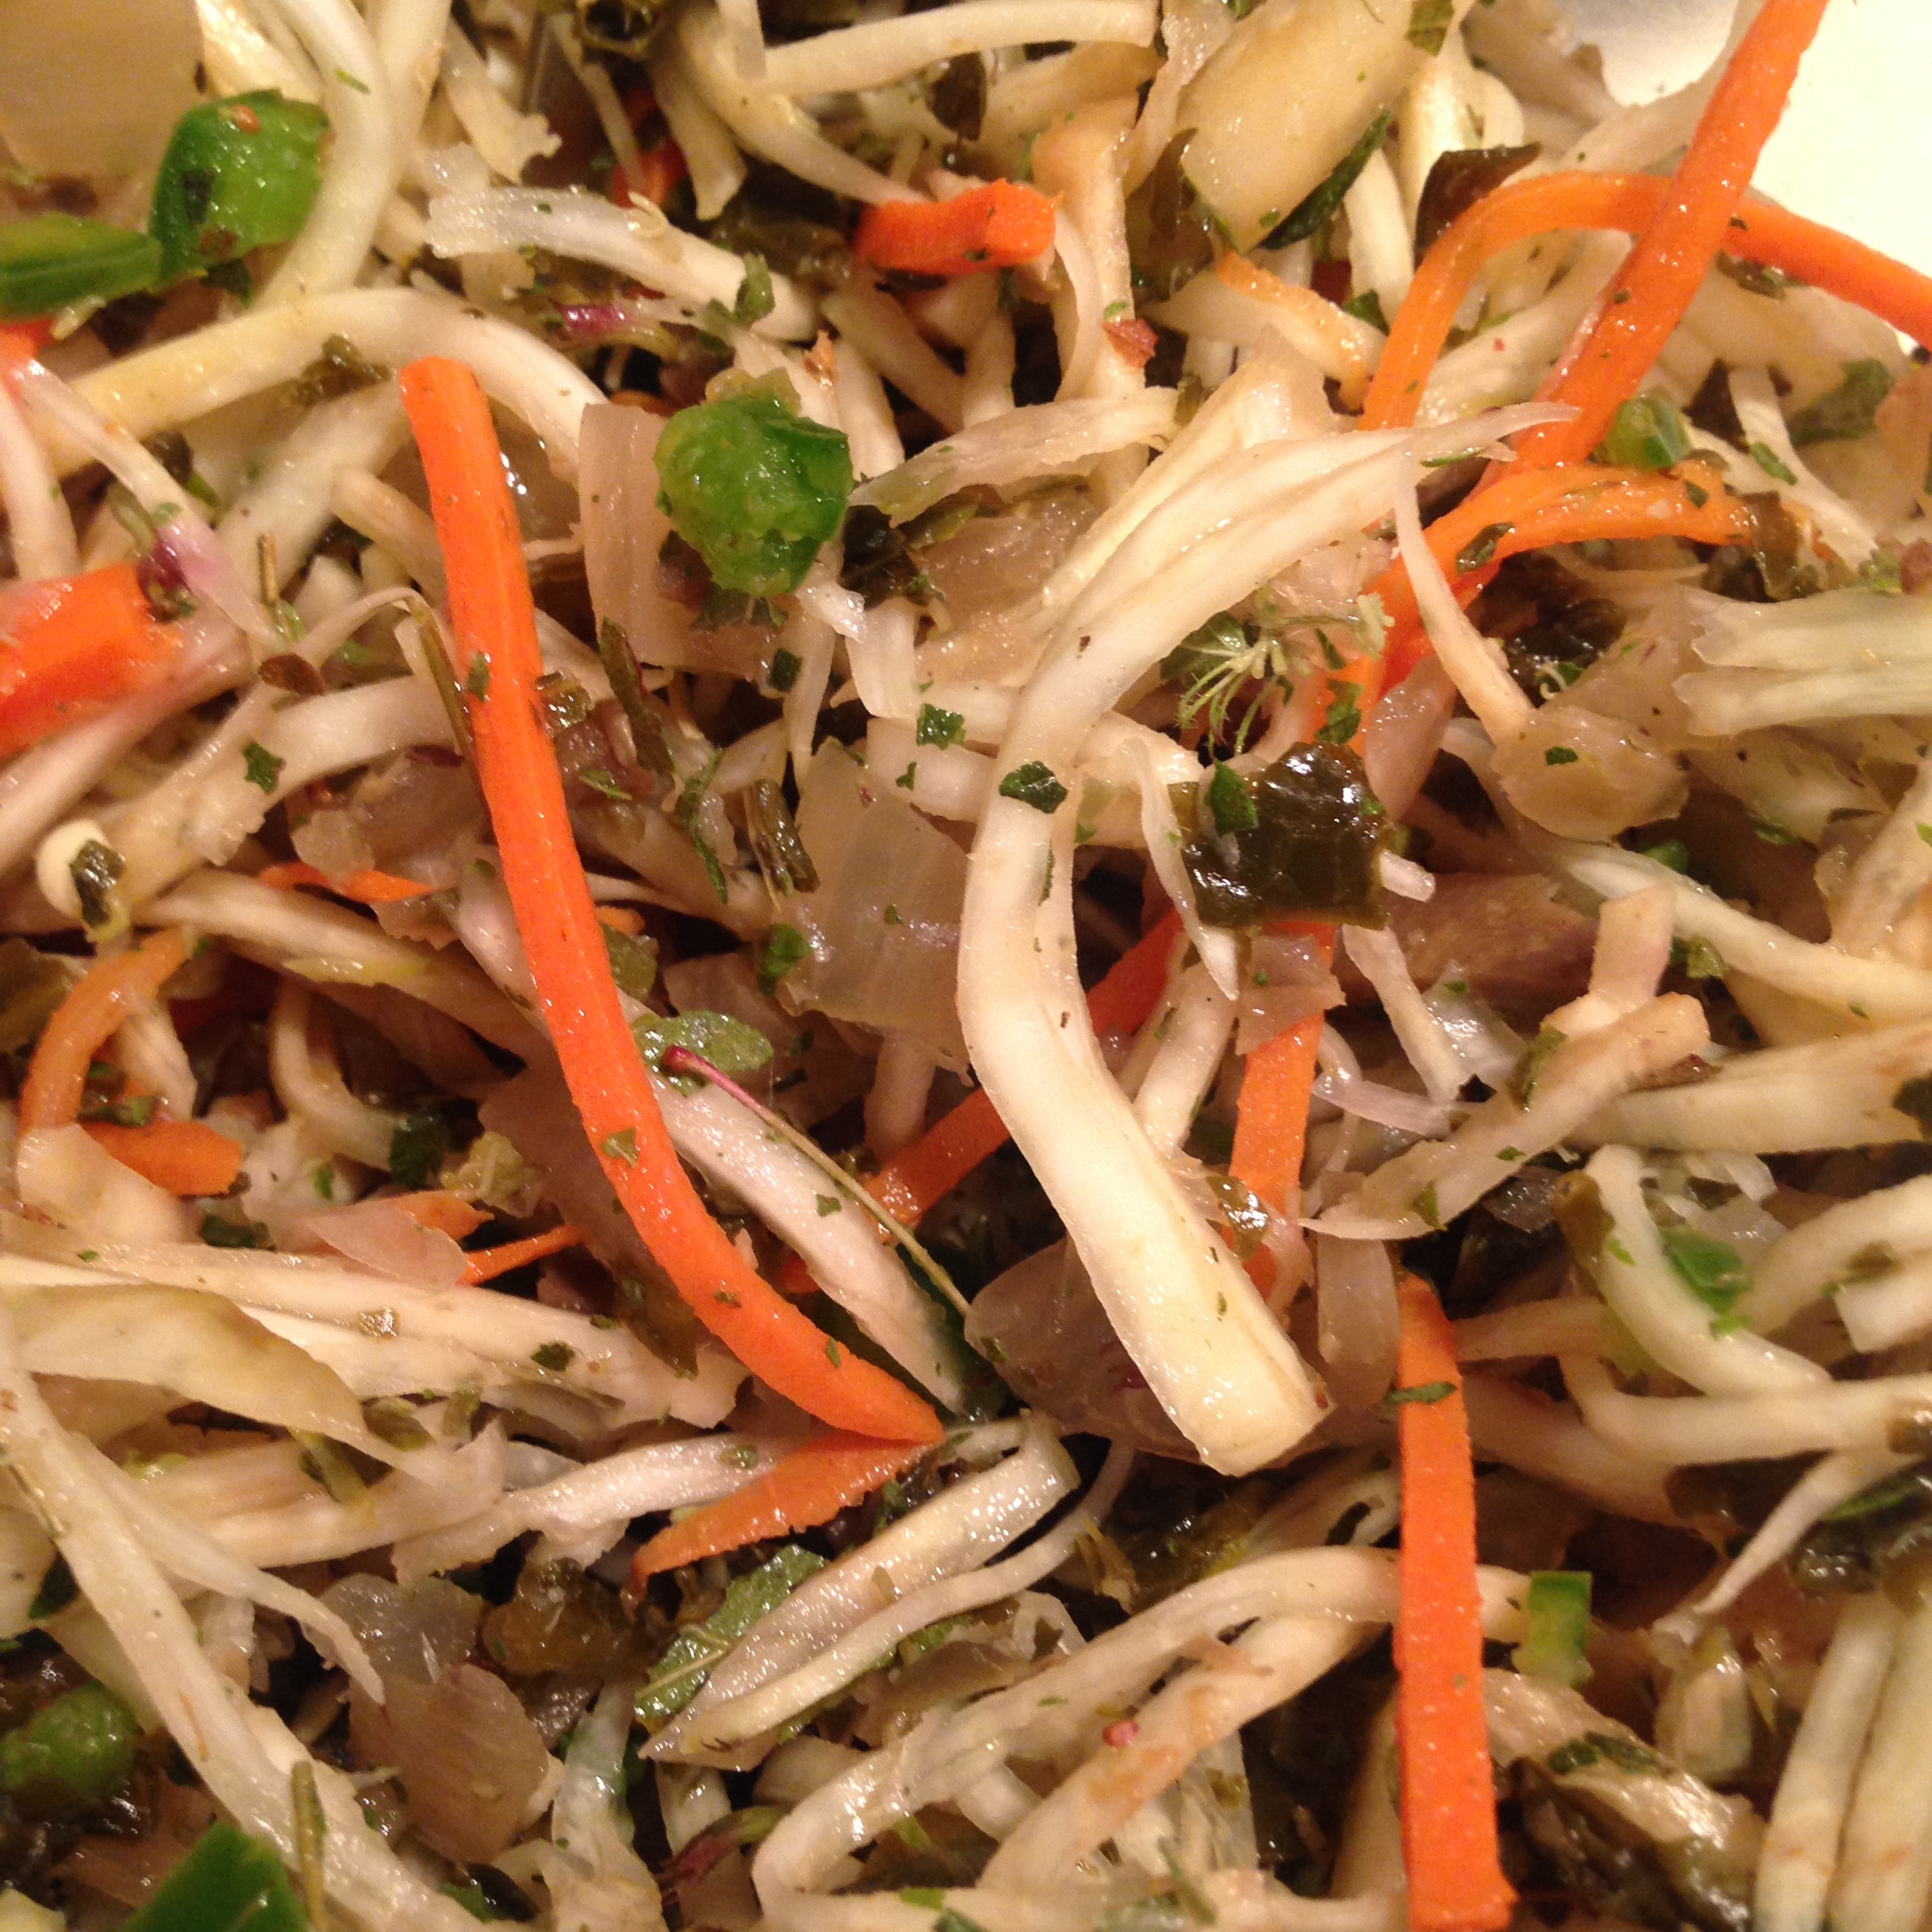
It occurs to me that this is essentially a very open-ended recipe, not only in terms of how it is described here, but in how it could mutate or evolve. I have made over the years many things that exist somewhere in-between this “broth” and a wild tea, concoctions which have been not only cooking medium or tea but also brine for marinating or pickling other foods, and so on. To cut off at the pass the most obvious notions, I would suggest that any wild tea plant could be added, along with such as rosehips, wild spices such as pushki, juniper or spicebush, spicebush or sweet birch bark, rubus spp. leaves, goldenrod flowers, bayberry leaf, und so weiter.

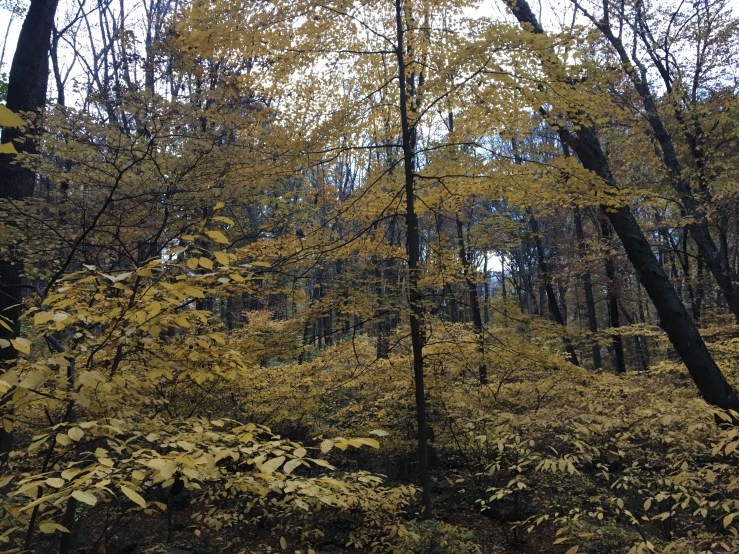
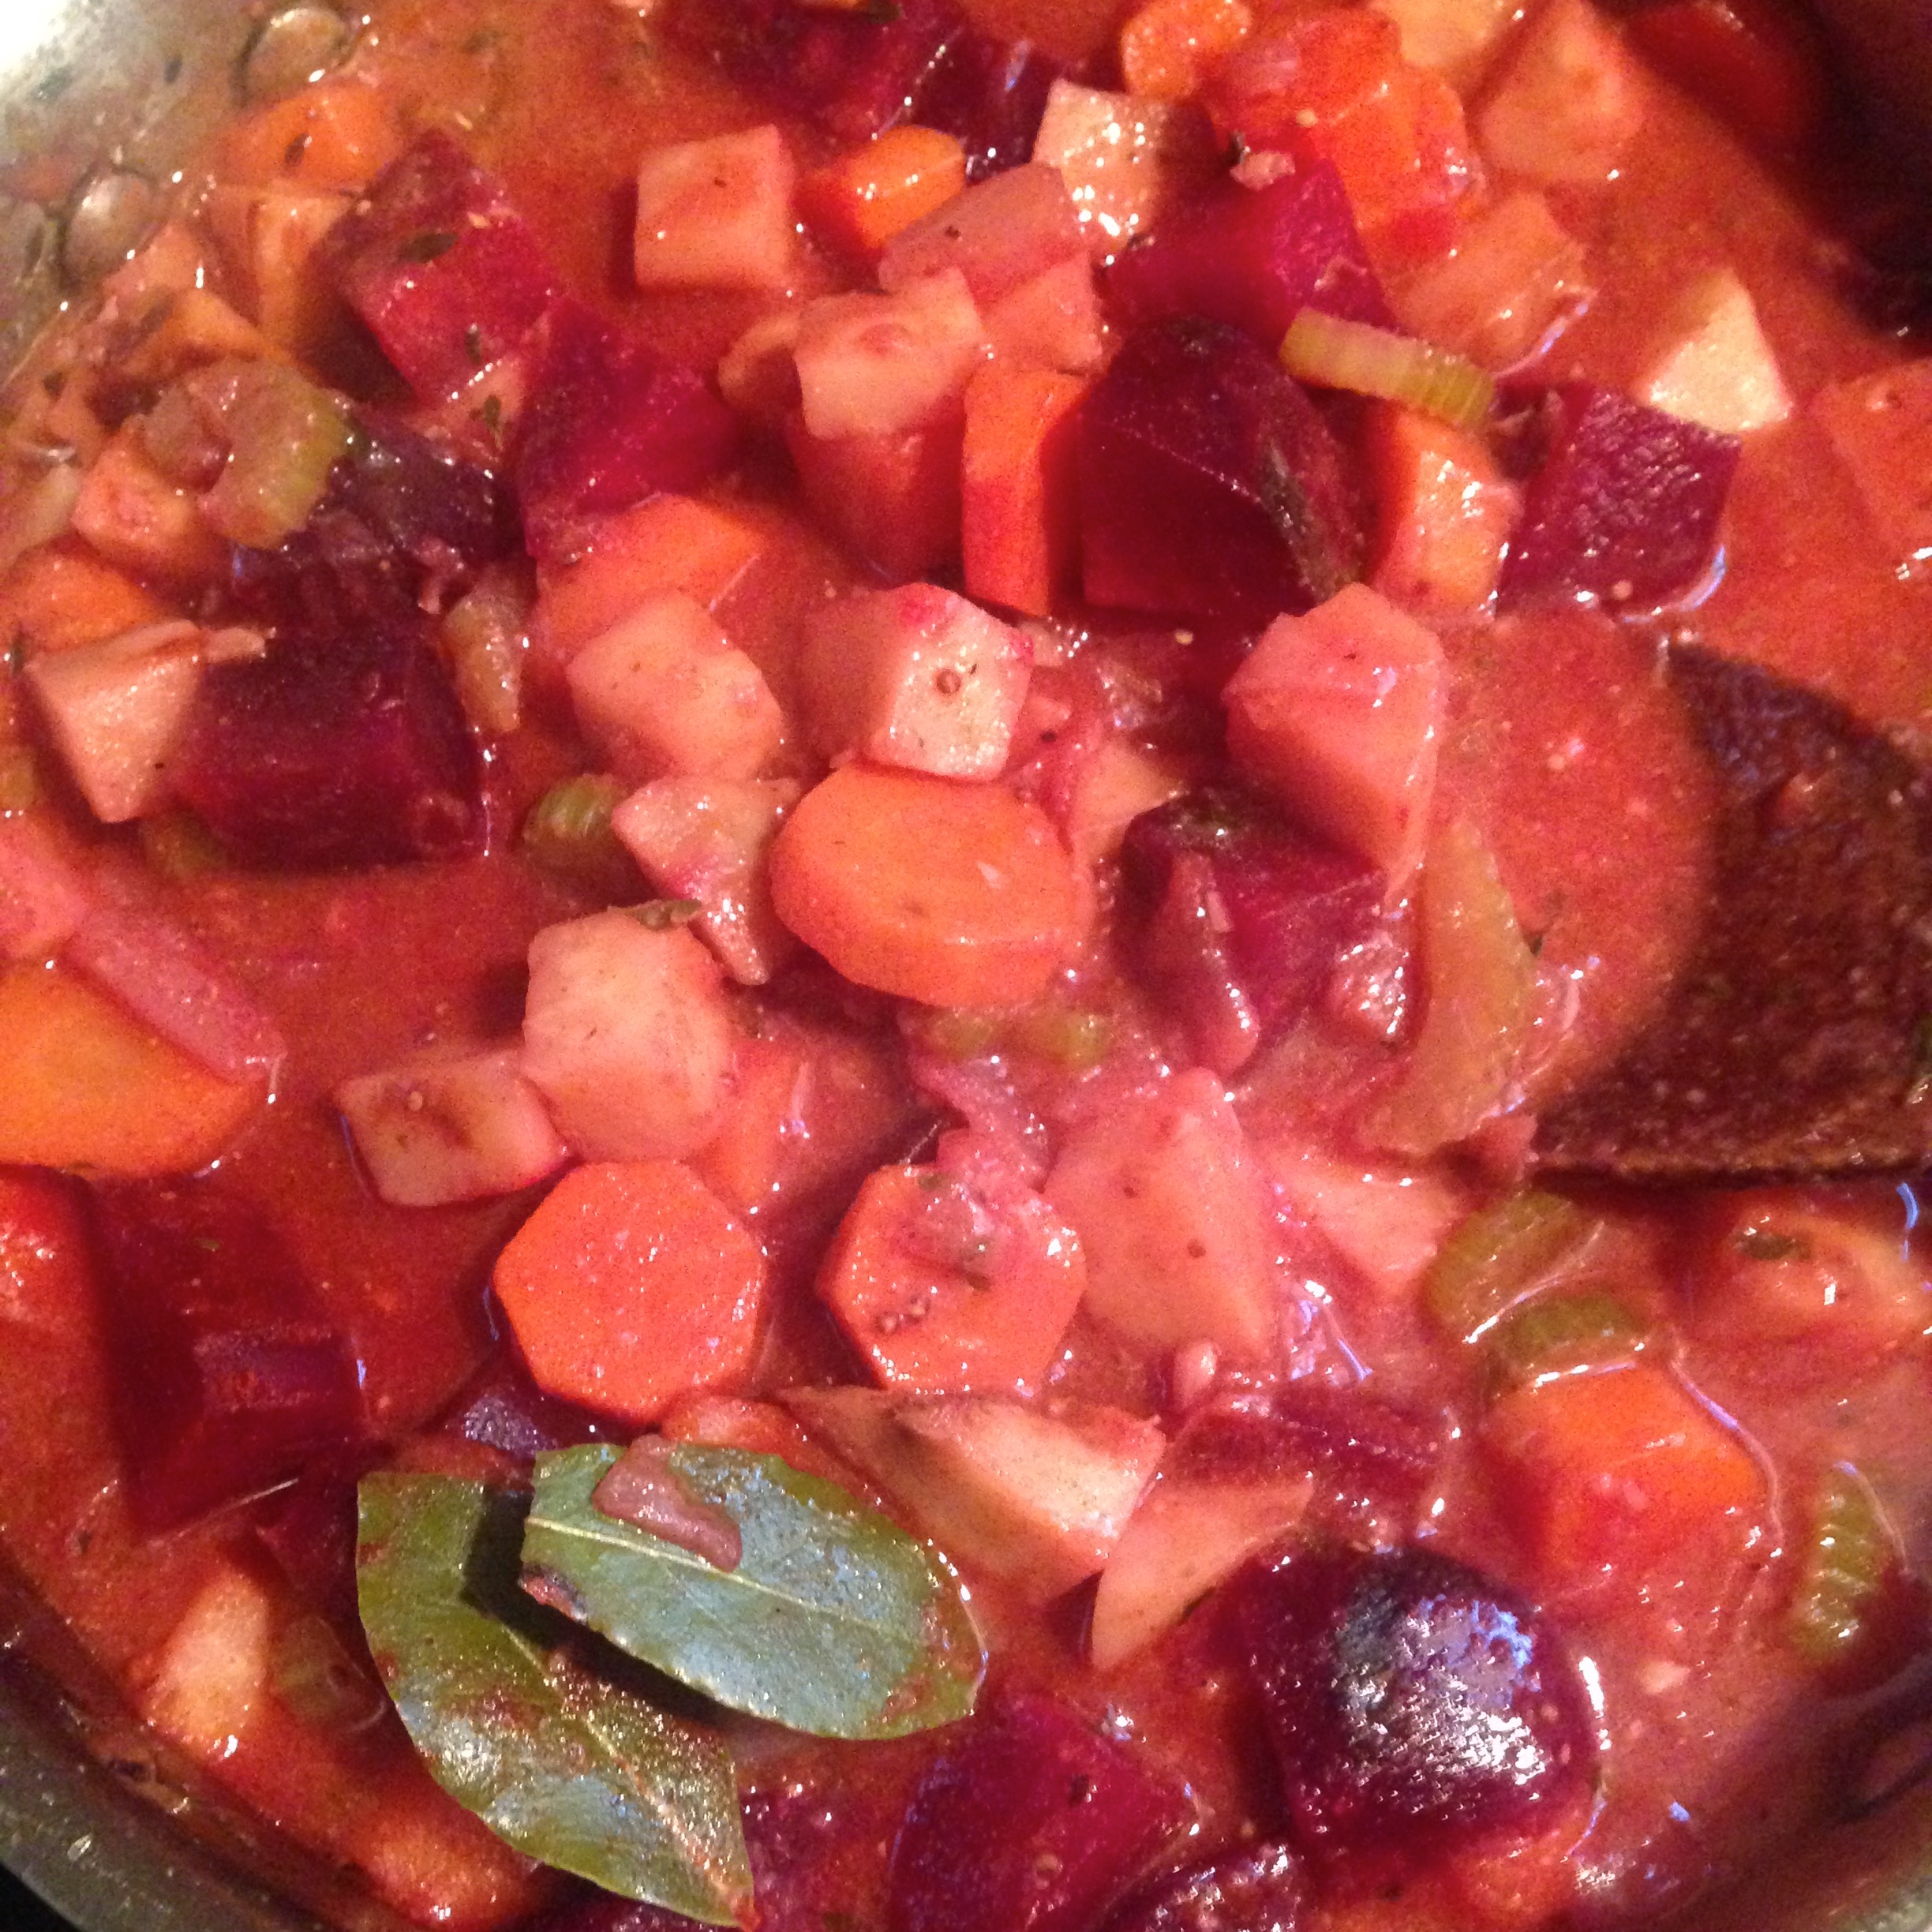
As for using this, I have found broth of fallen leaves to be very versatile, I have made everything from strong, pho-style noodle dishes to delicate sipping, restorative broths with just a few dried mushrooms or seaweed strips, to hearty minestrone and creamy turkey stews with it. In the end, the flavor of the final product will dictate its use best. This isn’t a broth patched from scraps, but a good reason to go out in the woods in itself. And let the results of your careful experimentation be your guide.


Forest Vinegar

IMG_9408.jpg
A late October scene in the Oak-Hickory Forest

Even for those of us who visit the woods nearly every day, there is something undeniably enchanting about a forest on a warm, clear day in autumn. I notice too, when I am in state and national parks that other people feel the same way. At no other time of the year are the woods so crowded. The aroma of the forest at this time of year is something truly special, the scent of fallen leaves and fungi, of pine needles and juniper branches filtering the autumn winds.

There are a number of excellent ways to capture this flavor, from pine family teas to juniper berry-laden pickles, bark and twig beers and wild sodas, and jams and sauces made from late-season fruit. The autumn is prime harvest time, with drying racks laid on every surface to preserve mushrooms and herbs, fruits and nuts. One of the best ways to incorporate this pantry of wild foods into everyday-use items is to make an infused vinegar. Single-ingredient vinegars are of course a perfectly fine way to experiment with flavors, but to me nothing beats an complex medley of seasonal flavors infused into a good cider, apple scrap or wine vinegar. At its’ best a forest vinegar is nuanced and sophisticated, and can lend a unique flavor and touch of personality to foods as diverse as your everyday salad, a jar of pickles, a marinade, or a finishing sauce.

I am going to present this recipe in two ways, first as an example of one of the forest vinegars I have made, second as a simple list of seasonal ingredients to experiment with, with a number of suggestions as to bases. You should feel free to experiment pretty widely with infused vinegars, just remember a few basic rules :

1. Sterilize your infusing vessel, and keep everything submerged while the flavors are infusing.

2. You may find a mother forming on the vinegar, like a kombucha SCOBY. This is natural and even desirable. You may also notice fermentation activity if you use ingredients that have wild yeast, such as juniper berries. This is fine, and generally dies off after a bit. I would suggest not overloading a vinegar with too many yeast-bearing ingredients to avoid an excess of activity.

3. Don’t overload the infusion with ingredients, allow for some space for the liquid to circulate and the flavors to mix thoroughly. I have tried using large quantities and shorter infusing times and the flavors come out strong but less-integrated. The longer these very disparate materials spend in each others company, the more they will rub off on each other and create a complex harmony of flavor.

4. Know when to strain. Strain when your tastebuds tell you to strain. Don’t hold out for the promise of more flavor, especially if you have a concentration of bitter ingredients. Bitterness develops over time–a good example would be the chinese bitter orange (Poincirus trifoliata), which makes an excellent vinegar but will turn quite bitter if the oranges are left in for more than a few days. If you find the infusion beginning to taste too bitter for you, strain it immediately. Better to have a weak forest vinegar than one that is unusable.

5. Know the flavors of what you are using – don’t just chuck something in because it is cool and you know it to be edible. This is especially true of ingredients with strong or bitter flavors–a heavy concentration of things like turkey tails or juniper berries may overpower a subtle blend of other less assertive flavors.

The following recipe makes a great batch of vinegar, and is a good starting point to experiment with. If you’re a total novice but can assemble the ingredients, it’s a safe and stable recipe to use as is. As you become more familiar with ingredients, and fine the ones that grow locally to you, it’s a good basis from which to add or remove ingredients as whim and season dictate. Because I am posting this in Winter, I’ve chosen a recipe which uses only ingredients which are still fairly available or were dried in late autumn (the mushrooms). The oyster mushrooms can be store-bought or you could even use conventional mushrooms, they are present mainly to round out the flavor of the stronger turkeys tail.

IMG_0997.jpg

Forest Vinegar #3

Combine in a large jar :

2 oz toasted hickory bark, broken into pieces

1 oz pine needles, cut into pieces

1 oz spicebush twig, broken into pieces

1 oz hemlock branches, cut into pieces

1/2 oz dried oyster mushrooms

1 oz dried turkey tail or dryads saddle mushrooms

1 1/2 oz rosehips from Rosa multiflora or cultivated rose

6 cups apple cider or apple scraps vinegar, homemade or good quality (look for brands with “the mother” like Bragg’s)

Cover and keep ingredients submerged, shake or stir regularly and allow to infuse until the flavor is to your liking. I usually allow at least three weeks to infuse this combination, you may also find that it infuses faster or slower depending on ambient temperature.

There is really no limit to what can be added to these vinegars, and below I’ve included two lists of seasonal ingredients that are often available in my location (Northeast US). Obviously some of these may not persist in winter in some locations, but in general even faded or dormant edible plants can provide useful flavors. A handful of worn and weathered mugwort flowerheads in December or some brick cap mushrooms past their prime can often bring a subtle flavor to infusions that might be overwhelming were the parts used when in the full bloom of their season. The key here is to work with small amounts of various ingredients to create subtle effects, never allowing one flavor to dominate the proceedings. Remember that strong-flavored ingredients create strong-flavored results. This list is by no means exhaustive, just a jumping-off point really.

IMG_1002.jpg
Another late-autumn Forest Vinegar, with bayberry leaf, juniper cone, sweet birch twig, sassafras root and birch polypore fungus with other aromatics.

Winter ingredients for Forest Vinegar

Roots (sassafras, wild carrot and parsnip, burdock, pushki, smilax)

Needles & Branches (pine, spruce, fir, hemlock, arbor vitae)

Twigs (sassafras, spicebush, sweet birch)

Fungi (turkey tail, birch polypore, oyster mushroom, wood ear, brick cap, velvet foot, chaga)

Fruits (LInden viburnum, blackhaws, juniper, crabapples, persimmons, cranberries, Highbush cranberries)

Leaves (wild chervil, garlic mustard, northern bayberry, deadnettle, ground ivy, bittercress, wintergreen)

Persistent dried tops of autumn-flowering aromatic plants (mugwort, wild carrot, goldenrod)

Autumn ingredients for Forest Vinegar

Including most of the above, plus :

Fallen Leaves (beech, maple, mulberry, oak, black walnut)

Fungi (too many and varied to list, but boletes, oysters, dryads saddle, and resinous polypore are all good for flavoring vinegars)

Fruits (apples, pears, silverberries, paw paw, persimmon, bitter orange, quince, spicebush)

Leaves (wild bergamot, northern bayberry, mugwort, wild carrot, pushki, dandelion, asiatic dayflower, quickweed)

Flowers (goldenrod, evening primrose, chicory, wild mustards, new england aster)

Seeds (pushki, wild carrot, nettle, evening primrose, wild mustards)

The Fourth Season

IMG_0618.jpg
A typical January scene

Wild food gathering in the temperate parts of the world inevitably means coping with the problem of winter. What do you do? Can you do anything?

Yes, you can. Actually, there’s quite a bit going on out there. You just can’t see it. The earth and (eventually, often) the snow conceal most of it from view. The rest is made invisible by our long conditioning that “nothing happens in the winter” when it comes to plants.

The foraging literature itself is faintly discouraging when it comes to winter. They don’t tell you not to do it, but the implication is that it isn’t particularly worthwhile. Emphasis tends to be placed since the Gibbons era on enjoying the fruits of the other seasons of harvest, sitting back in your chair with a seed catalog, shelling hickory nuts and sipping on persimmon wine. The winter section of every foraging book is like an afterthought, usually accompanied by a list of plants so desultory that it squashes the imagination, rather than firing it.

Yet, we all know this is precisely what is needed in the winter. A spark, a kick, especially after the holiday madness/joy (or forced madness/joy) is over and our bodies start to go into hibernation mode. The key is in viewing winter as not a dead time or a rest time but as just another time, simply another season. The activity of plants and trees and fungi around you hasn’t stopped, it’s just different. Which means we need to learn to look differently, to reassess our environment with fresh eyes.

More than just being a neglected time of year to gather wild foods, winter is also overlooked when it comes to studying wild plants and fungi. But if our knowledge of nature is to expand alongside our use of its’ resources, then winter is an ideal time to study as well as collect. Not only will our attention be drawn to interesting things we normally overlook, like mosses and bracket fungi, but towards the familiar things that have changed in aspect. And while the idea of looking at a bunch of dried twigs and seeds might not seem as romantic or appealing as trekking through a spring woods, in reality it can tell us quite a bit about the life cycle of these plants. Ultimately, knowledge of a wild food resource through all of its seasons, all of its changes, is really what we are after : comprehension of the patterns of its growth and how it deploys its energy in order to make our best use of it.

IMG_4368.jpg
Uncharacteristic, but possible in a mild winter : Wild mustard forming its broccoli-like flowering head around Christmas time.

Over the course of the next few weeks I will be discussing in some detail how best to take advantage of the undervalued resource of wild food in winter, including profiles of specific plants and accompanying recipes. I hope to be able by springtime to have made my point that winter isn’t an “off” or “dead” season but simply the fourth season. Perhaps it’s a bit more humble than the others, but one well worth getting outside for, and certainly no occasion to hang up the basket. For now, as an antidote to all those discouraging lists of winter wild foods in foraging books here is one with just some of the things I have either gathered or noted as available in the past few winters :

Acorns

Sow Thistle

Cranberries

Juniper “Berries”

Chaga

Watercress

Maple – Sap / Syrup

Rosehips

Pine Needles

Oyster Mushrooms

Blackhaw / Nannyberry

Dandelions – Greens and Root

Daylily Bulbs

Crabapple (hardy species)

Chickweed

Wild Parsnip

Spicebush – Twig

Henbit

Marsh Yellowcress

Chicory

Evening Primrose – Greens and Root

Bittercress

Velvet Shank Mushroom (Enokitake)

Highbush Cranberry

Yarrow

False Strawberry – Greens

Sunchoke / Jerusalem Artichoke

Persimmon

Cleavers / edible Bedstraw

Wild Carrot

Hawthorn – Berries

Pennycress

Plantain

Wintergreen – Leaves and Berries

Ground Ivy

Northern Bayberry

Nettles

Common Mallow

Spruce – Tips

Hickory Nuts

Cattail – Root

Birch – Twig

Turkey Tail Fungus

Wild Radish – Greens and Root

Thistle Root

Wild Chervil

Teasel

Wapato

Hemlock Tips

Sumac Fruit

Linden Viburnum

Garlic Mustard

Wood Ear Fungus

Purple Deadnettle

Birch Polypore Fungus

Winter cress

Wild Mustard

and, of course, everyones favorite :

Field Garlic !!!

Winter Root Vegetable Stew with Paprika and Mustard

IMG_8547

This is a hearty, rich main course dish which could be varied endlessly with sides and additions, vegan or not. One could of course serve it with starches such as noodles or potatoes, but I find that it is substantial enough on its’ own. In fact, what I will recommend is a garnish of sharp, very thin raw vegetables and fresh herbs, if possible. Like all proper stews this dish is much better reheated and served on the second day. I roast the beets and then add them to the dish before adding the spices for aesthetic reasons. They change the color of the dish quite dramatically, but in a nicer way then when added in the beginning. One of course could use golden beets or white beets instead and dispense with all this roasting nonsense.

This is a dish in which prep and timing are pretty essential. Have all your ingredients chopped and sized, take your time about the cooking of this and remember to let it cool, sit overnight and then serve the next day. It will be much the better for it.

Roast @ 425° :

12 oz beets, unpeeled, wrapped in foil

The beets are done when they a little bit more firm than you want in your finished dish. Remove them, keeping them wrapped and let them cool naturally.

Heat in a pan (deep enough to accommodate all the ingredients, but wide as possible) over medium heat :

3 tbs oil of choice (I use olive)

Add :

10 oz. onion, large dice

Sautée for 5-10 minutes, until softened.

Add :

2 fresh bay leaves or 4 dried bay leaves or 4 bayberry leaves

Add :

5 oz celery, cut into 1/2″ thick pieces

Sautée for 5 min or so, until softened.

Add :

1 oz of garlic, freshly chopped

Sautée for 3 min or so.

Add :

12 oz carrots, cut into 1/2″ rounds

Sautée for 5-10 min or so.

Add :

12-16 oz celery root, 1/2″ x 1″ pieces

Sautée for 3 min or so.

Deglaze pan with :

2 Tbs. Sherry or Chinese Cooking Wine

Add :

Enough vegetable stock (preferably a rich roasted stock) or other stock or water to cover the vegetables well (1-1.5 quarts), bearing in mind the beets to be added later.

1-2 tsp crushed dried juniper berries

2 tsp dry mustard

2 tsp dried thyme

Grinds of black pepper

Bring the pan to just short of a boil, then cut the heat to a slow, mild simmer. Allow this to cook until the sauce has thickened and the vegetables are close to being tender enough to eat. Always bear in mind that the vegetables will cook a bit in their retained heat. If the vegetables seem close to done and the sauce is far too thin for your liking you can add a liaison. Heat some oil and whisk in an equal amount of flour (I usually go about 2 tbs of each), whisk and heat for a minute or two, then add in some of the hot fluid from the stew. Keep adding fluid until you have something that is not yet liquid but no longer paste. Add this back into the stew and it should thicken up nicely.

When you feel like you are close to being ready to cut the heat, stir in the following :

The cooked beets, which by now you will have peeled (very easy once roasted) and cut into the appropriate size (1″2 x 1″ chunks in this case).

1 1/2-2 tbs prepared mustard (whole grain or dijon styles are good)

2-3 tbs of paprika (I usually use a mix : this time it was 1 tbs hot, 2 tsp smoked hot and 1 tsp sweet)

Salt and freshly ground black pepper to taste

Allow this to cook for another few minutes, then adjust your seasonings as needed.

Serve right away or allow to sit. Reheat the next day and serve with fresh garnishes.

All times used are approximate. I cook by taste and texture. It’s far easier and more accurate than following a clock. In each stage of the sautée, the vegetables should be cooked until they begin to soften. If the pan gets too dry (which shouldn’t happen) you can add some extra sherry or wine, or water if necessary. The stewing process will take from an hour on, depending on how slow your simmer. Allow it to develop on its own, checking and stirring every 10 minutes or so. You will know when it is done.

This recipe can be varied in what vegetables are used, provided they are approached with understanding of how long they take to become tender. Of course it could be garnished or accessorized in dozens of ways. It’s already pretty hearty in itself but if you wanted to serve it with noodles or rice I’m sure it wouldn’t be bad. I prefer to go the other direction, and add something sharp and bright as a garnish, like paper-thin slices of spicy black or daikon radish, fresh snips of chive or field garlic, raw chiles, pickled or preserved vegetables, and of course fresh herbs if available.

I have left the spicing at kind of an entry-level dosage. All of the seasonings can be added again at the end, which is usually when I toss in a little more thyme or juniper or mustard or what have you. The flavor is hearty, and deep. It may remind one of a treatment of beef or pork in terms of the flavorings used, but this is no meat substitution recipe. The combination of thyme, mustard and paprika complements the beet-celery root-carrot trinity. But perhaps you will discover an even more perfect one!

IMG_8530

Key : The key to this recipe is making all the vegetables the same consistency, particularly one that has a bit of texture to it. For some people that solution lies in very precise cutting, for me I’ve always just preferred to add the ingredients one by one and rely on intuition. Some people like to throw in everything at once and cook it long and slow. There’s no right way, just one that works.

Winter Broth with Foraged Herbs

IMG_8172Take :

2 cups broth of your choice (this is a drinkable broth, so the stronger the better, and homemade of course)

Bring to heat in a small saucepan, then keep warm.

Add :

1/2 cup of mixed dried yarrow, wild basil, and sweetfern (roughly equal amounts)

pinch of dried mugwort leaves, crumbled

hefty pinch or two of dried mint of any kind, crumbled

Keep warm for 5-10 minutes, stirring once or twice. The point at which to take the next step is ideally when the dried herbs have all settled to the bottom of the saucepan.

Strain the broth from the herbs and serve.

Obviously this could be embellished in a million ways. The broth itself can be varied endlessly, depending on what you have in your pantry. It’s best made from a broth that’s deep and flavorful that you just made, perhaps even with something as basic as leftover vegetable scraps or chicken bones. The herbs can be from your garden or the store or the wilds, as long as they are dried this will make a nice flavorful broth from these proportions. I would also recommend not using more than one very bitter herb and not more than one very sweet herb. You want to use the more “culinary” herbs whether wild or domestic.

This could be used as the base of a soup, or served as I sometimes do simply with thick noodles and whatever condiments suit you. Primarily, though, this is a warm nourishing broth somewhere between a tea and a soup. Strong, complex and slightly bitter. While not explicitly medicinal it contains quite a few medicinal herbs. I’m not making any claims it’ll heal you, but it feel good.

Winter Celery Root Salad

IMG_7968

Take :

1 lb celery root, peeled and grated or julienned on a mandoline

* Save the peels and leftover pieces from grating and use in celery root syrup (recipe to follow).

Toss grated root with:

1/2 tsp salt

Allow to stand for at least 20 minutes.

Add :

about 1/2 cup strong fermented greens, chopped fine

about 1/3 cup pickled onions, diced or chopped small

about 1/4 cup sweet hot pickled carrots

* These can be around these proportions of any variety of different homemade or purchased fermented or pickled vegetables. The key is to play off of celery roots sweetness and use more intense and tart flavors. I would also avoid adding too much quantity of any one thing rather than overpower the celery root.

Toss, add :

2 tbs capers, chopped fine

A splash of vinegar of lemon juice if desired

1/4 cup of sweet fern (Comptonia peregrina), crumbled

2 tbs or so of wild basil (Cliopodium vulgare) leaves and flowers, crumbled

1-2 jalapenos or other fairly mild chile, diced

Toss and Serve

This salad produces its own dressing in the seasoned liquid created by salting the celery root and the various brined or fermented vegetables. It shouldn’t require oil, but it certainly won’t mind it. Try it with the modest amount of chiles recommended and see how it suits. I found that the addition of more ruined the finish of the celery root. This is a dish that benefits from a night in the fridge to let the flavors meld. It can be served chilled or at room temperature.

This is excellent served as a contrast to more rich or heavy dishes, being sharp and clean and quite healthy (unless of course one is on a low salt diet). Essentially a mixed pickle in the guise of a salad, it would be a good compliment to dishes such as catfish, fatty tuna, pork, tofu, beans, eggplant, okra, potatoes, beets, noodles and noodle soups. It works best as a salad if used in a sequence of small dishes

Just as the fermented or pickled vegetables could be endlessly varied, so could the herbs used. In the winter I tend to use dried herbs, and in this case wanted to showcase two forage herbs, but in the remaining seasons I would use fresh herbs to fit my fancy.

KEY : The key fact to remember with this recipe is to taste it constantly, especially when you’re experimenting with different combinations of fermented and pickled vegetables, and adjust accordingly.

Mock Strawberry : A Disdained Common Edible

IMG_9515

As a child I used to gobble the “wild strawberries” that, then as now, popped up in our lawn and mulched beds alike. Sure, they didn’t taste like much but they were a pleasant nibble. Perhaps more caution was in order, but the darned things are so inoffensive looking that it would be difficult to suspect them of being hazardous. Older and slightly wiser, nowadays I don’t tend to eat anything without being quite careful about it. In the grocery store, one examines a package. In the wild or the backyard, one makes sure to clearly identify a plant before consuming it.

These wild “strawberries” were of course not true wild strawberries (which are far from flavorless) but the invasive, pernicious ground cover known as Potentilla indica or Duchesnea indica. The confusion over classification is a recent one and Duchesnea is still mainly used. Potentilla seems to be the more accurate fit (though I am hardly a botanist), since that genus contains the cinquefoils whose leaves are used in very much the same way as those of mock strawberry.

Leaves? That’s right. For years and years I have eaten the charmingly inoffensive fruit of the mock strawberry without realizing that the far more interesting and useful part of the plant was staring me in the face. The leaves are an excellent food and tea, tasting faintly of cucumber (with a hint of sage) and widely available for almost the entire year. For years I have let this plant grow wild in my yard and planted beds for the simple fact that it is harmless and excludes other, non-useful weeds. Now? I will definitely encourage its’ growth and use it whenever necessary. Which, honestly could be often–the only plant that grows more prolifically in my yard in the off-season is ground ivy, equally edible but quite bitter once springtime has ended.

So what about those fruits? Many find them banal or insipid, but I consider that a judgement based more on its flavor in comparison with other wild berries or with commercially cultivated fruit. Another common observation is that they taste like watermelon bitten very close to the rind. That rings true to me, and also implies the thing I do really like about mock strawberry, which is its’ pleasing texture. Too often we are disdainful of things which have mild or inoffensive tastes. I have a feeling we would be less disdainful if we did not have such a surplus of food. Then we might be quite pleased to have a plant which is edible in the Northeast in one form or another for almost the entire year.

When we forage we learn a lot of lessons about plants and our relationship with them. Mock strawberry is a good example : as much as we might despise this little scrubby ground cover, we can potentially (no pun intended) learn from it and its’ ways. Sometimes the best and most useful plants are those which we most ignore. I have always tolerated and sometimes enjoyed mock strawberry as an invasive plant which excluded far more annoying weeds. Now I just might let it run riot, and delight in the free surplus of winter greens and summer berries. Insipid? Maybe. But when you’re starving don’t come over and scoop up my “mock” strawberries. I’ll still be enjoying them, tasteless or not.

IMG_5770