The Best Way to Pine

IMG_4548.JPG

My apologies for the pun, but this is seriously the best way to make a Pine Needle tea, or for that matter a tea from any member of the Pine Family. After many long and frustratingly-erratic results making a pine tea on the stovetop, I began to use my slow-cooker to optimize results. This recipe relies on a larger quantity of needles that usually called for in pine tea recipes, which means you needn’t spend a lot of time cutting them into tiny pieces.

I STRONGLY recommend you use a crock pot or slow-cooker for this, if you have one. It more or less eliminates the chance of human error and more importantly it ensures you don’t lose an ounce of Vitamin C from the preparation. The flavor is deep, strong, and naturally sweet and can be not only drunk as a tea but used in secondary ferments of kombucha, turned into a syrup or sorbetto, or made into a brine in which to ferment vegetables. Since first using the slow-cooker for pine needle tea I now use it exclusively.

Place in slow cooker or stock pot :

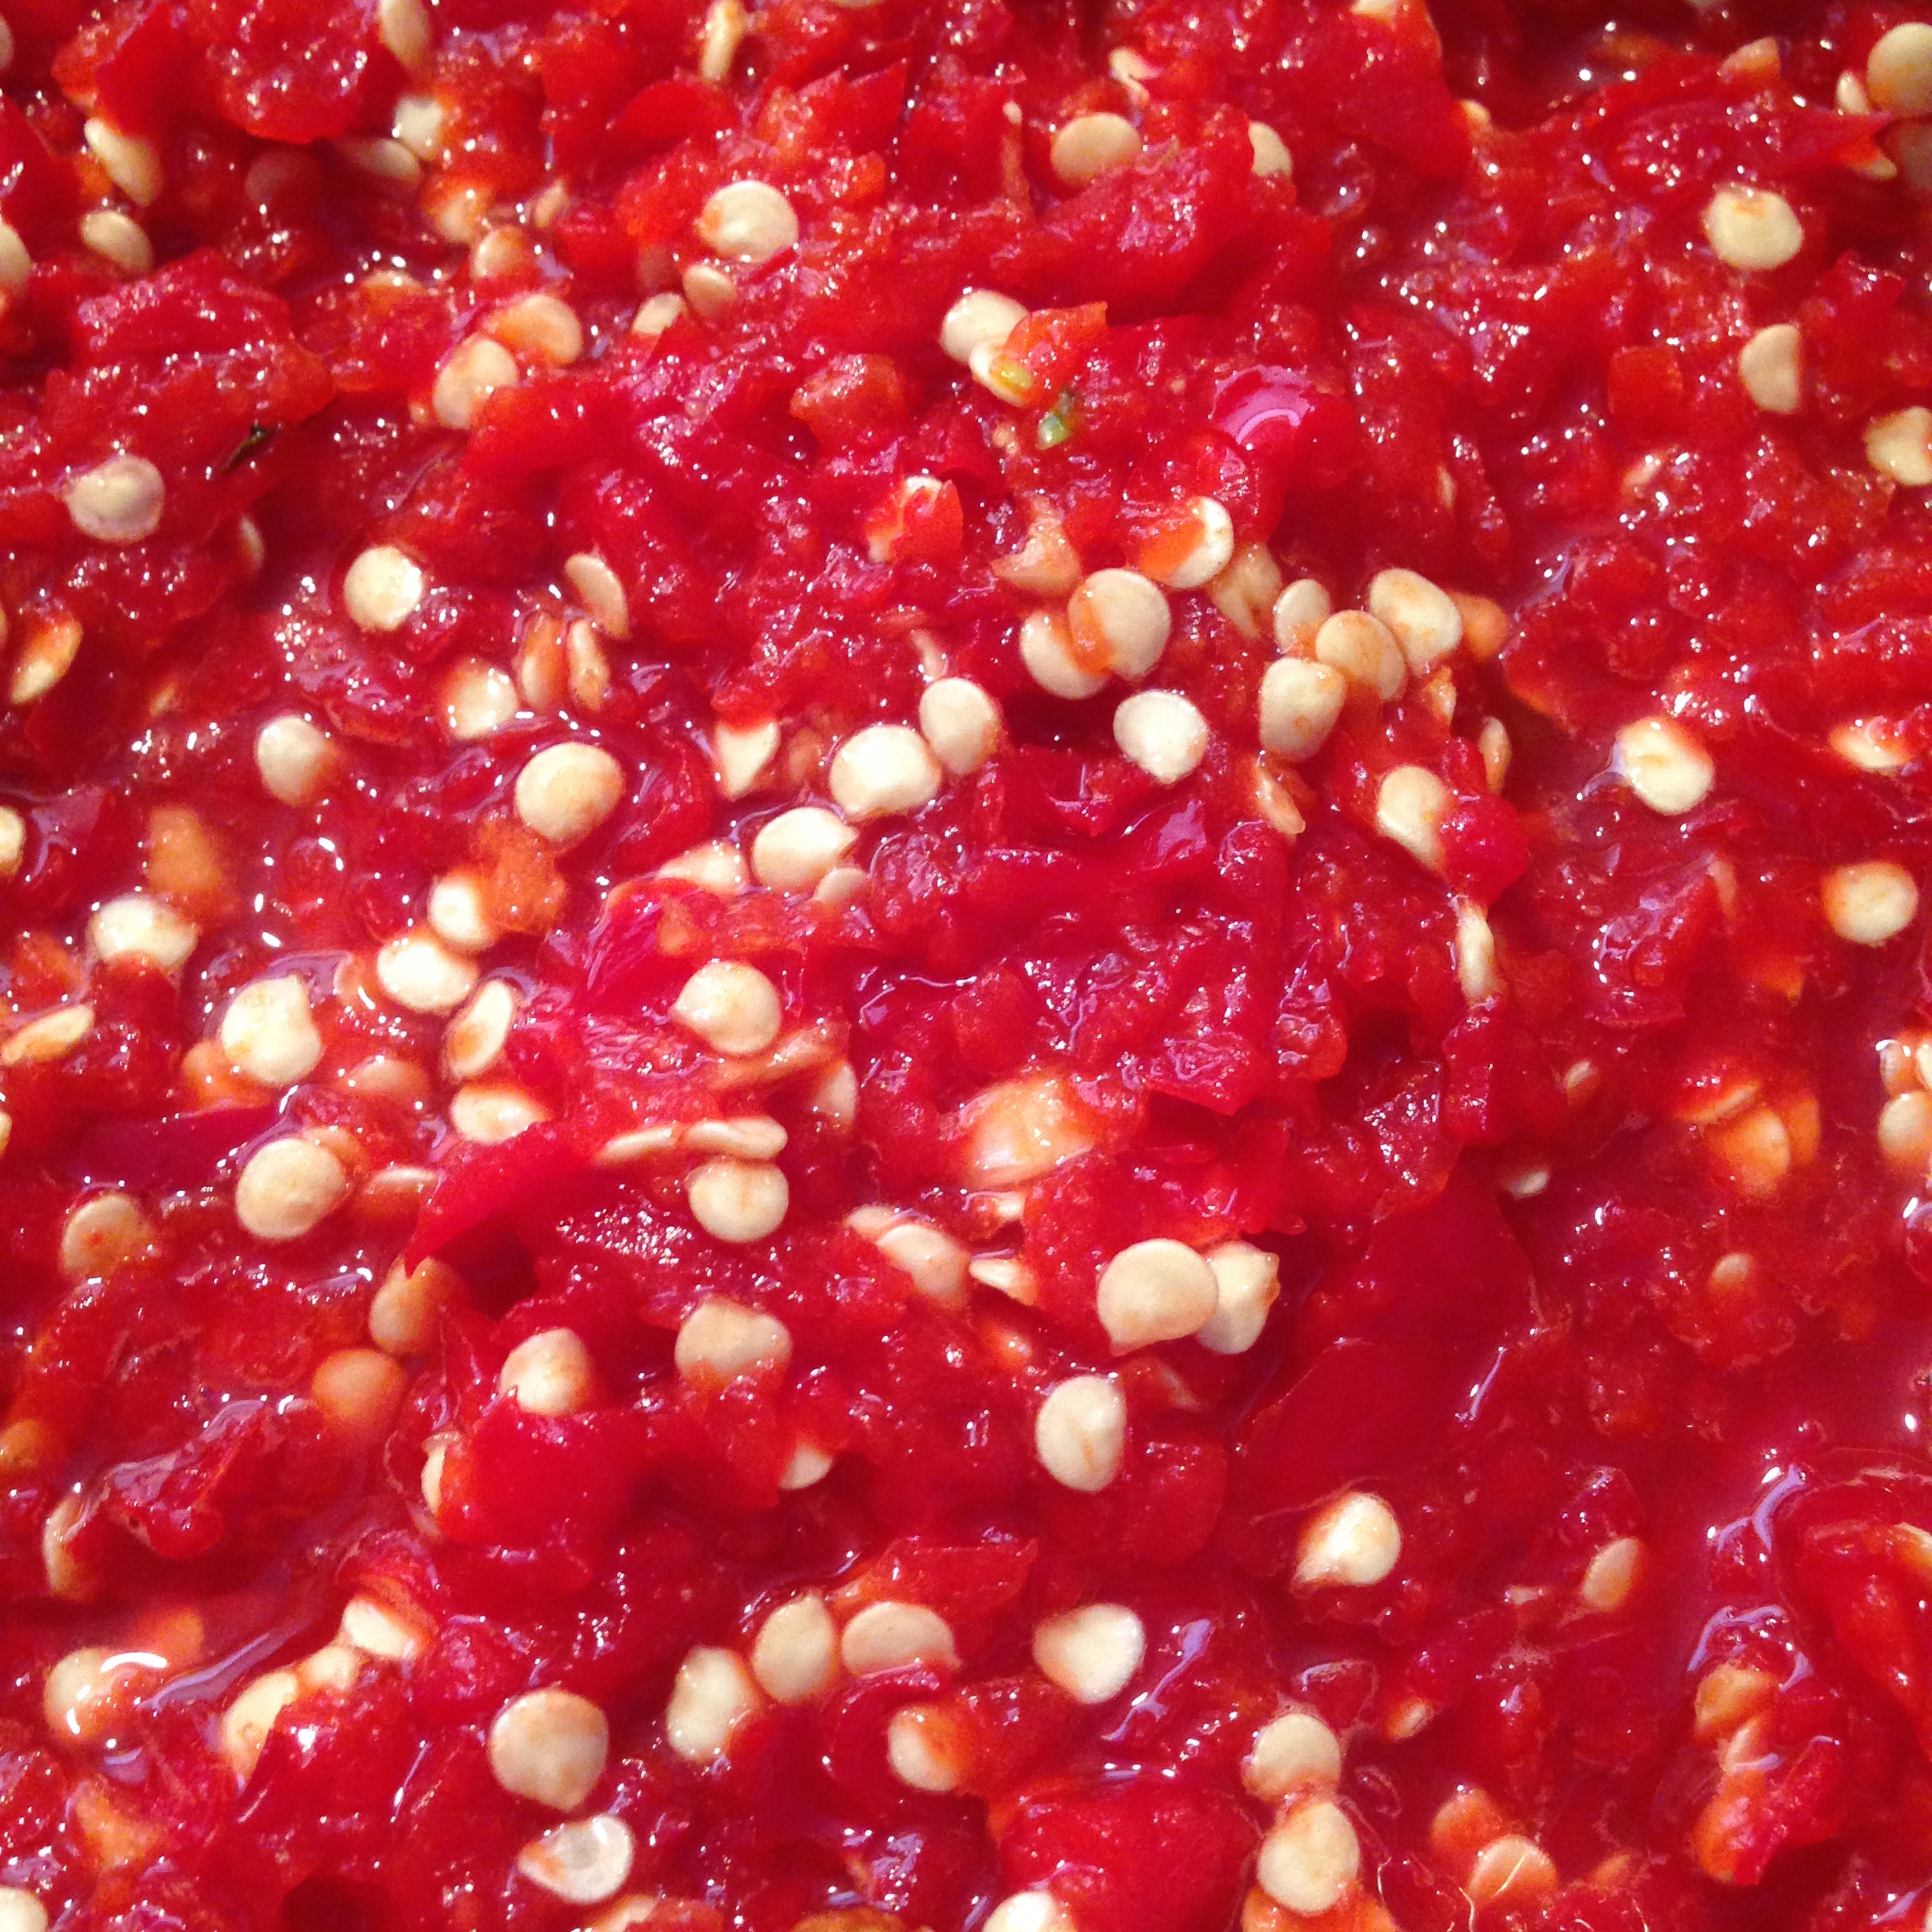
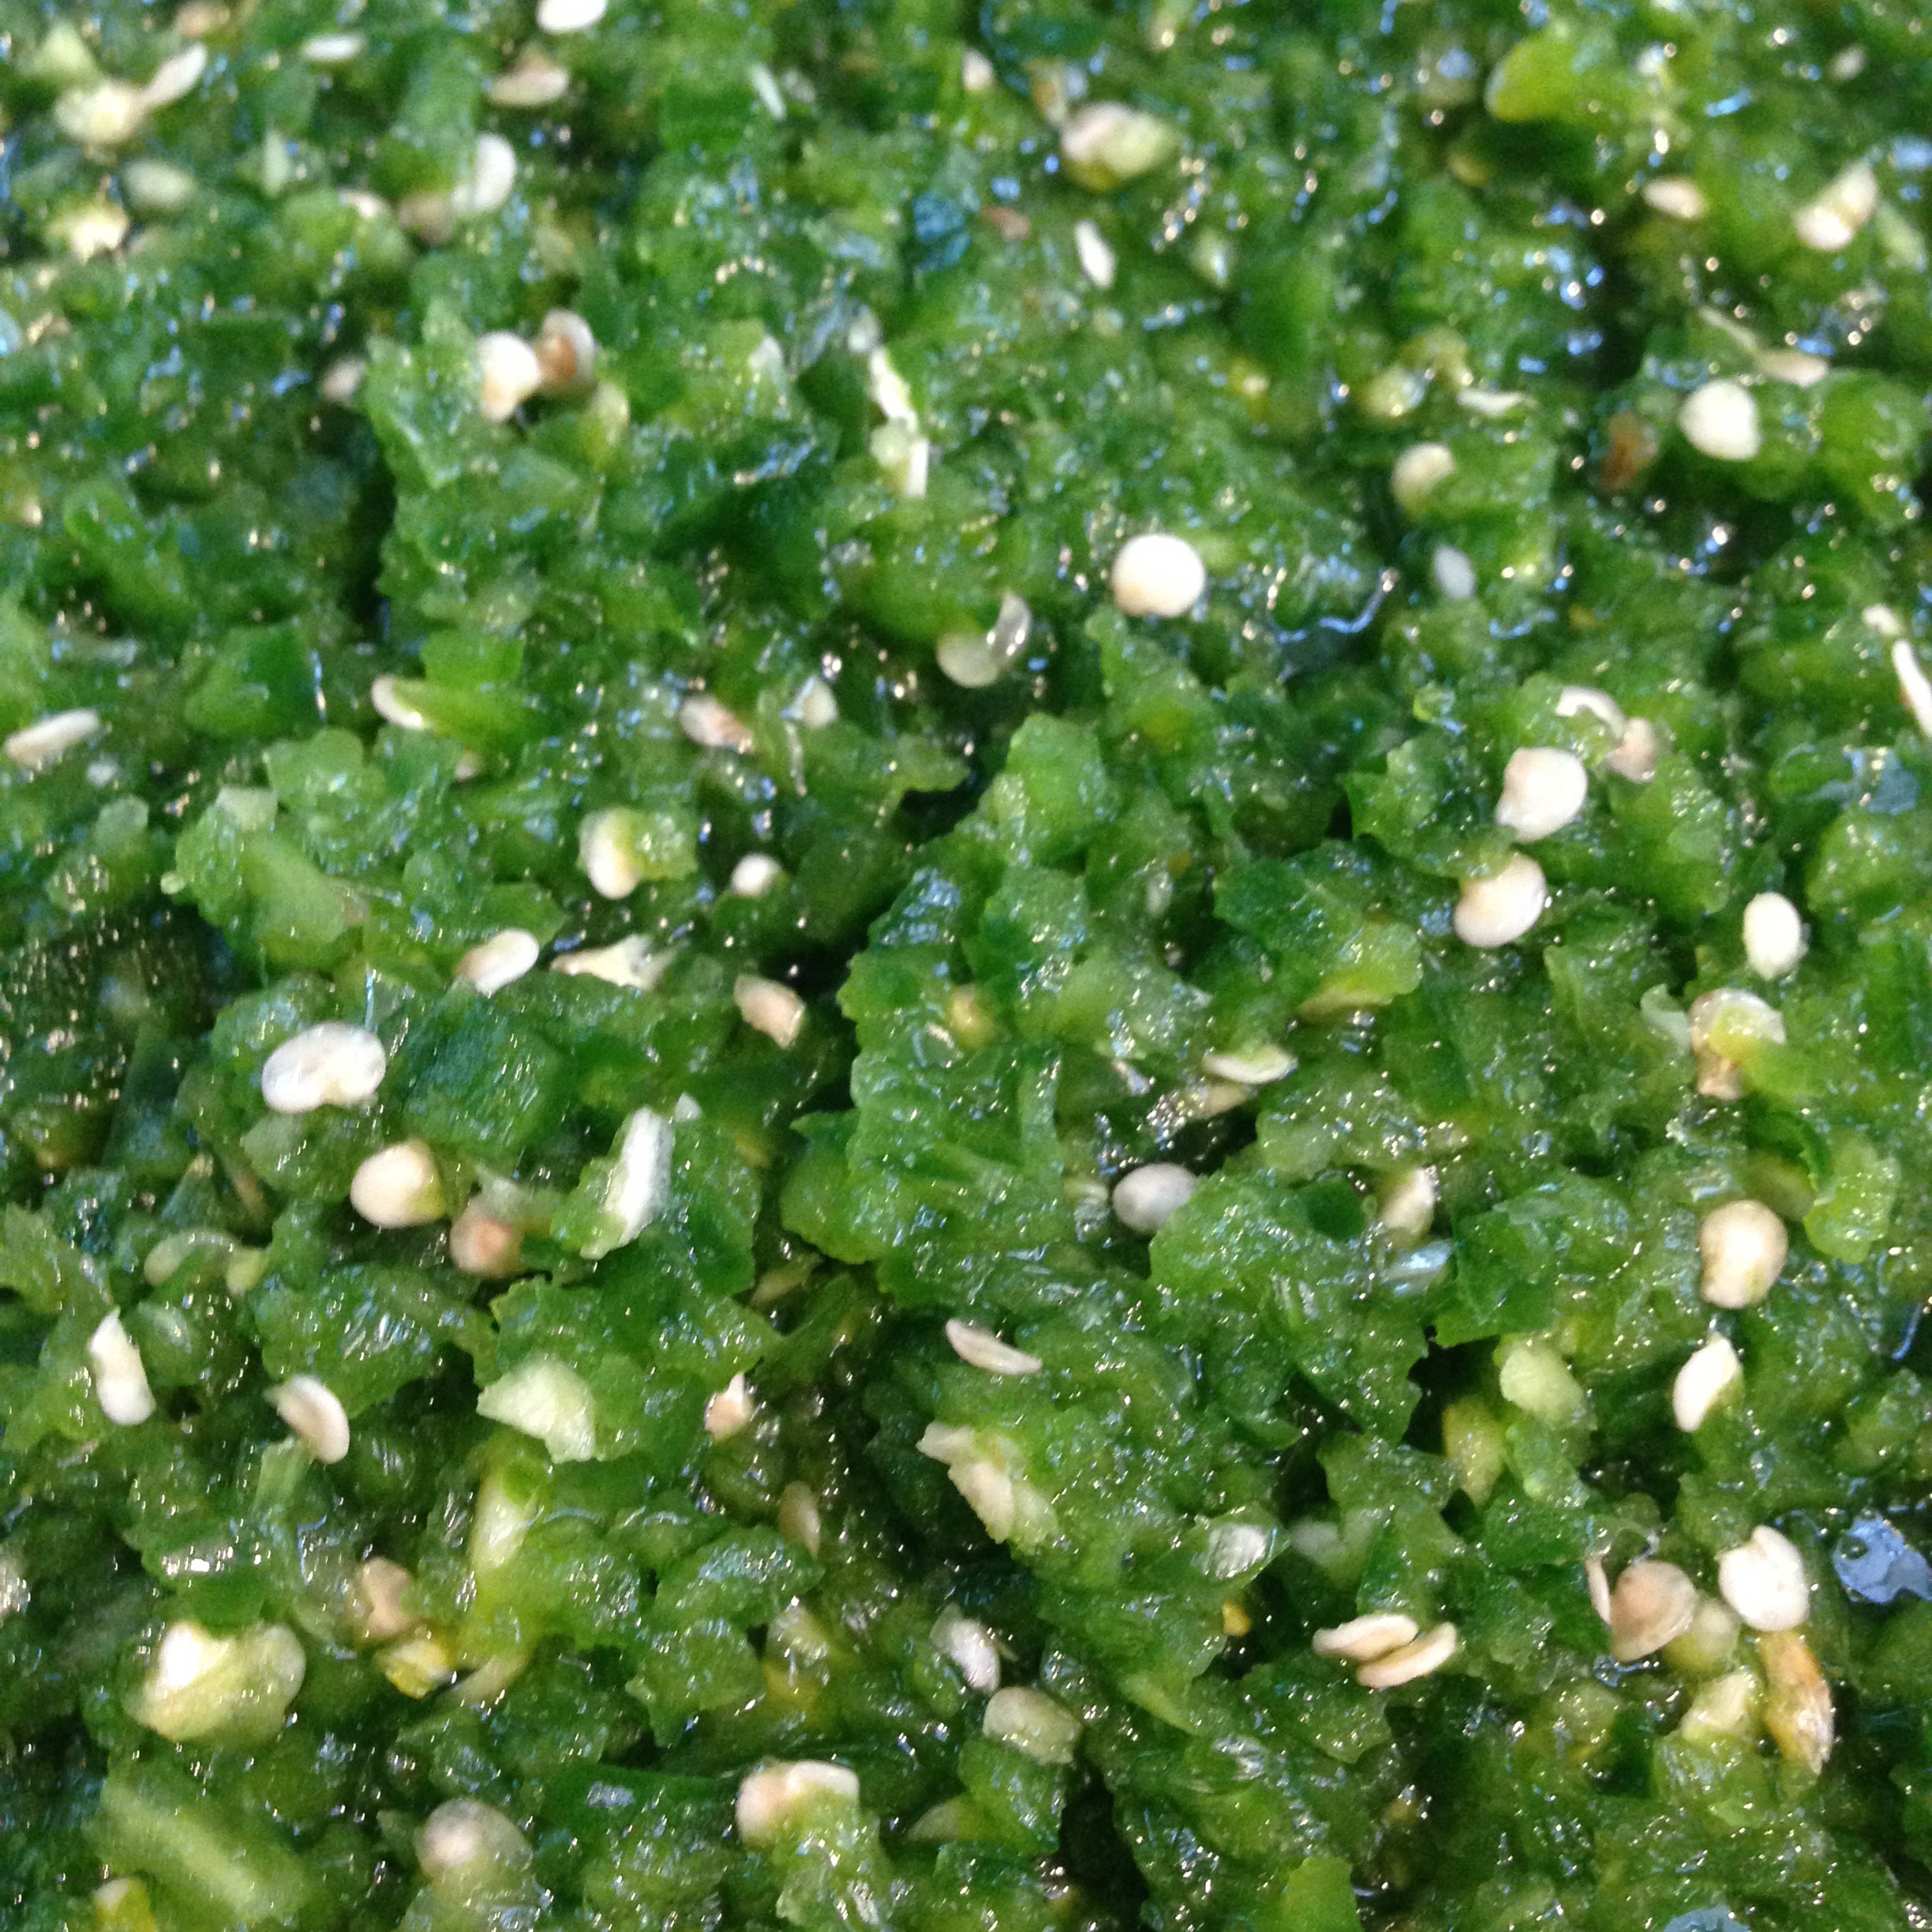
200 g or 6 oz pine needles or fir or spruce or hemlock (Tsuga) branches (a small basketful)

3 L or 12 cups water

Set heat to High if using slow cooker. Bring to just short of a boil if using a stock pot. DO NOT BOIL.

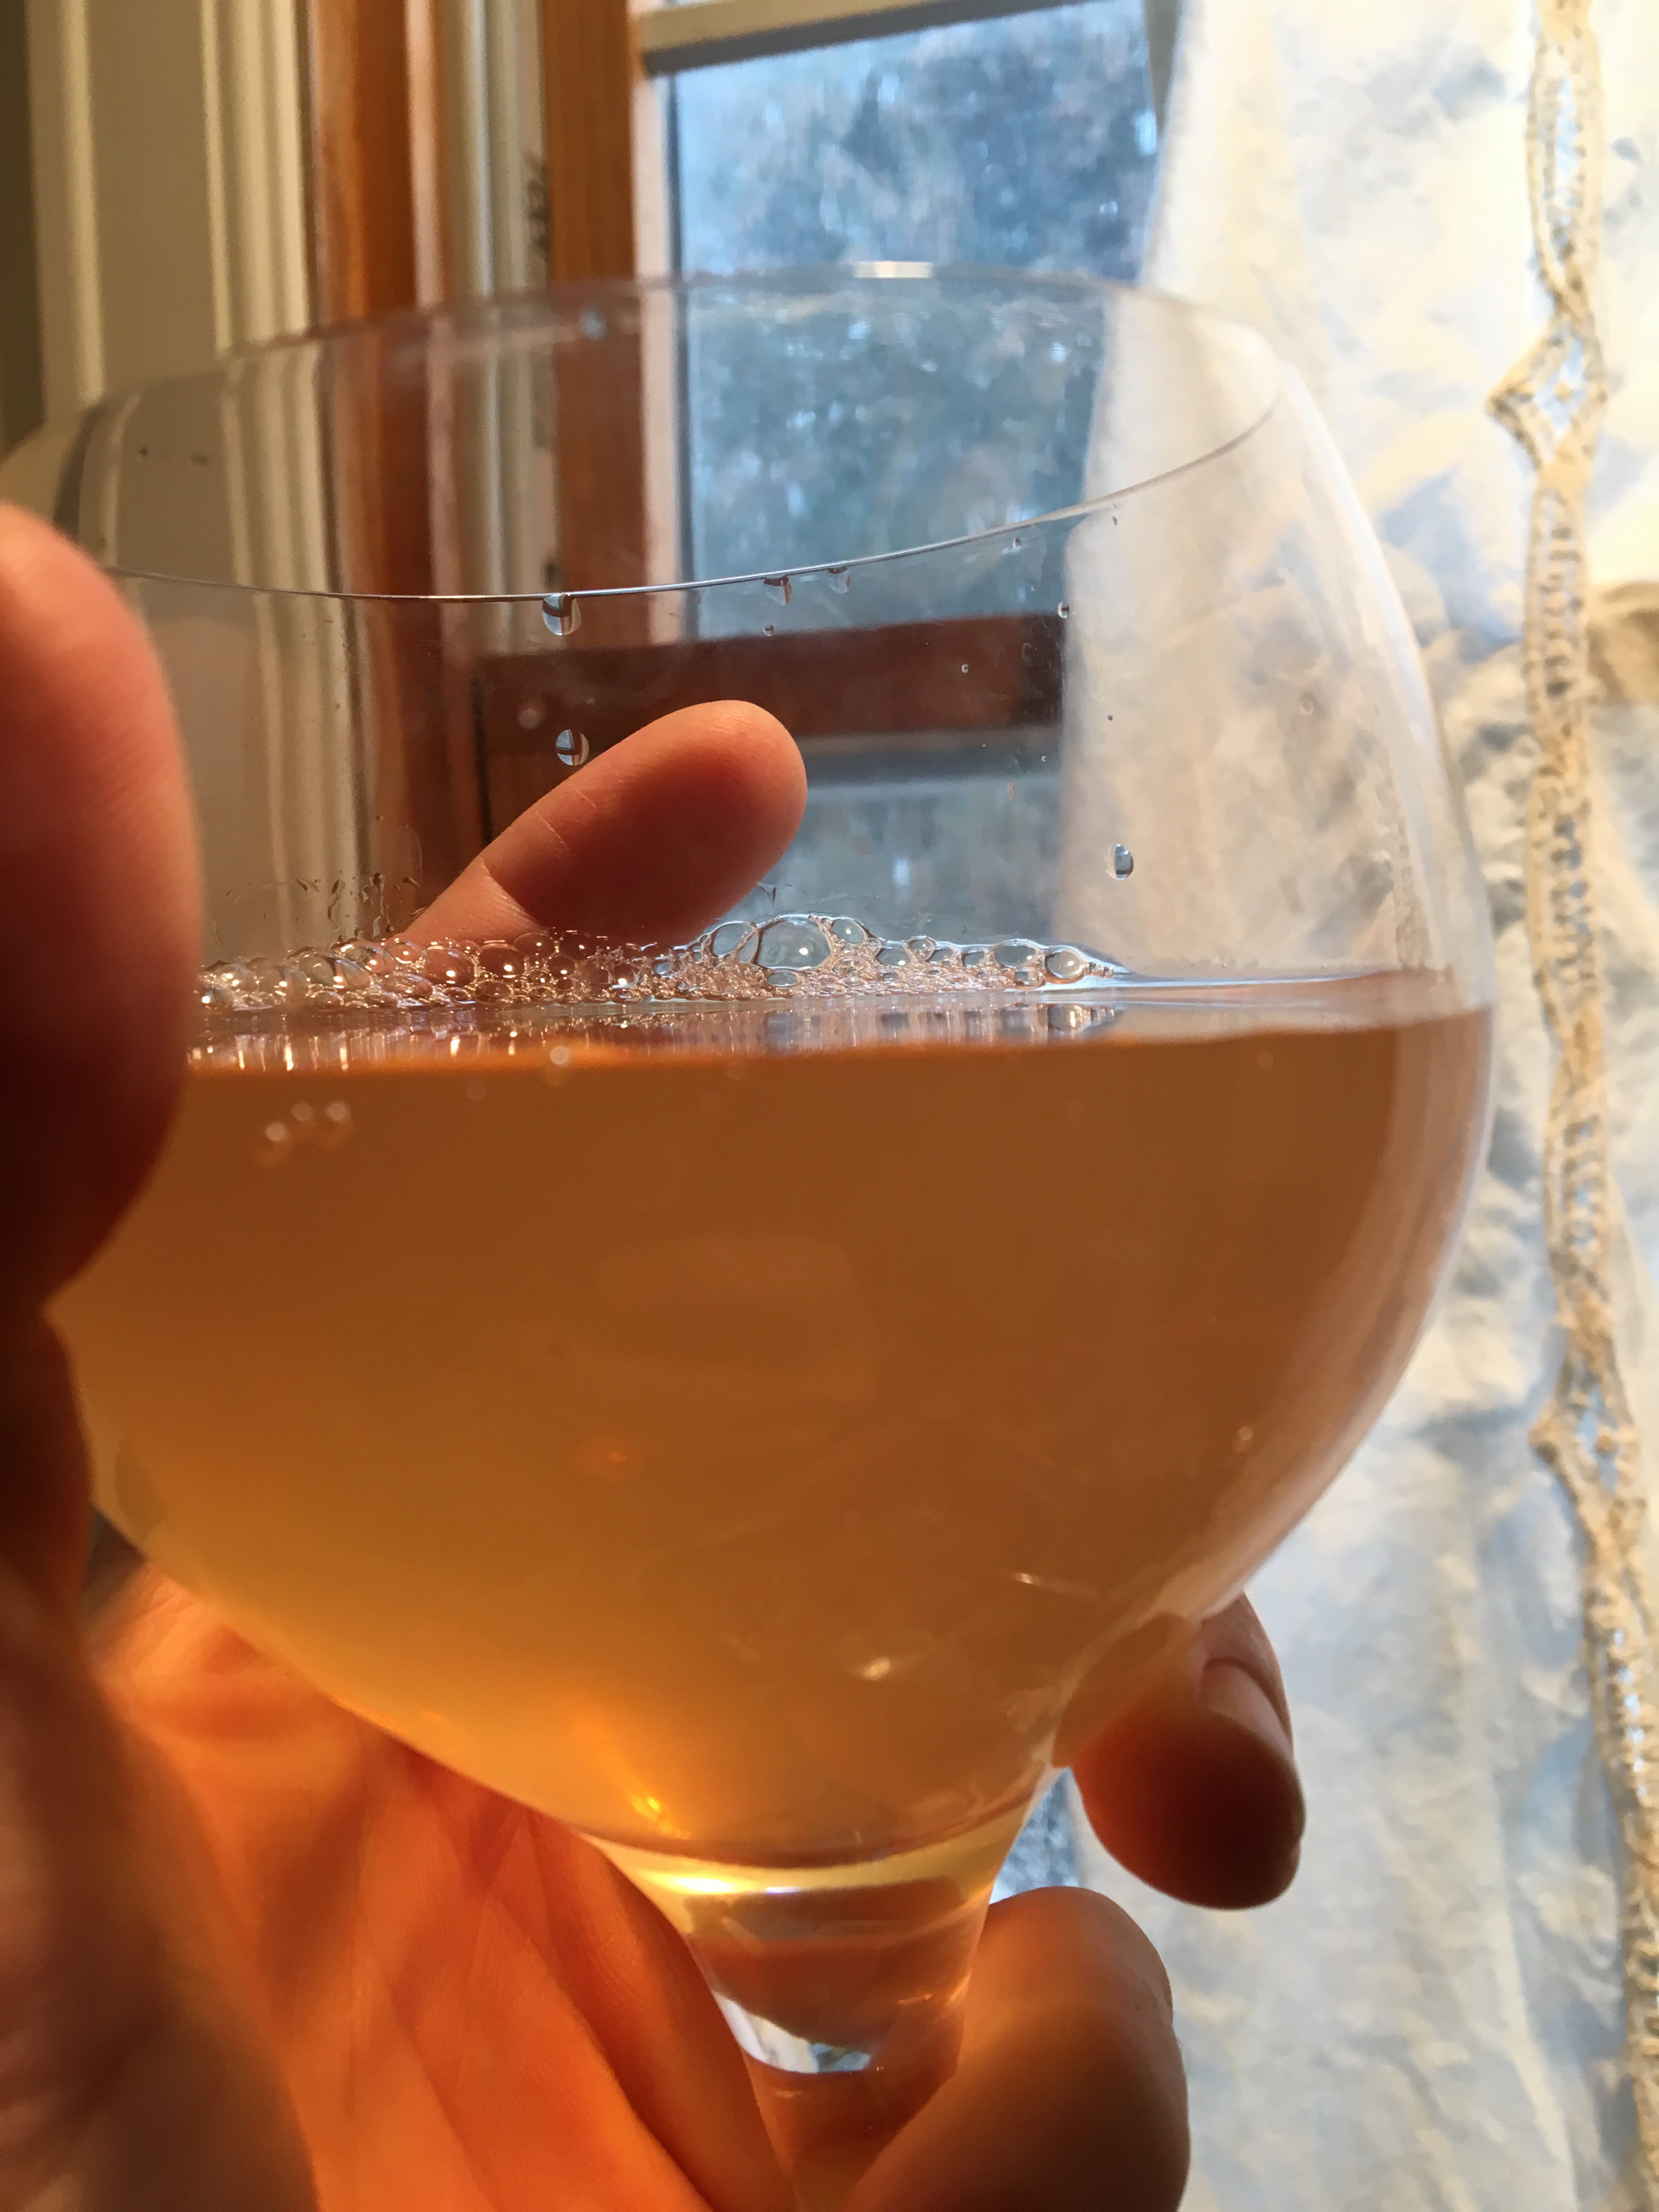
Cover and maintain over as high a heat as possible without boiling for 4-8 hours in a slow cooker, 1-2 hours on stovetop. Shut off the slow cooker or remove the pot from the heat and allow the needles to rest in the tea for several hours or overnight. Strain the tea through a cheesecloth.

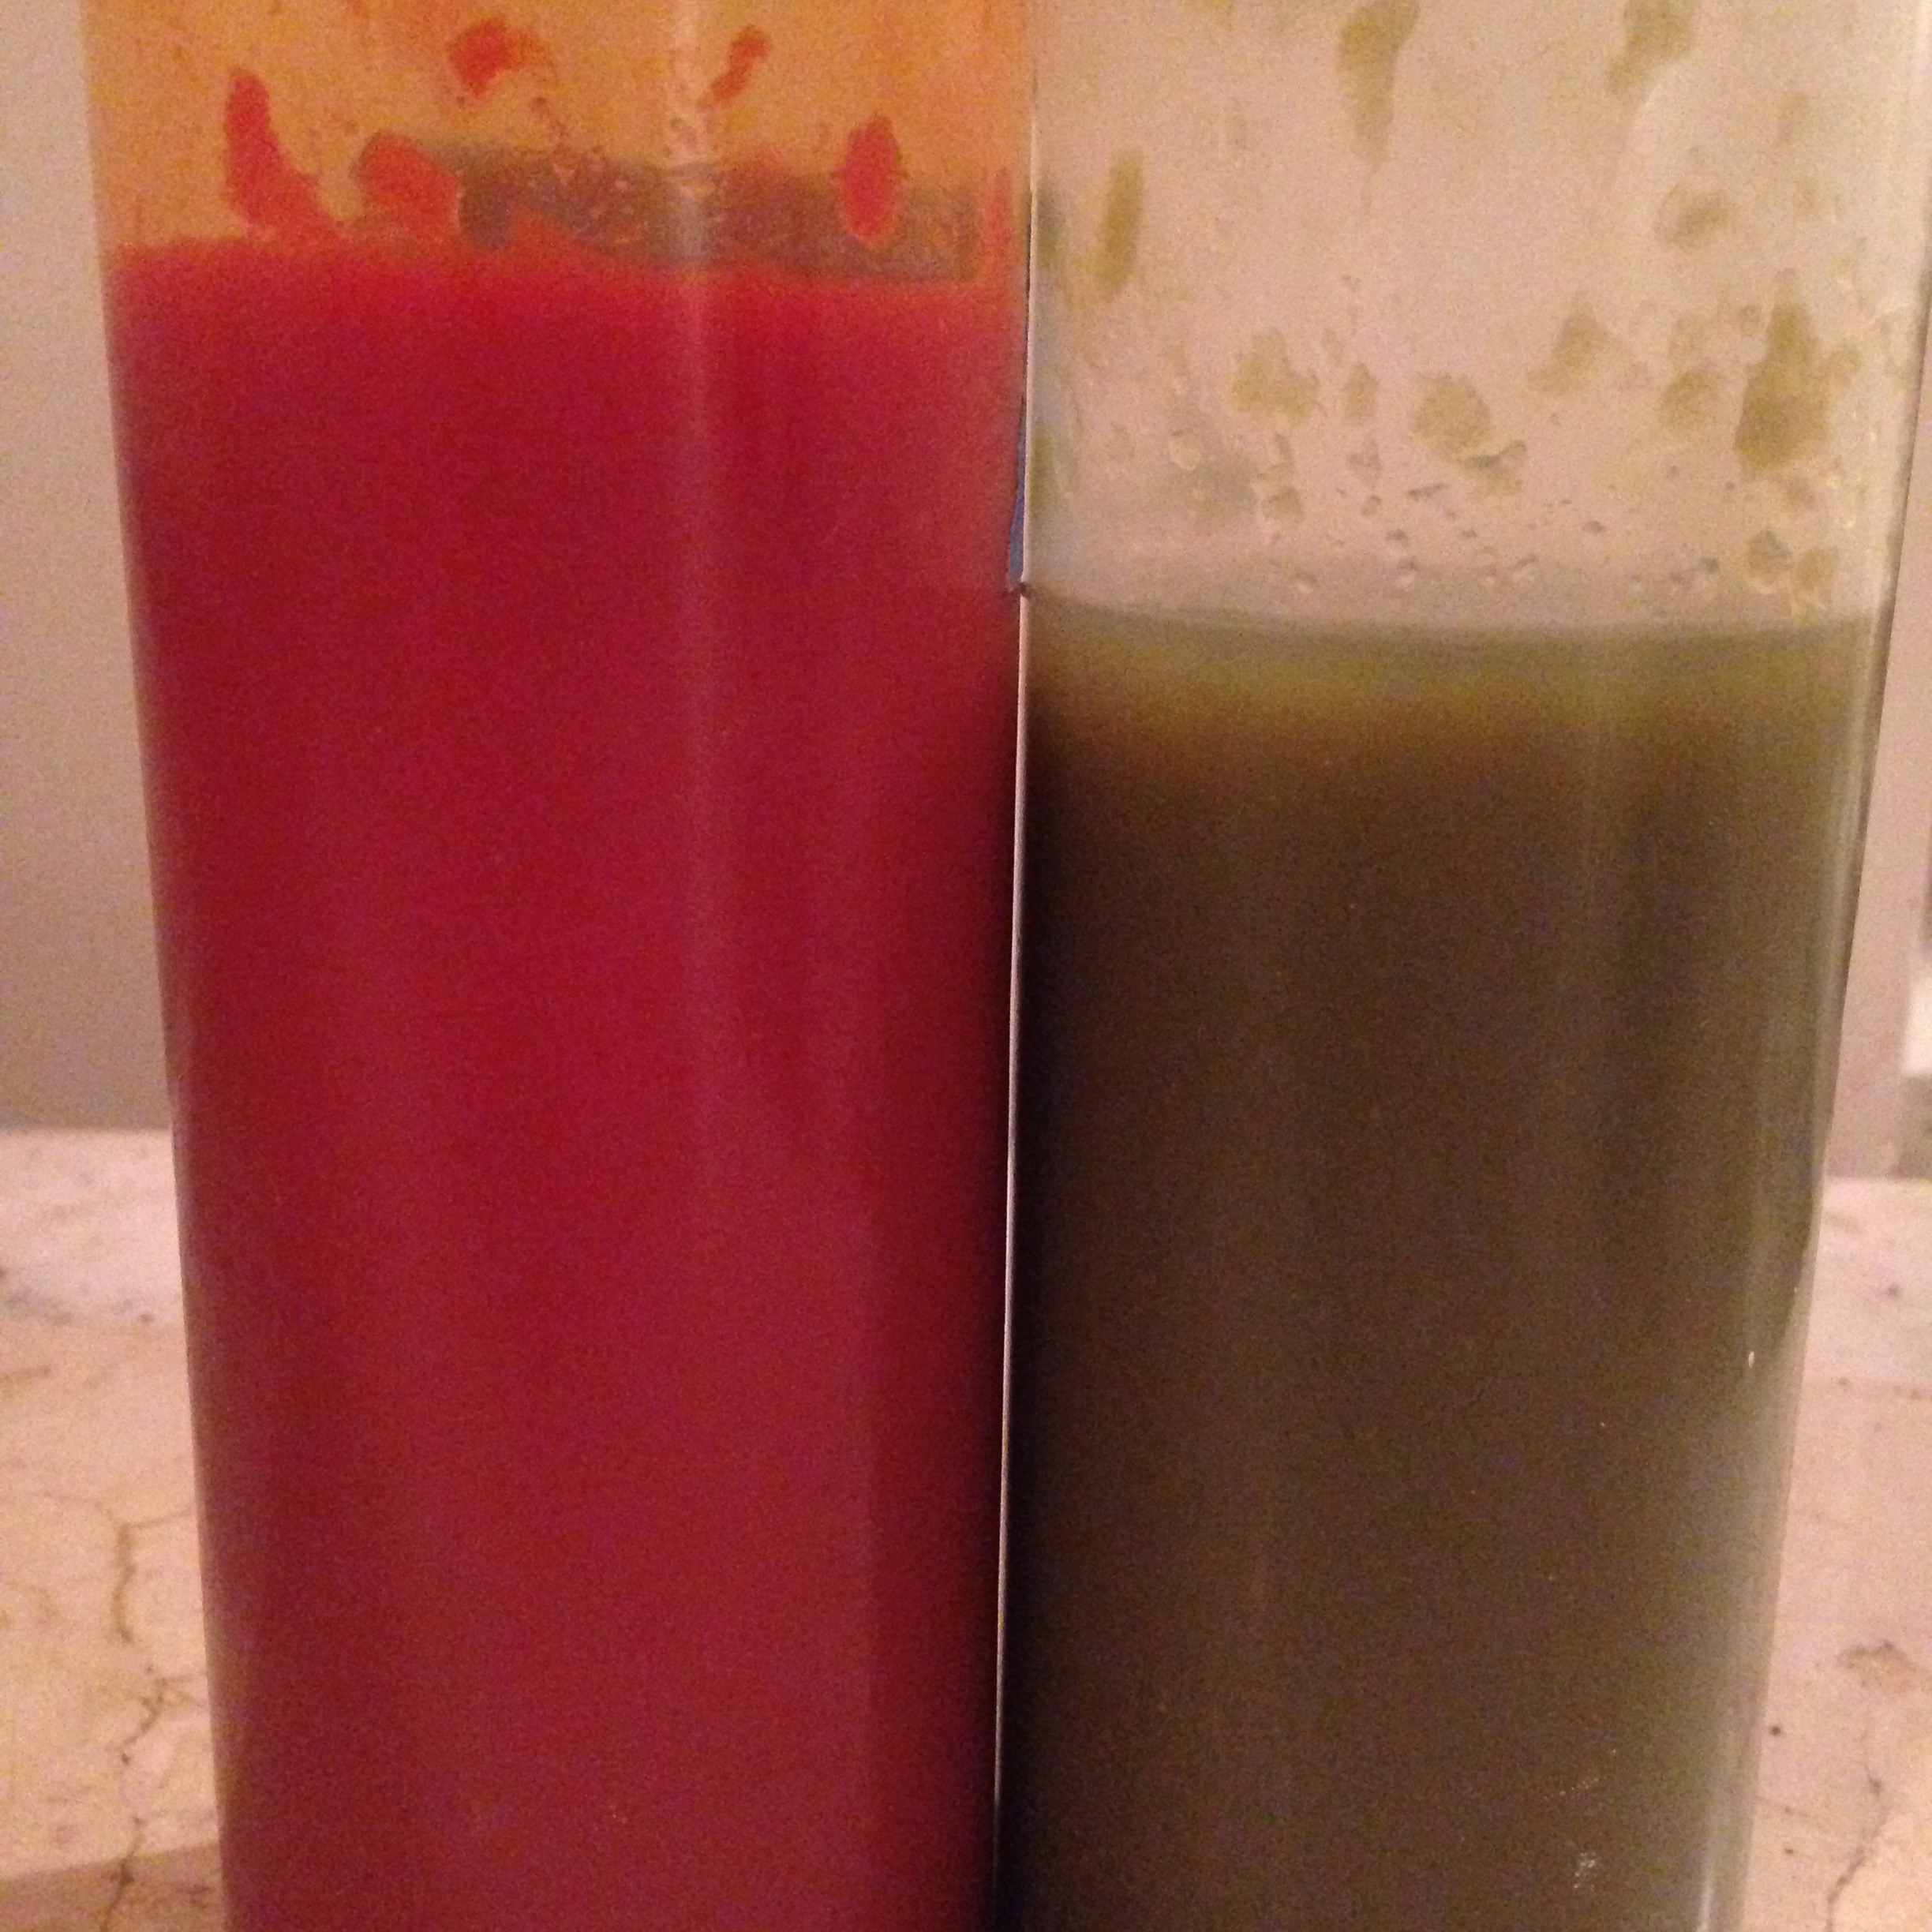
You may notice that if the mixture has rested overnight there is some small level of fermentation activity. This is ideal if adding the mixture to a kombucha secondary ferment, using as a pickling medium, or turning it into wine. Simply refrigerate the tea in order to keep fermentation from proceeding any further.

To make a pickling brine from this tea, simply add salt in a ratio of 50 g / Liter of finished tea, bring the mixture to a low heat and stir the salt until dissolved. To make a syrup, do the same but using a ratio of either 1:1 or 1/2:1 sugar to tea.

Fermented Sriracha (Tuong Ot Sriracha)

IMG_9620_2

Making a homemade version of the popular sriracha hot sauce couldn’t be any easier : a simple fermented version can be made that is far more flavorful than any commercially available one. You could also make this sauce fresh, simply omitting the fermentation stage, but I think you will find that the extra time really adds a strong depth of flavor not present in the fresh version. For such a simple preparation, this sauce has a zesty, complex taste that far outstrips the somewhat one-note heat of Huy Fong and other store-bought brands.

I like to make two versions of this sauce : one red, one green. They have quite different characteristics from each other, the red one possessing a much deeper, more complex heat and the green one a sharp, fresh heat. Neither is really superior to the other, and both are worth trying. I use the green one more often with salads and raw preparations, the red in soups and hot noodle dishes. Both are outstanding in cold noodle bowls, with the green getting the nod if I am using a lot of raw vegetables and herbs and the red if the majority of accompaniments are pickled or preserved. Fish? Green. Pork? Red. Tofu dishes? Both harmonize quite capably.

IMG_9613_2

First, you will need to choose appropriate chiles. I would avoid extremely fire-y chiles like Thai bird or habanero chiles, as they tend to be somewhat overpowering in a sriracha. Remember, this sauce is almost entirely chiles with only a smattering of other seasonings. What is wanted here is a deep, resonant, complex heat, not a pain-inducing power sauce. For a green sauce, jalapenos are completely appropriate. With red, look for either fresno chiles (sometimes erroneously called red jalapenos) or hot red cherry peppers. Cherries are my favorite, they have a perfect balance of hot and sweet that shines in both this sauce and the related chile-garlic sauce known as tuong ot toi. In fact, I have grown these chiles in the past couple of years explicitly for the purpose of making these particular sauces. You will want to experiment with this recipe, using the chiles you can grow or buy locally and that suit your particular taste. My only word of advice would be to avoid being overly macho the first time you make this. Use jalapenos or medium-heat red chiles and see how you like it before stepping up the heat.

Roughly chop :

1 lb medium-hot chiles, green or red (but NOT a mix of the two), de-stemmed and NOT de-seeded

.5 oz crushed, peeled garlic (a few cloves)

Combine in a food processor with :

1 1/2 tsp kosher salt

1.5 oz palm sugar (regular white sugar can be substituted but the taste is inferior as well as less authentic)

Pulse until well-chopped but not liquified.

Place into a glass or plastic container, cover with a towel and allow to sit at room temperature for several days.

When the sauce begins to take on a fermented smell and begins to bubble ever so slightly (you may find this is easier to SMELL and HEAR than SEE), usually about 3 or 4 days (less in hot weather, perhaps more in cold), place in a saucepan with :

1/3 cup vinegar (I use Korean brewing vinegar for this, but white vinegar is also good. Seasoned rice vinegar and apple cider vinegar CAN be used but they impart more sweetness to the finished product.)

Bring to a low simmer and cook for five minutes or so.

Puree in a blender or food processor. If the mixture seems to thick add a spoonful or two of water, but be conservative.

Strain through a wire mesh sieve into a squeeze bottle or jar.

Use with, on and in everything.

IMG_0407_2

N.B. : You may find that you have quite a lot of seeds and pulp that will not fit through the strainer. I strongly encourage you to make a fermented salsa or sambal from this remainder, you will not find that it lacks heat or flavor.