Coriander Glazed Carrots

IMG_8663

Take :

8 oz. carrots, sliced into 1/4″-1/2″ rounds (I like to bias cut mine to make them longer, like above)

Add to saucepan of boiling, salted water.

Boil for 3-4 minutes, then drain immediately.

Heat in a wok or sautêe pan over medium-high heat:

2 tbs neutral oil such as sunflower or vegetable

When the oil is quite hot, add :

1 tbs of coriander root paste (see below)

Stir-fry for one minute, then quickly add the boiled carrots.

Stir-fry or toss vigorously for one minute.

Add :

2 tbs sherry or cooking wine

1/2 tsp of sugar

Stir or toss vigorously for one minute or until the alcohol evaporates

Add :

1/2 tsp of freshly toasted and crushed coriander

salt and freshly ground black pepper to taste

Cut the heat and serve immediately or cover and keep warm, garnish with abundant cilantro / fresh coriander. This is best hot, but also good at room temperature.

IMG_8656

Coriander Root Paste :

Combine in a mortar and pestle :

1/2 oz finely chopped coriander roots (roots of one bunch)

few pinches kosher salt

few grinds of black pepper

2 cloves of garlic

Mash to desired consistency. To get a more paste-like consistency, you can add more salt. This should make about two tablespoons. It can be kept for a great while if salt or oil are added. You could of course also make this in a small food chopper / processor.

This is a simple and versatile dish that could accompany many different types of cuisine. It is most definitely for lovers of coriander though! The roots add a sophistication to the flavor that there is no substitute for.

This recipe accounts for about 2 servings as a side dish, but can be easily multiplied.

Key : The key to this recipe is to have everything prepared and move swiftly during the stir-fry stage.

Tomato Sauce with Onion (with apologies to Marcella Hazan)

IMG_8556This is one of the easiest and tastiest tomato sauces you can make. It can be made with fresh tomatoes, but I usually make it in the winter months using high-quality canned tomatoes. This recipe is entirely based on long and slowly evolving use of Marcella Hazan’s “Tomato Sauce with Butter and Onion” (see notes at end of recipe).

Gather your tomatoes. If you use fresh tomatoes, use about 2 lbs of a sauce-type tomato and remove the peels by whatever fashion you normally would. If you use canned tomatoes, use 2 cups or so (a regular large 35 oz can) and strain the fruits from the juice. Squeeze or cut each of the tomatoes and push out the juice inside them as well.

ALTERNATIVELY, whether you go fresh or canned, you can pass the tomatoes through the food mill before cooking. I find that the flavor is superior if the fruits are cooked a bit seperately, and while still mostly whole. It can always be pureed later.

In a small saucepan over medium heat, place a small knob of butter (2 tbs or perhaps a bit more) and a splash of olive oil (1-2 tbs). You can put a bit less or a bit more, but if you don’t use at least 3 tbs or so the sauce won’t be as rich. You may of course replace the butter with a substitute or simply use more oil. I have prepared this recipe just with oil. It is good, but not quite the same. A butter substitute appropriate to your diet would be a better replacement to create the proper creaminess.

Add a half an onion or a small whole onion sliced in half. Add as in the picture above, in one large piece, not chopped or sliced. Add a few pinches of salt and a few grinds of pepper.

You may also wish to add other things at this point, such as a few whole cloves of garlic or bay leaves other whole herbs or celery leaves or chiles sliced in half. Whatever you add, keep it in a large enough chunk to remove with ease. The idea is to bring the flavors out through slow cooking and permeate the sauce with them.

Immediately add the whole, drained tomatoes (whether fresh or canned, separate the juice). Sautée the whole tomatoes along with the butter, oil, onion and additional flavorings, slowly crushing the tomatoes them with a heavy wooden spoon or spatula, breaking them up and stirring while the mixture comes to heat. Cook the tomatoes and the aromatics together for five minutes or longer.

Add the reserved juice from the tomatoes. If you are using pre-prepared tomatoes, simply omit the sautée step.

Bring the saucepan to a slow simmer, bubbling occasionally. Think a classic Sunday Sauce, only on a much smaller (and quicker) scale. The longer you cook this and the lower the heat, the more flavorful it will be. It benefits from sitting overnight as well, but I can never resist it when freshly made. I usually find it takes about 45 minutes to an hour of simmering before the oil rises to the top and the juices have boiled down to a nice thick sauce. This is not a marinara-type consistency but a thick, chunky tomato sauce. It should be rich and creamy and look almost like a vodka sauce.

If the sauce is to be pureed, it can be served with thin spaghetti and the like, but I prefer to keep it somewhat chunky and put it on a thicker cut of box pasta, like the rigatoni below. It is also excellent (a la Hazan) with potato gnocchi, and many stuffed pastas with ingredients such as squash, pumpkins, mushrooms, nuts and bitter greens. You may add cheese or choose not too–I usually find that the sauce is rich enough and enjoy instead a sprinkle of oregano or marjoram. Likewise, I find that served with cheese stuffed pasta the cheese should be sharp and pungent rather than mellow like ricotta or mozarella, or the result will be bland. It’s also excellent served with stuffed vegetables or as a sauce to zest up a simple vegetable dish or bowl of lentils.

This is an extremely basic slow food recipe, but one that I hope you will find useful as well as endlessly variable.

IMG_8564

Further Recipe Credit / History :

This recipe… or procedure, perhaps–isn’t so much adapted as completely stolen from Marcella Hazan. It appeared first in The Classic Italian Cookbook (1976) where it was appealingly titled “Tomato Sauce III.” By the time her first two books were rebound as Essentials of Classic Italian Cooking, it had become “Tomato Sauce with Onion and Butter.”

I had to look all this up not only to make clear my thievery, but because while I have been making this sauce since the late 90’s I don’t ever really actually look at the recipe. Once I had looked at them both I realized that I’d been making it unlike Marcella for many years. She must have made that same realization when she selected recipes for Essentials, the latter version being much lighter on butter and omitting sugar (!) entirely. Her version is made with fresh tomatoes, too, while for an unknown reason at some point long ago I began to make this sauce exclusively in the cooler months and good canned tomatoes.

If there is a cookbook writer to be recommended any more highly than Marcella Hazan, I can’t think of one. Even if you aren’t particularly drawn to Italian food, her description of cooking technique is unsurpassed. Always explained in the same authoritative, thorough and patient tone. Almost everything I make is an experiment, I rarely prepare the same exact dish twice. Many of my (hah!) canonical dishes are ruthlessly tweaked from Marcella’s master tapes.

Winter Root Vegetable Stew with Paprika and Mustard

IMG_8547

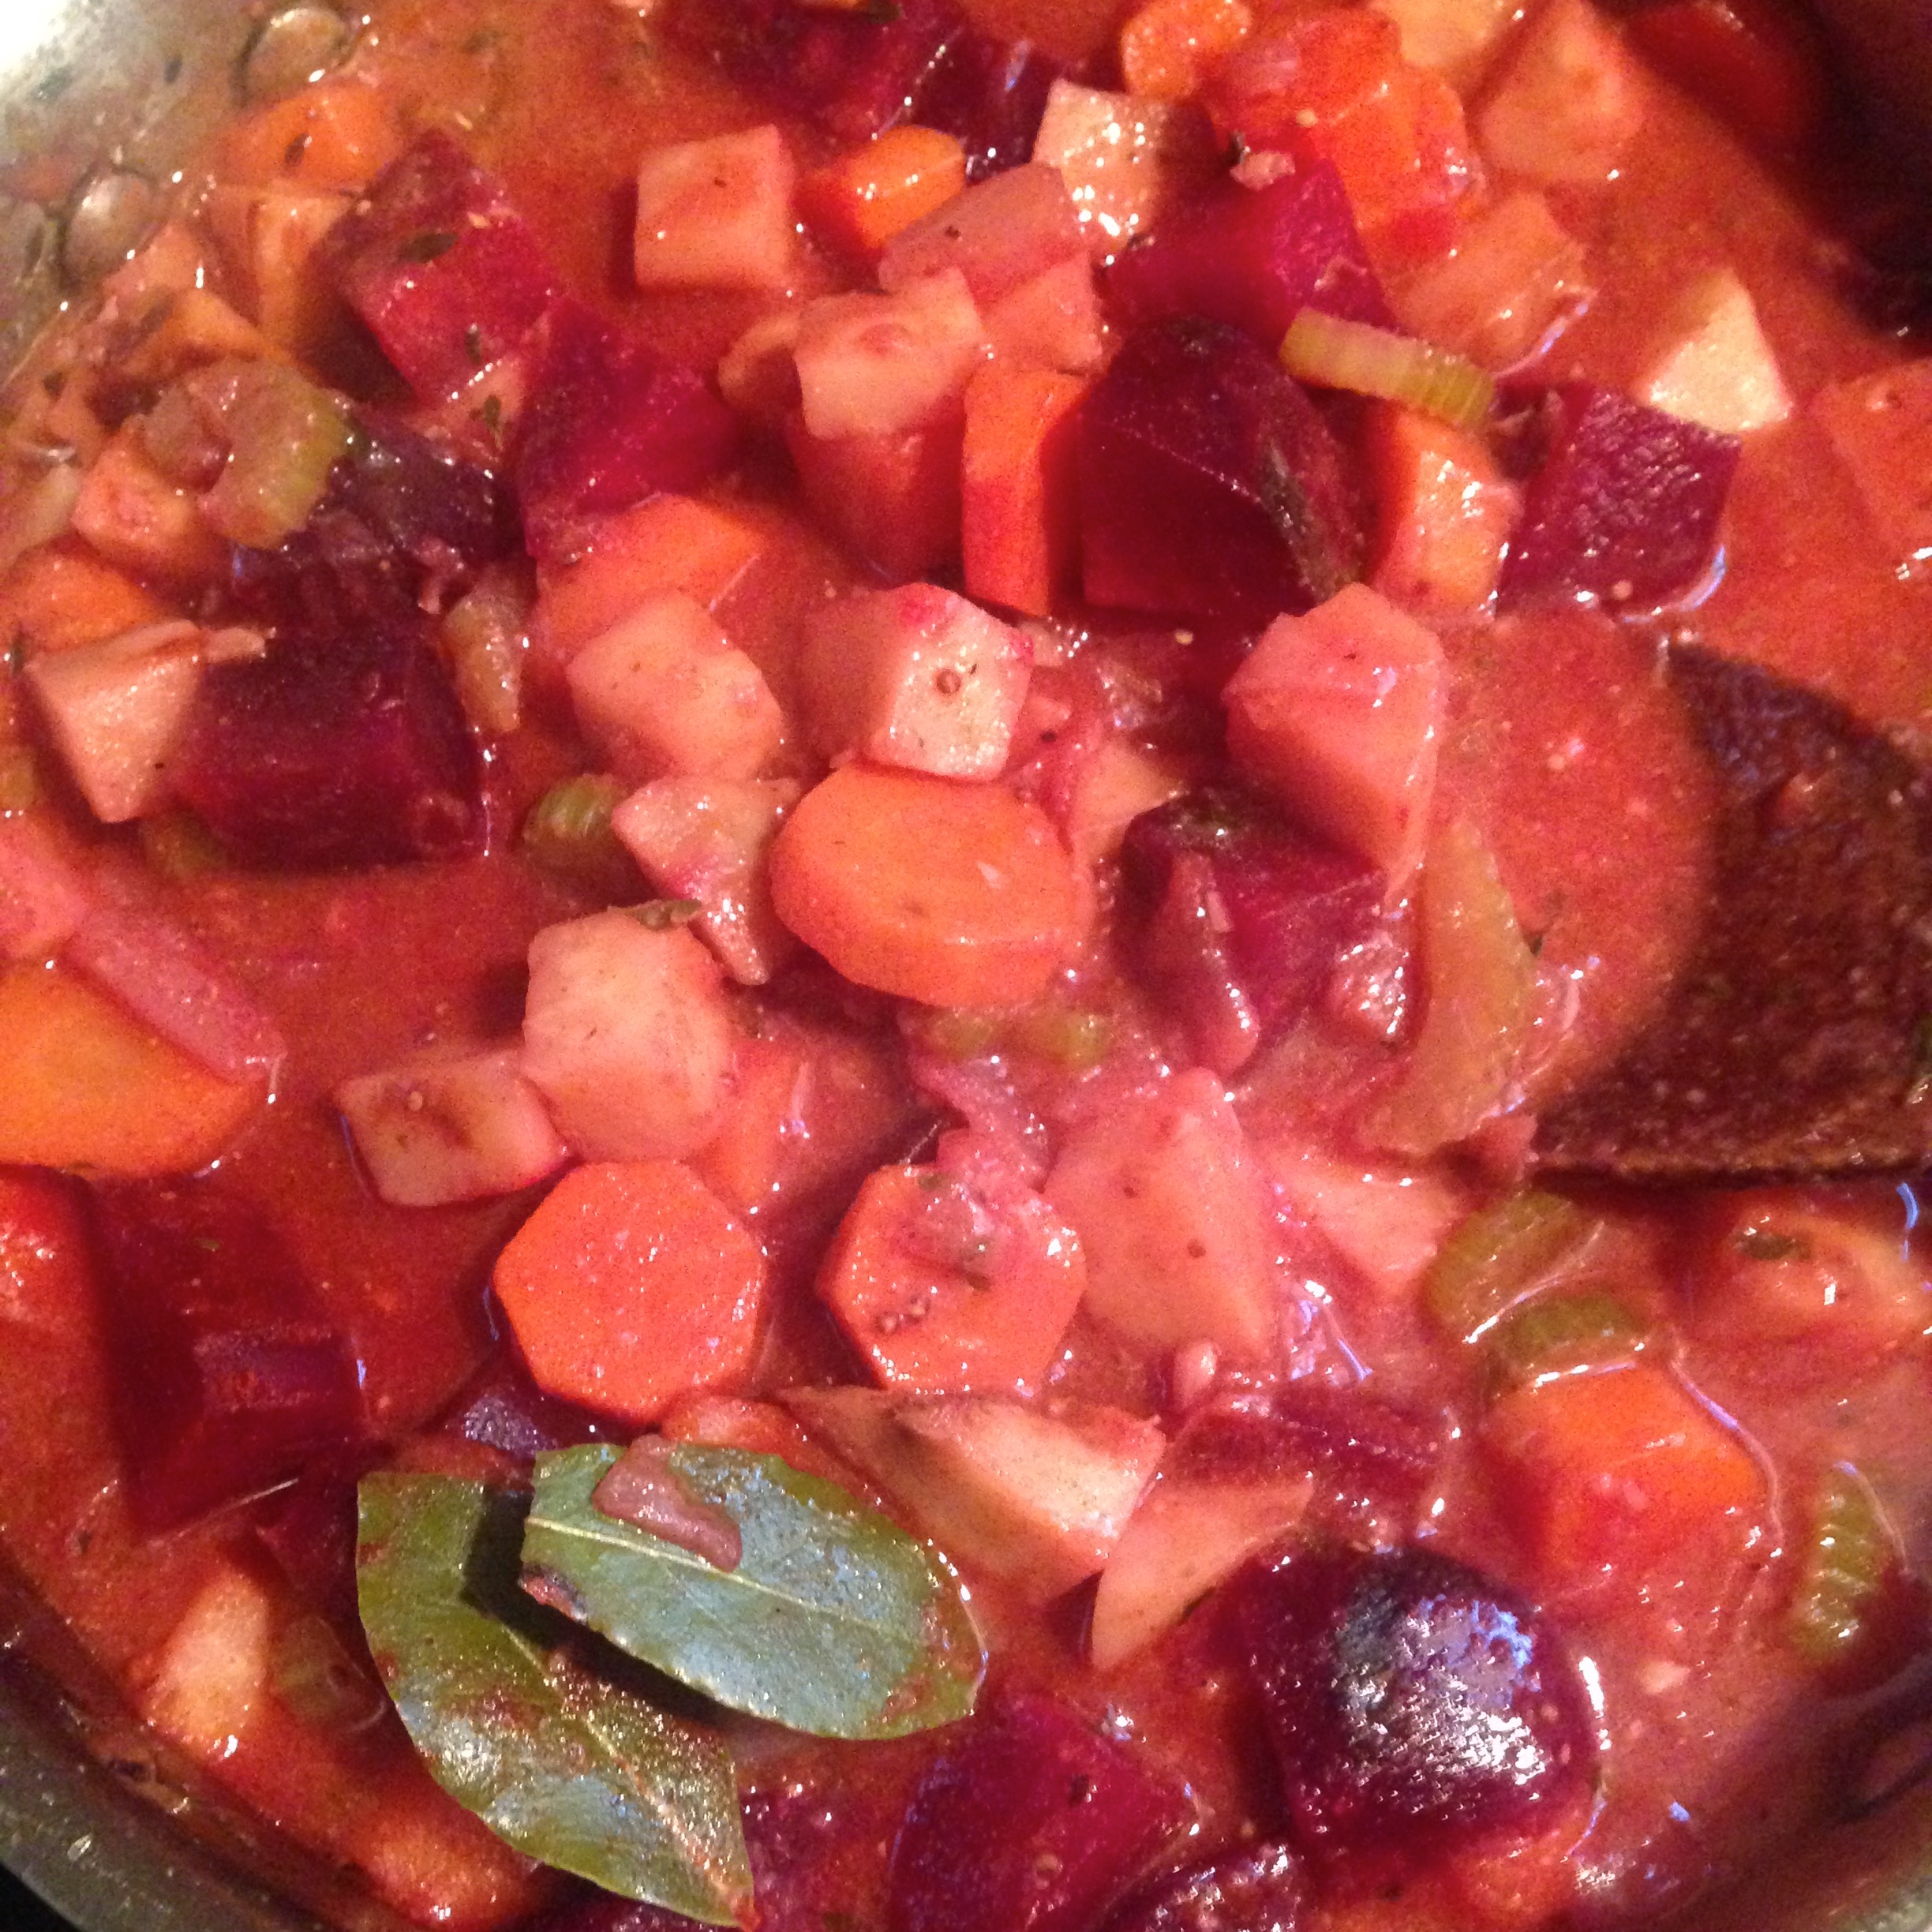
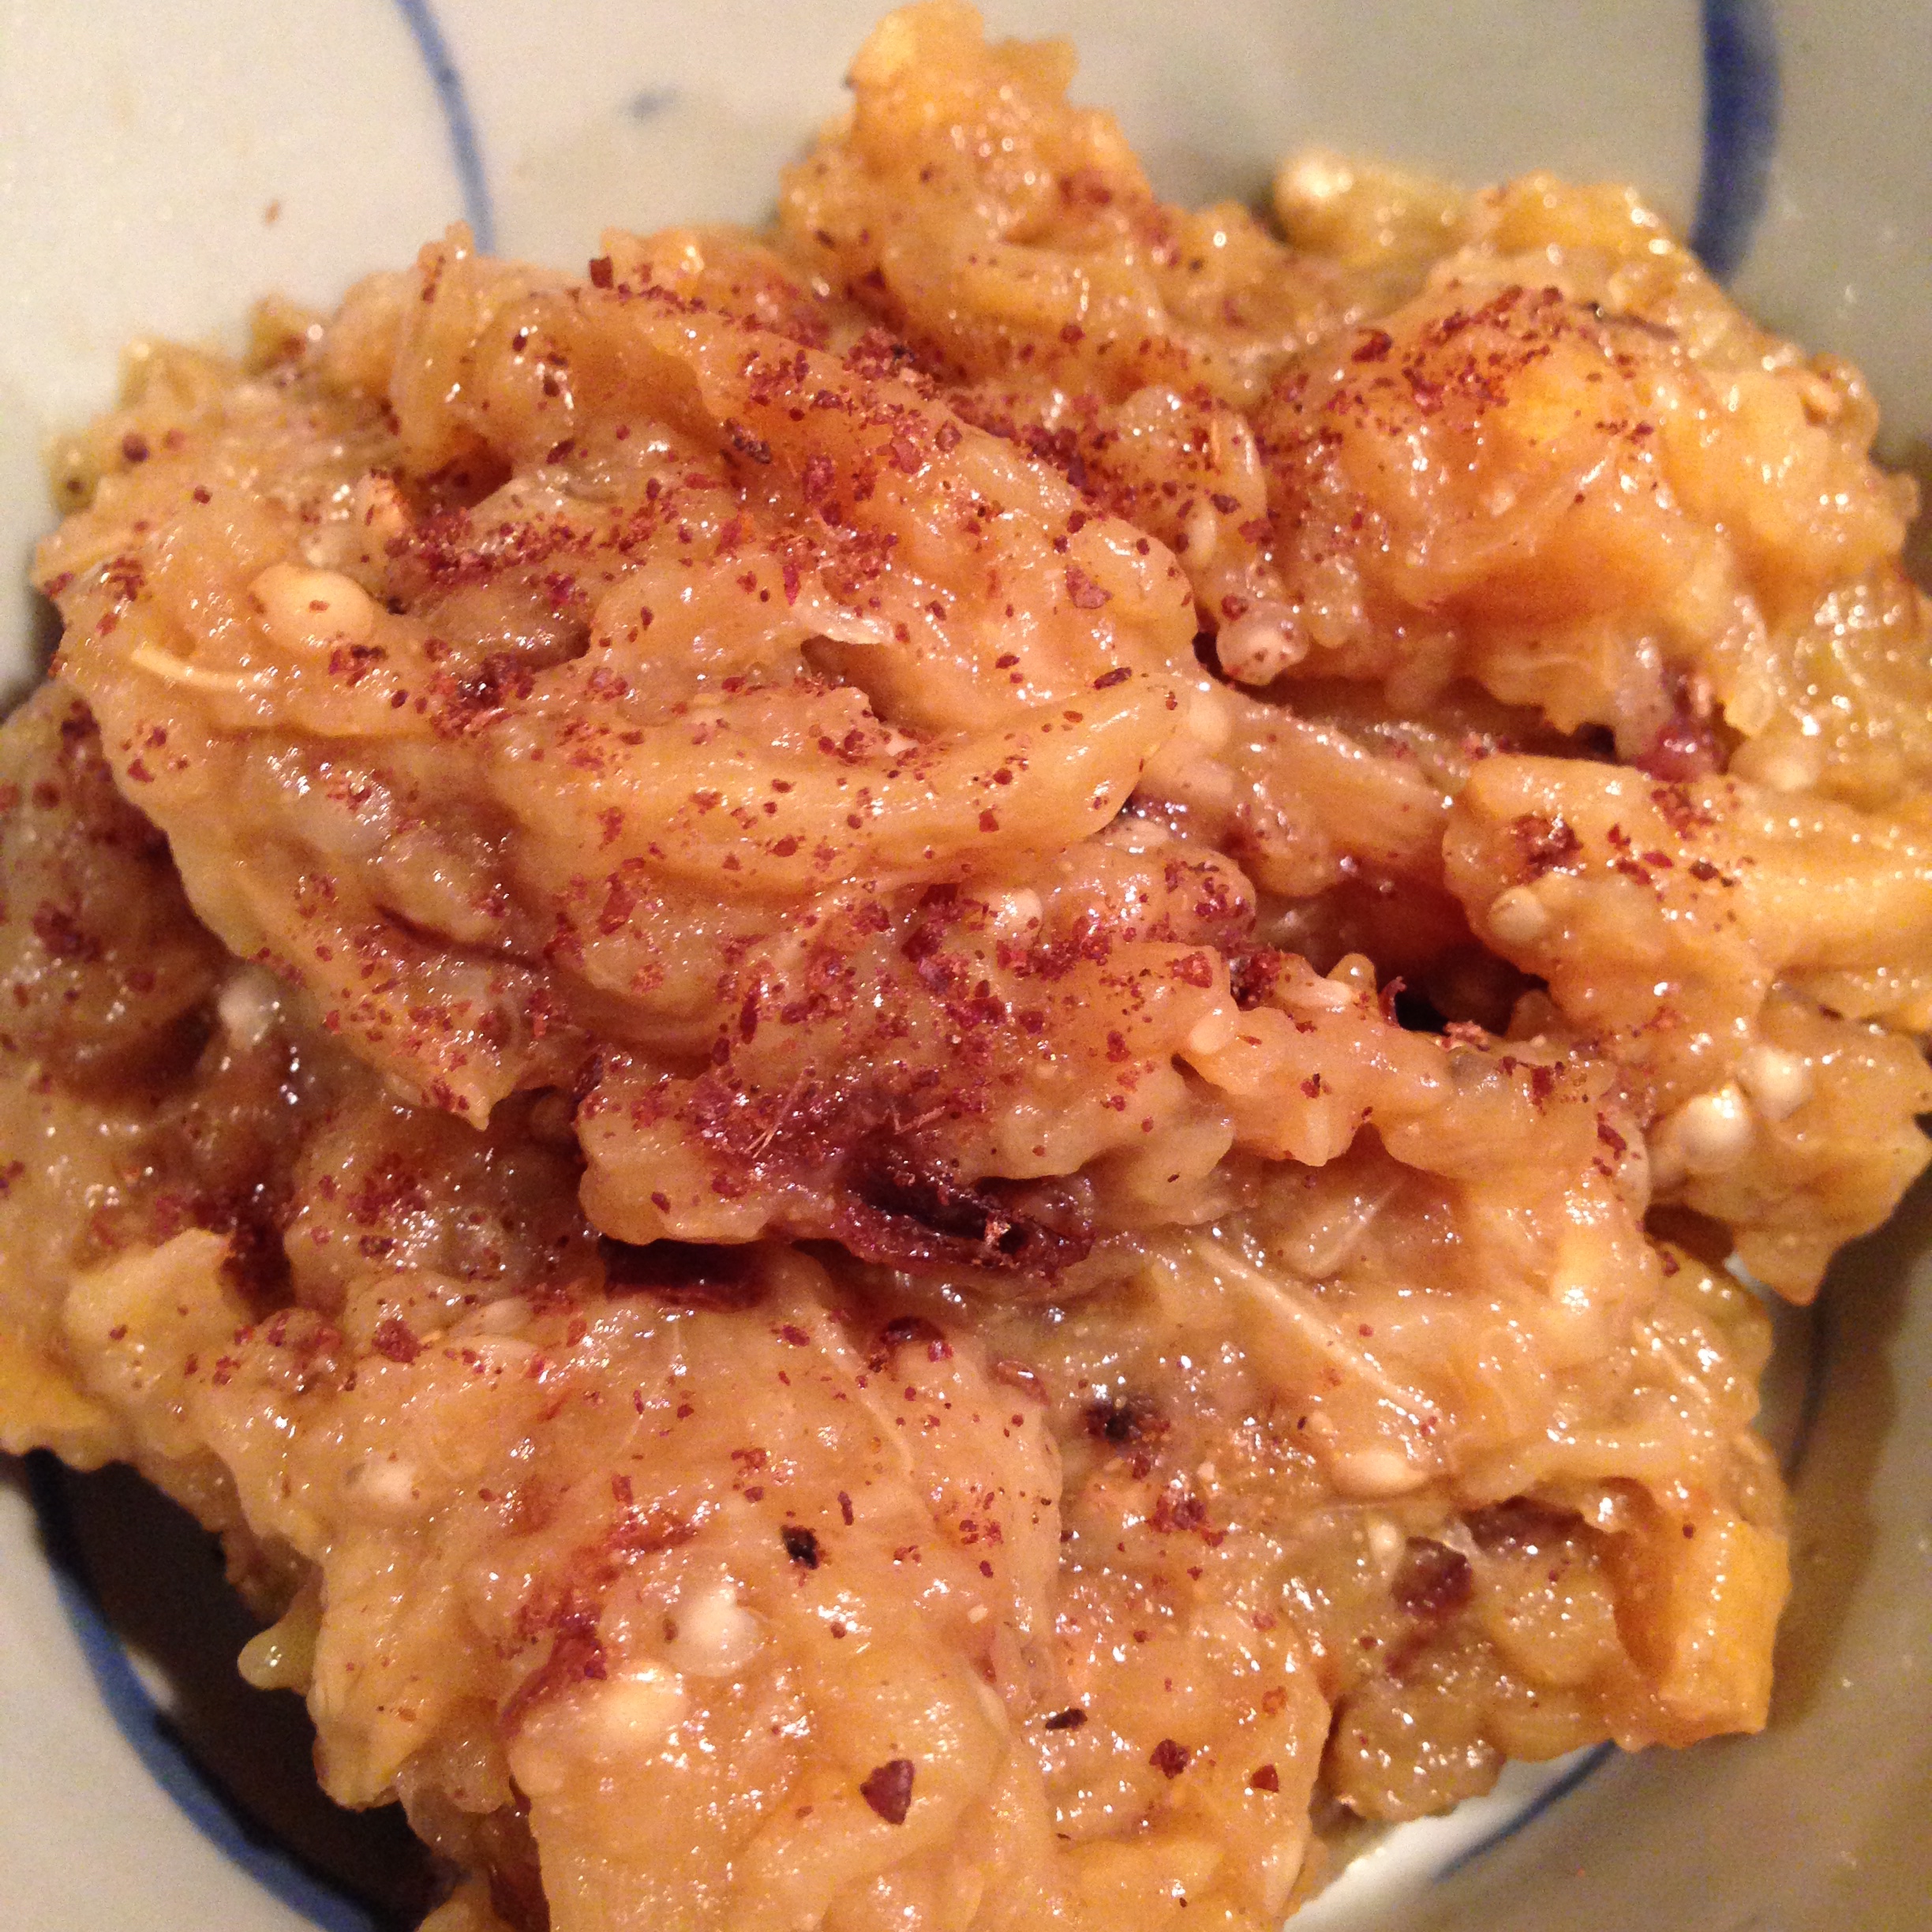
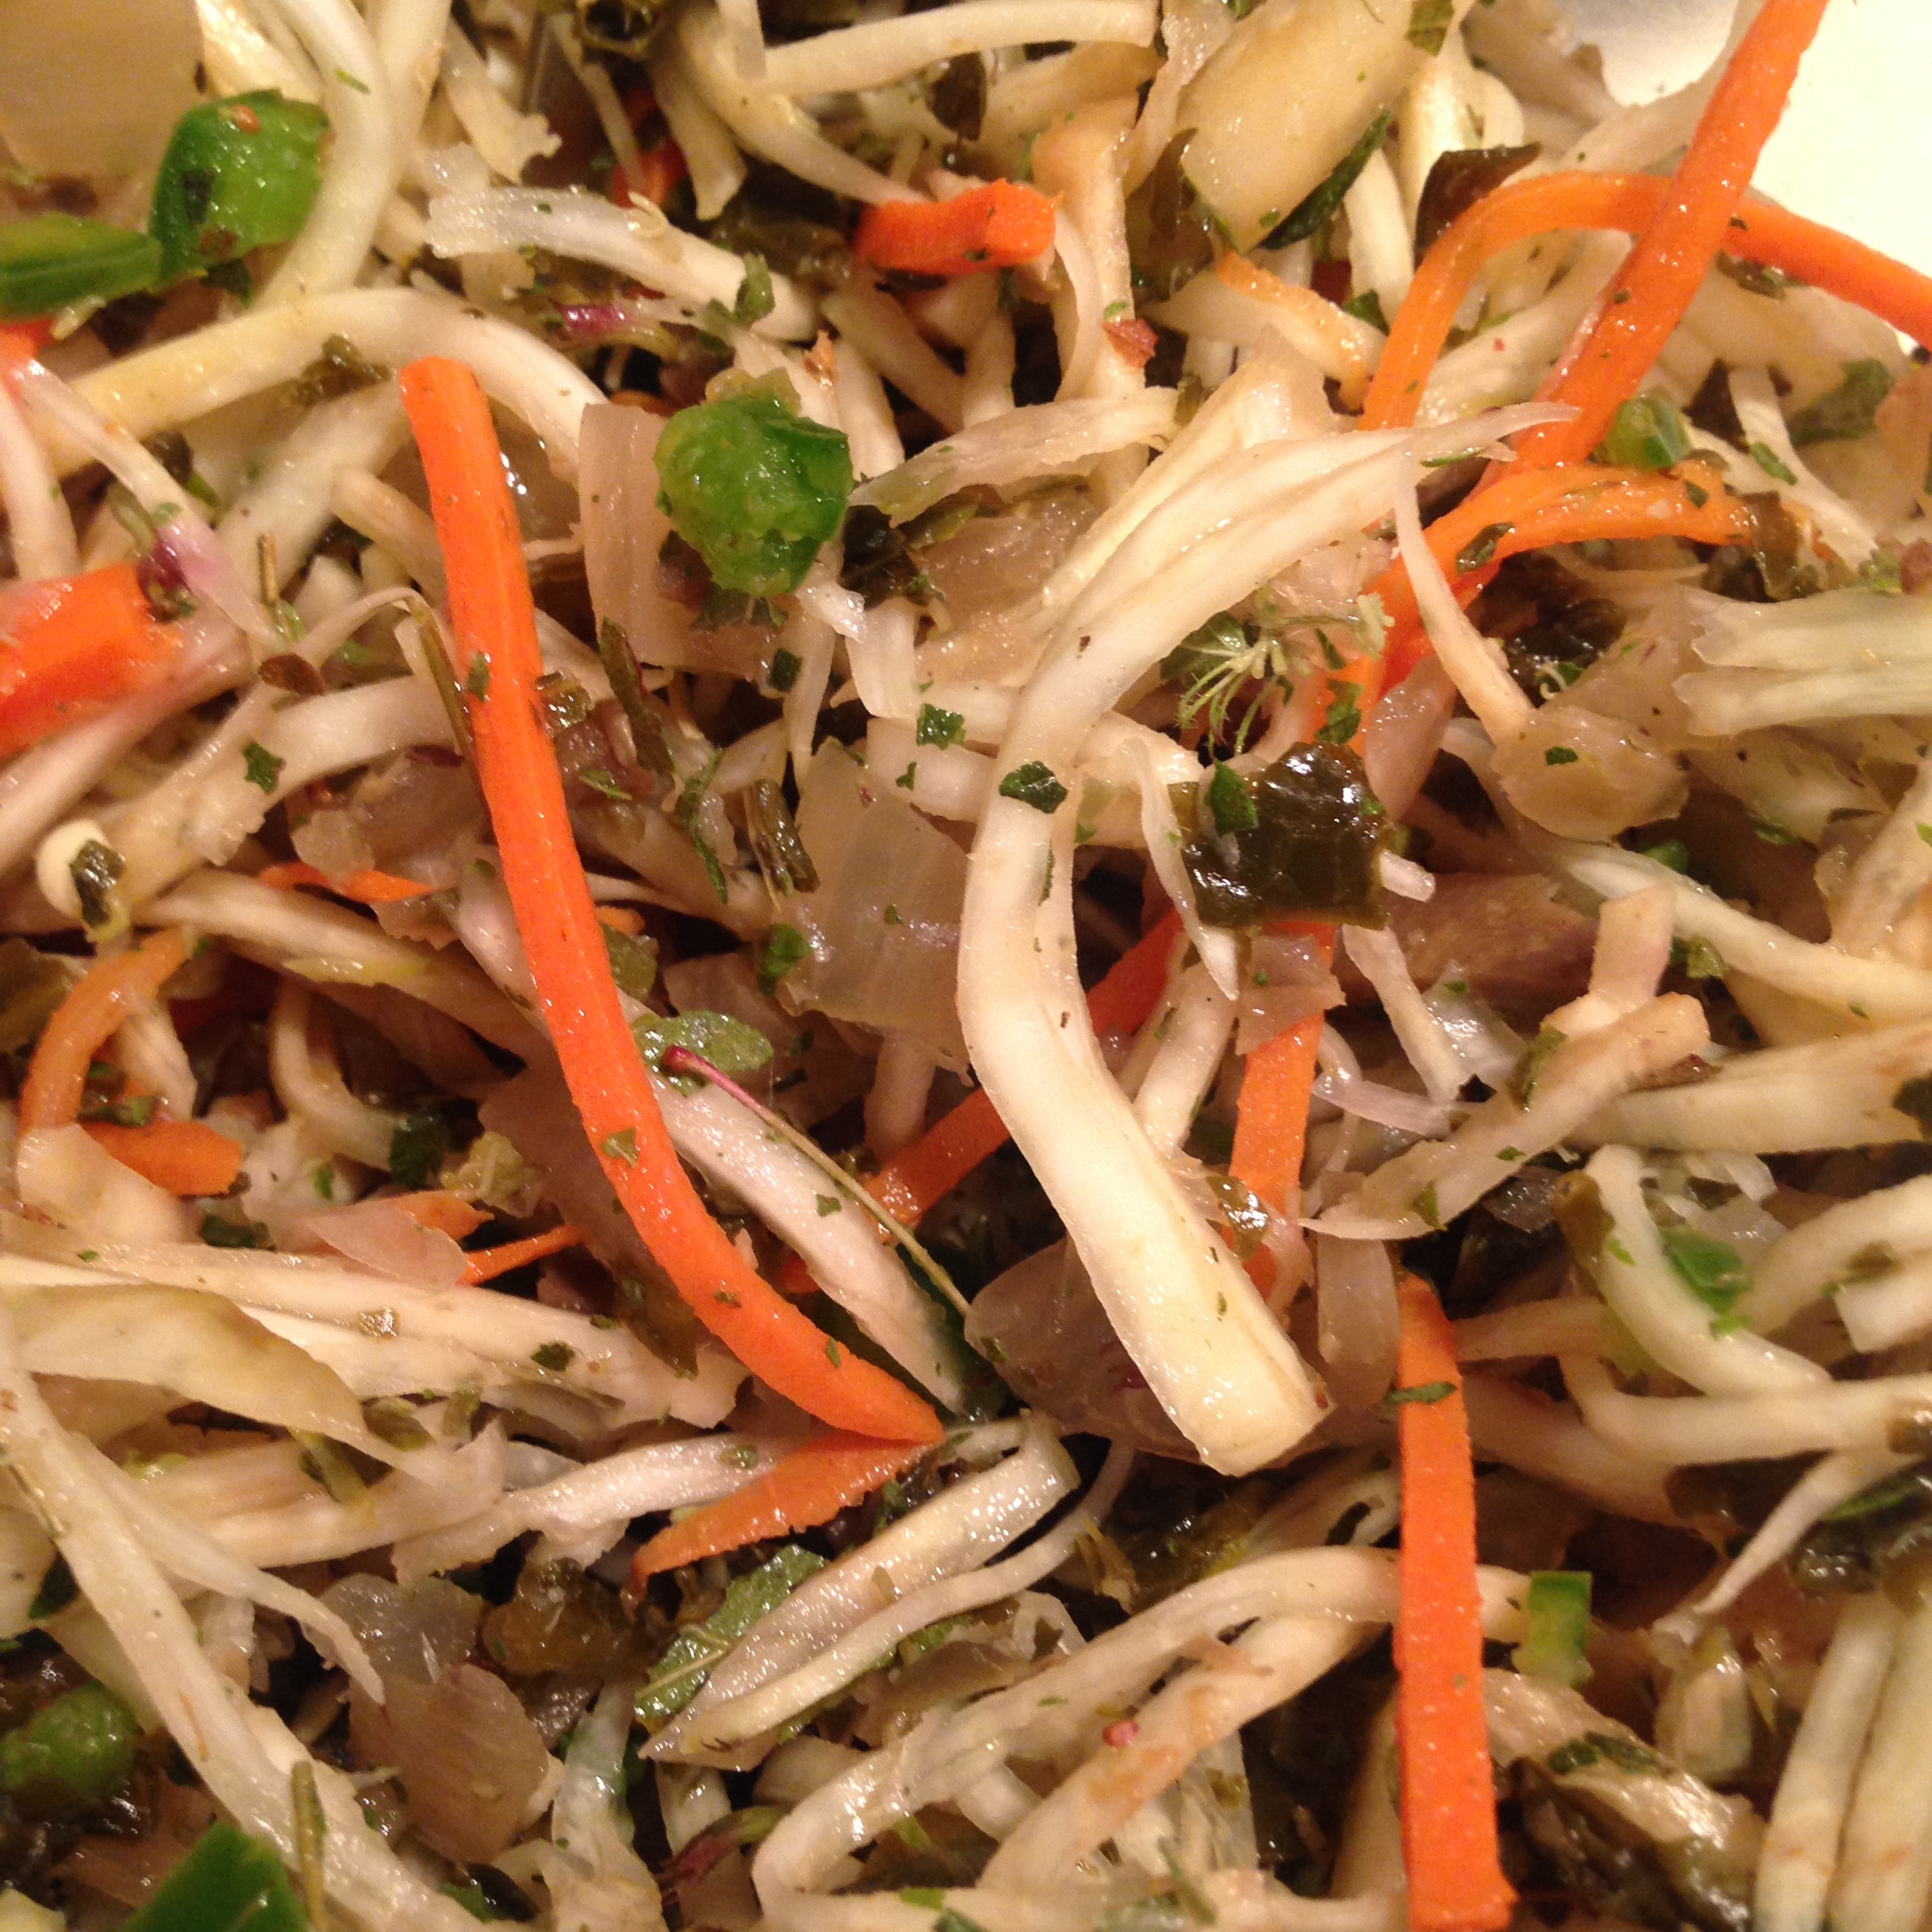
This is a hearty, rich main course dish which could be varied endlessly with sides and additions, vegan or not. One could of course serve it with starches such as noodles or potatoes, but I find that it is substantial enough on its’ own. In fact, what I will recommend is a garnish of sharp, very thin raw vegetables and fresh herbs, if possible. Like all proper stews this dish is much better reheated and served on the second day. I roast the beets and then add them to the dish before adding the spices for aesthetic reasons. They change the color of the dish quite dramatically, but in a nicer way then when added in the beginning. One of course could use golden beets or white beets instead and dispense with all this roasting nonsense.

This is a dish in which prep and timing are pretty essential. Have all your ingredients chopped and sized, take your time about the cooking of this and remember to let it cool, sit overnight and then serve the next day. It will be much the better for it.

Roast @ 425° :

12 oz beets, unpeeled, wrapped in foil

The beets are done when they a little bit more firm than you want in your finished dish. Remove them, keeping them wrapped and let them cool naturally.

Heat in a pan (deep enough to accommodate all the ingredients, but wide as possible) over medium heat :

3 tbs oil of choice (I use olive)

Add :

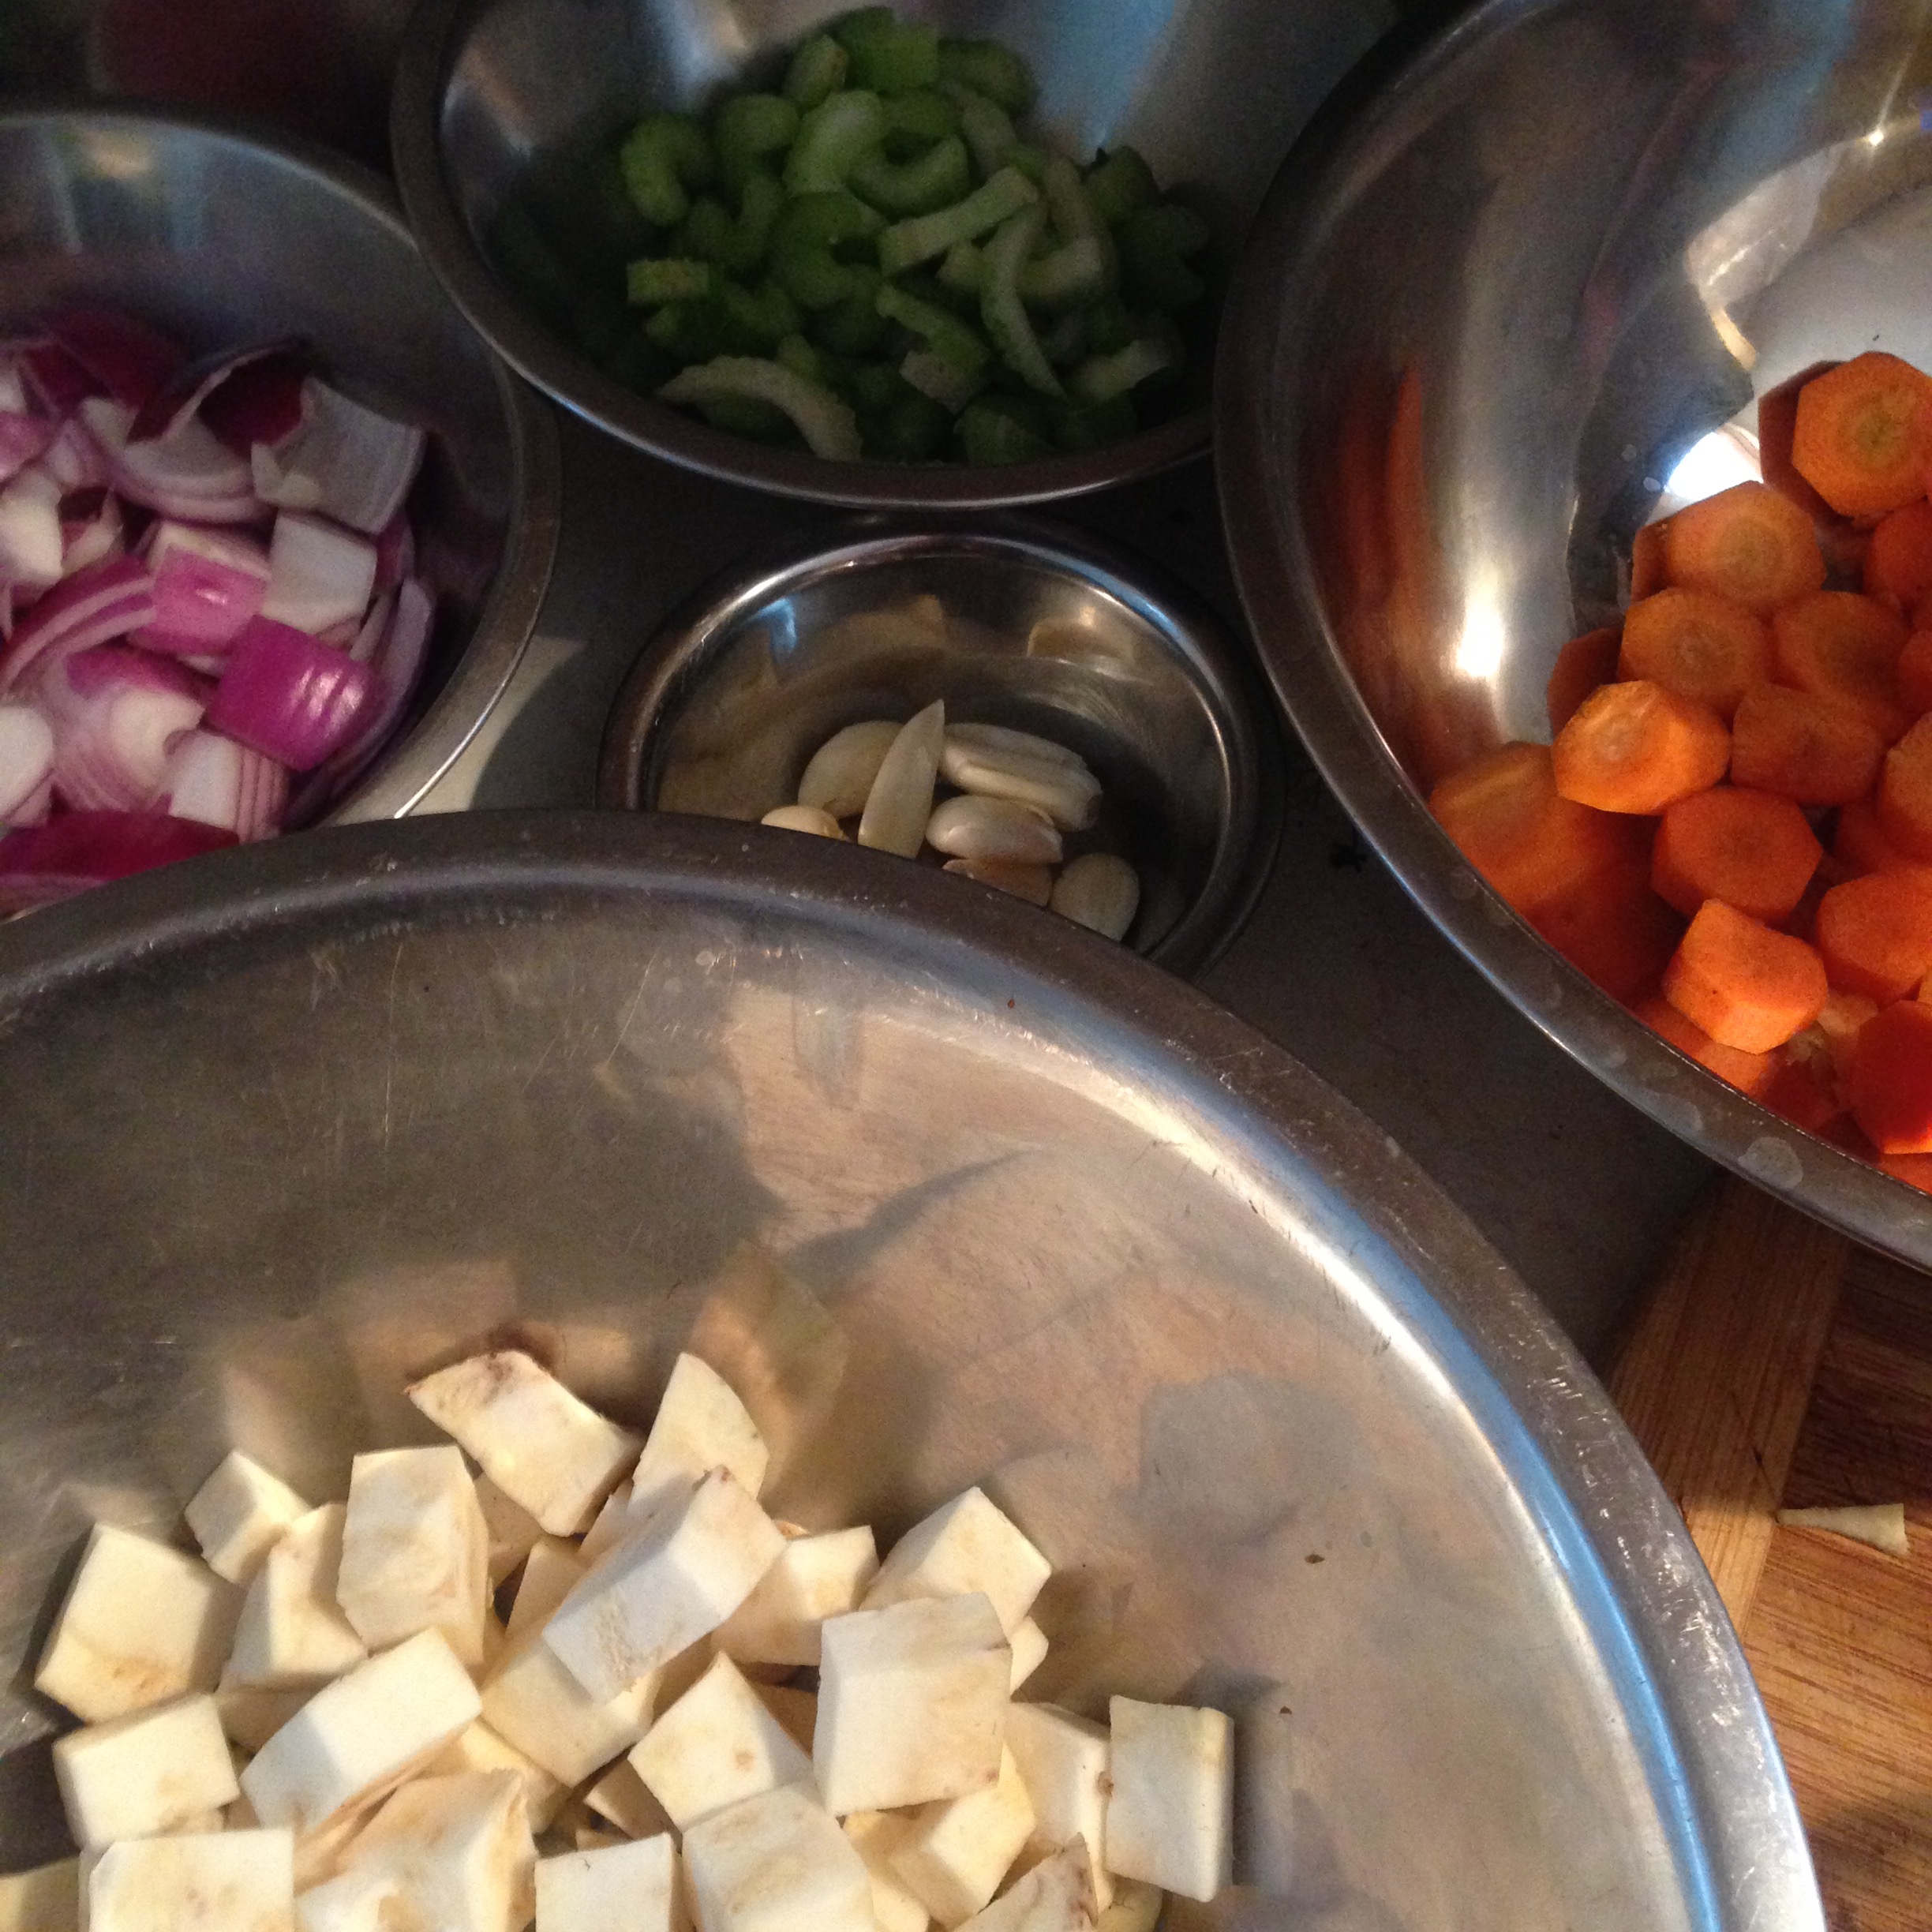
10 oz. onion, large dice

Sautée for 5-10 minutes, until softened.

Add :

2 fresh bay leaves or 4 dried bay leaves or 4 bayberry leaves

Add :

5 oz celery, cut into 1/2″ thick pieces

Sautée for 5 min or so, until softened.

Add :

1 oz of garlic, freshly chopped

Sautée for 3 min or so.

Add :

12 oz carrots, cut into 1/2″ rounds

Sautée for 5-10 min or so.

Add :

12-16 oz celery root, 1/2″ x 1″ pieces

Sautée for 3 min or so.

Deglaze pan with :

2 Tbs. Sherry or Chinese Cooking Wine

Add :

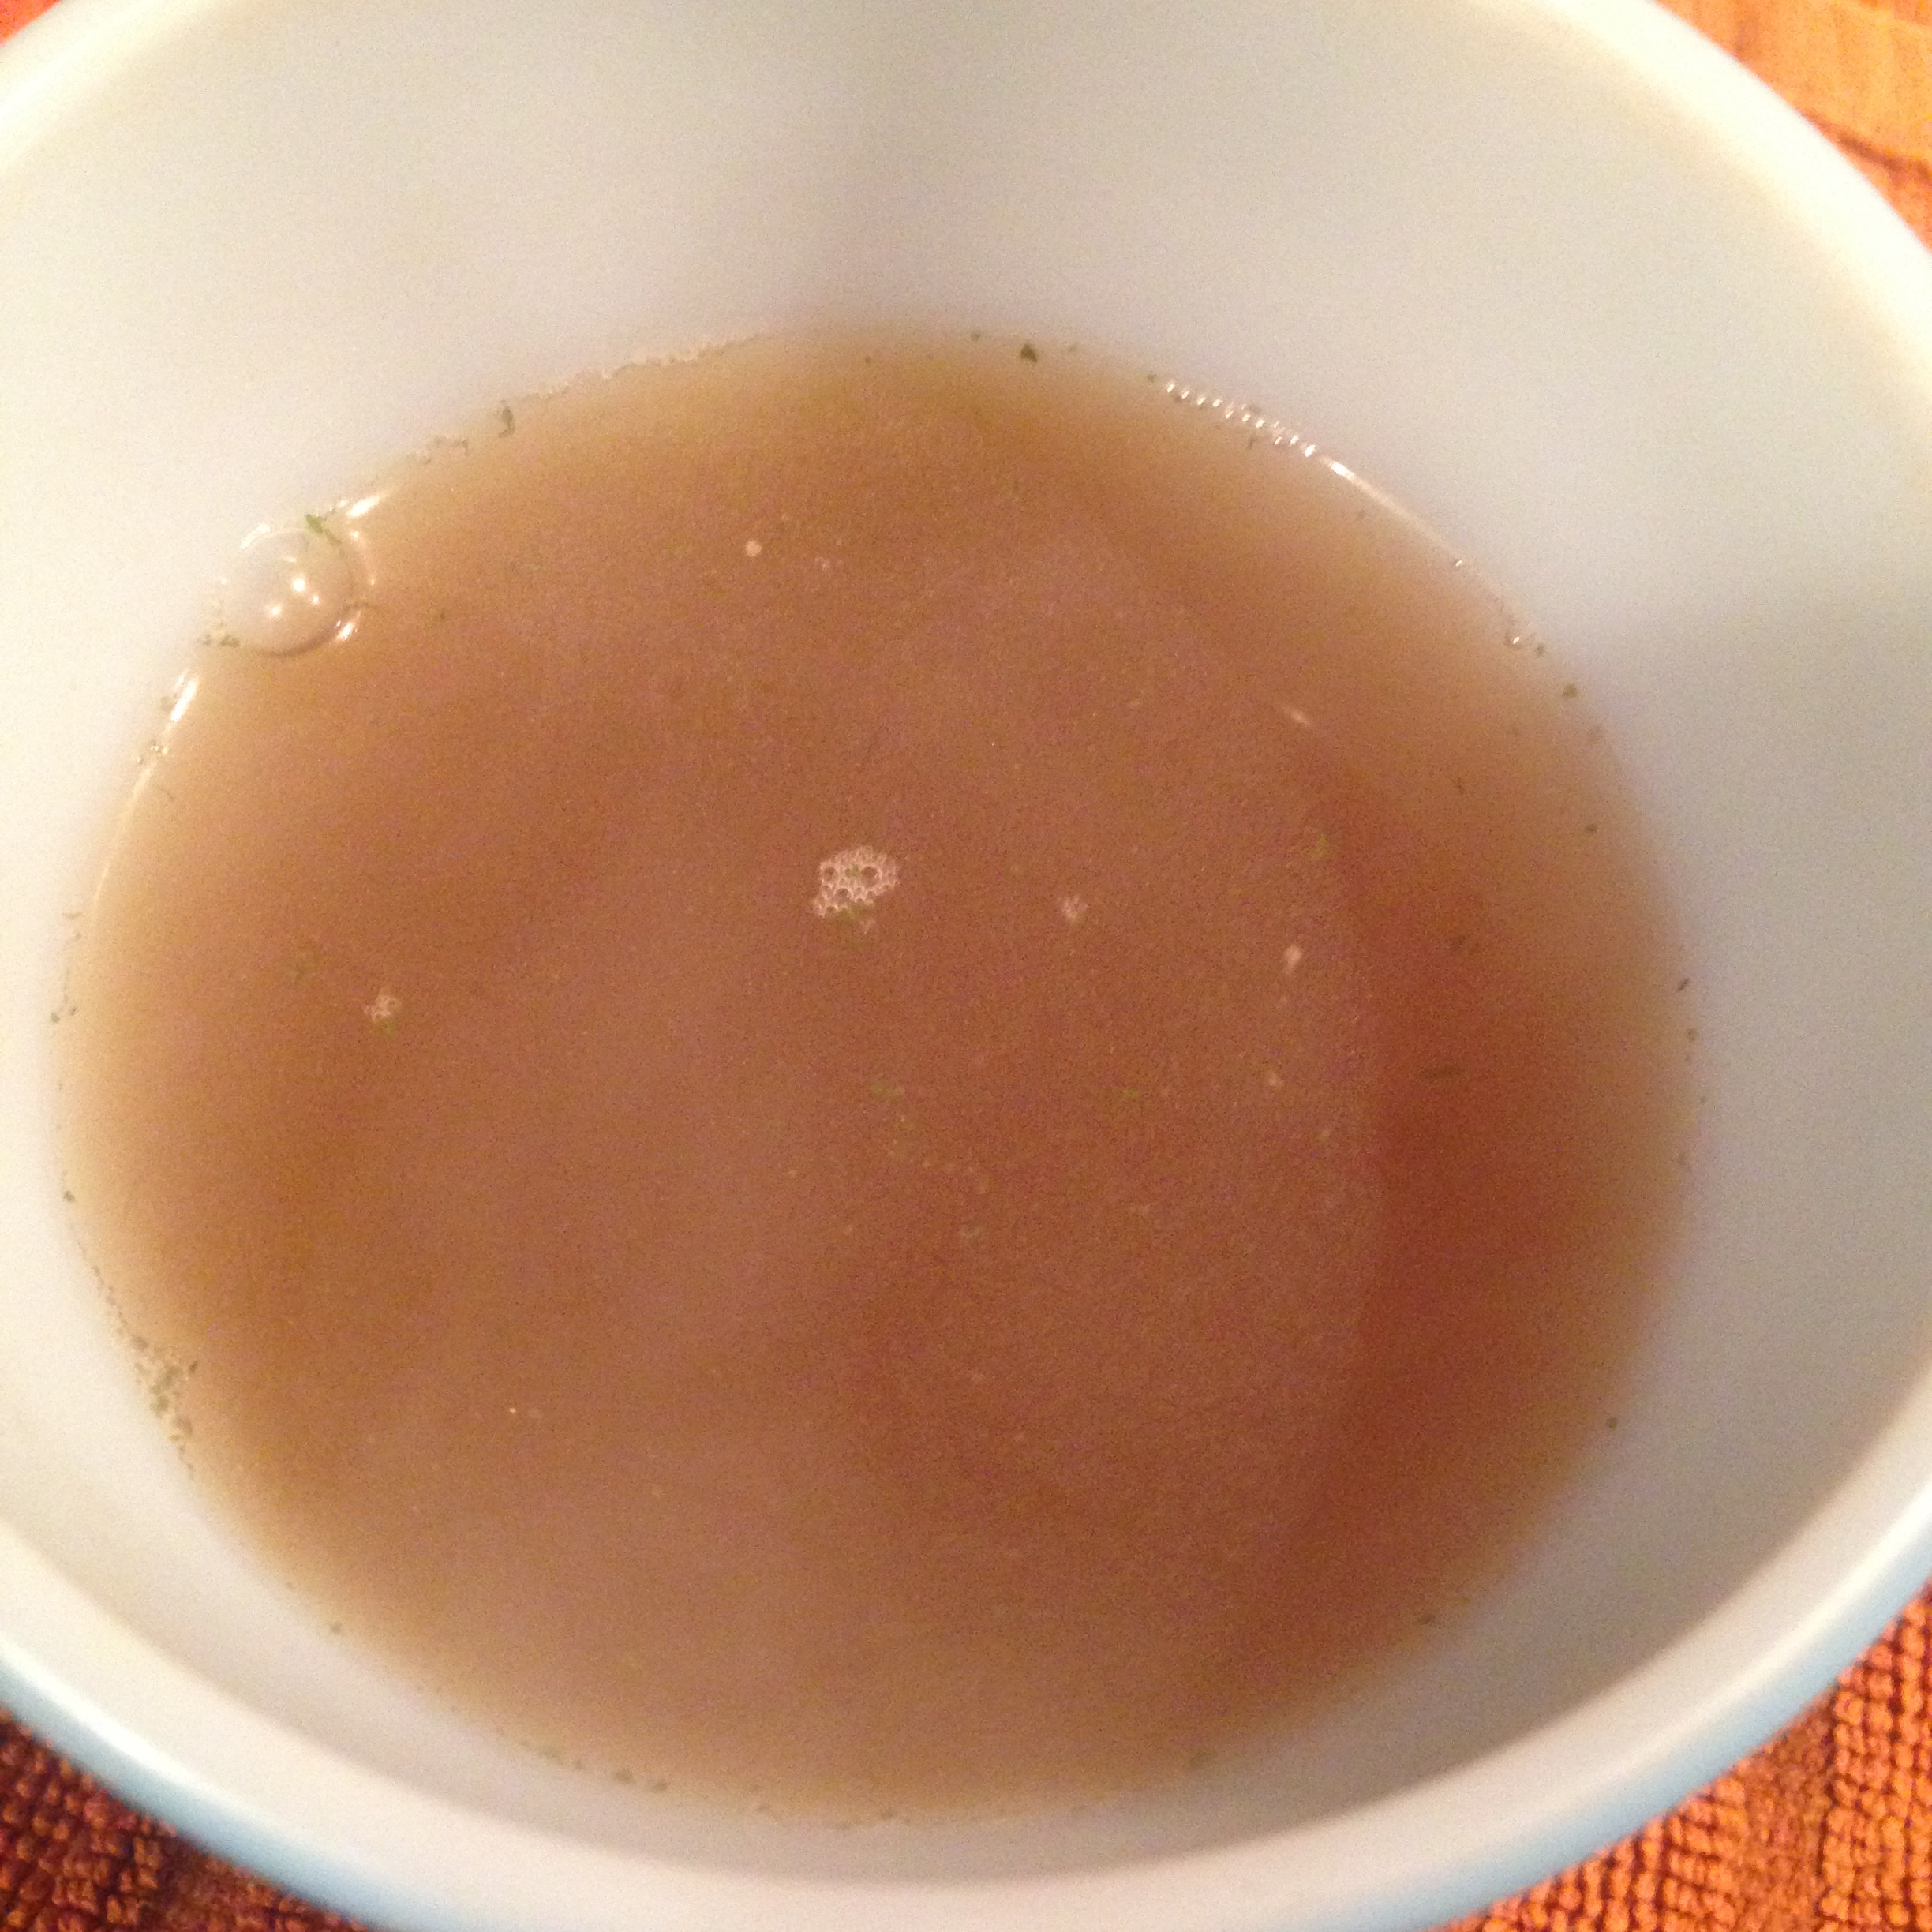
Enough vegetable stock (preferably a rich roasted stock) or other stock or water to cover the vegetables well (1-1.5 quarts), bearing in mind the beets to be added later.

1-2 tsp crushed dried juniper berries

2 tsp dry mustard

2 tsp dried thyme

Grinds of black pepper

Bring the pan to just short of a boil, then cut the heat to a slow, mild simmer. Allow this to cook until the sauce has thickened and the vegetables are close to being tender enough to eat. Always bear in mind that the vegetables will cook a bit in their retained heat. If the vegetables seem close to done and the sauce is far too thin for your liking you can add a liaison. Heat some oil and whisk in an equal amount of flour (I usually go about 2 tbs of each), whisk and heat for a minute or two, then add in some of the hot fluid from the stew. Keep adding fluid until you have something that is not yet liquid but no longer paste. Add this back into the stew and it should thicken up nicely.

When you feel like you are close to being ready to cut the heat, stir in the following :

The cooked beets, which by now you will have peeled (very easy once roasted) and cut into the appropriate size (1″2 x 1″ chunks in this case).

1 1/2-2 tbs prepared mustard (whole grain or dijon styles are good)

2-3 tbs of paprika (I usually use a mix : this time it was 1 tbs hot, 2 tsp smoked hot and 1 tsp sweet)

Salt and freshly ground black pepper to taste

Allow this to cook for another few minutes, then adjust your seasonings as needed.

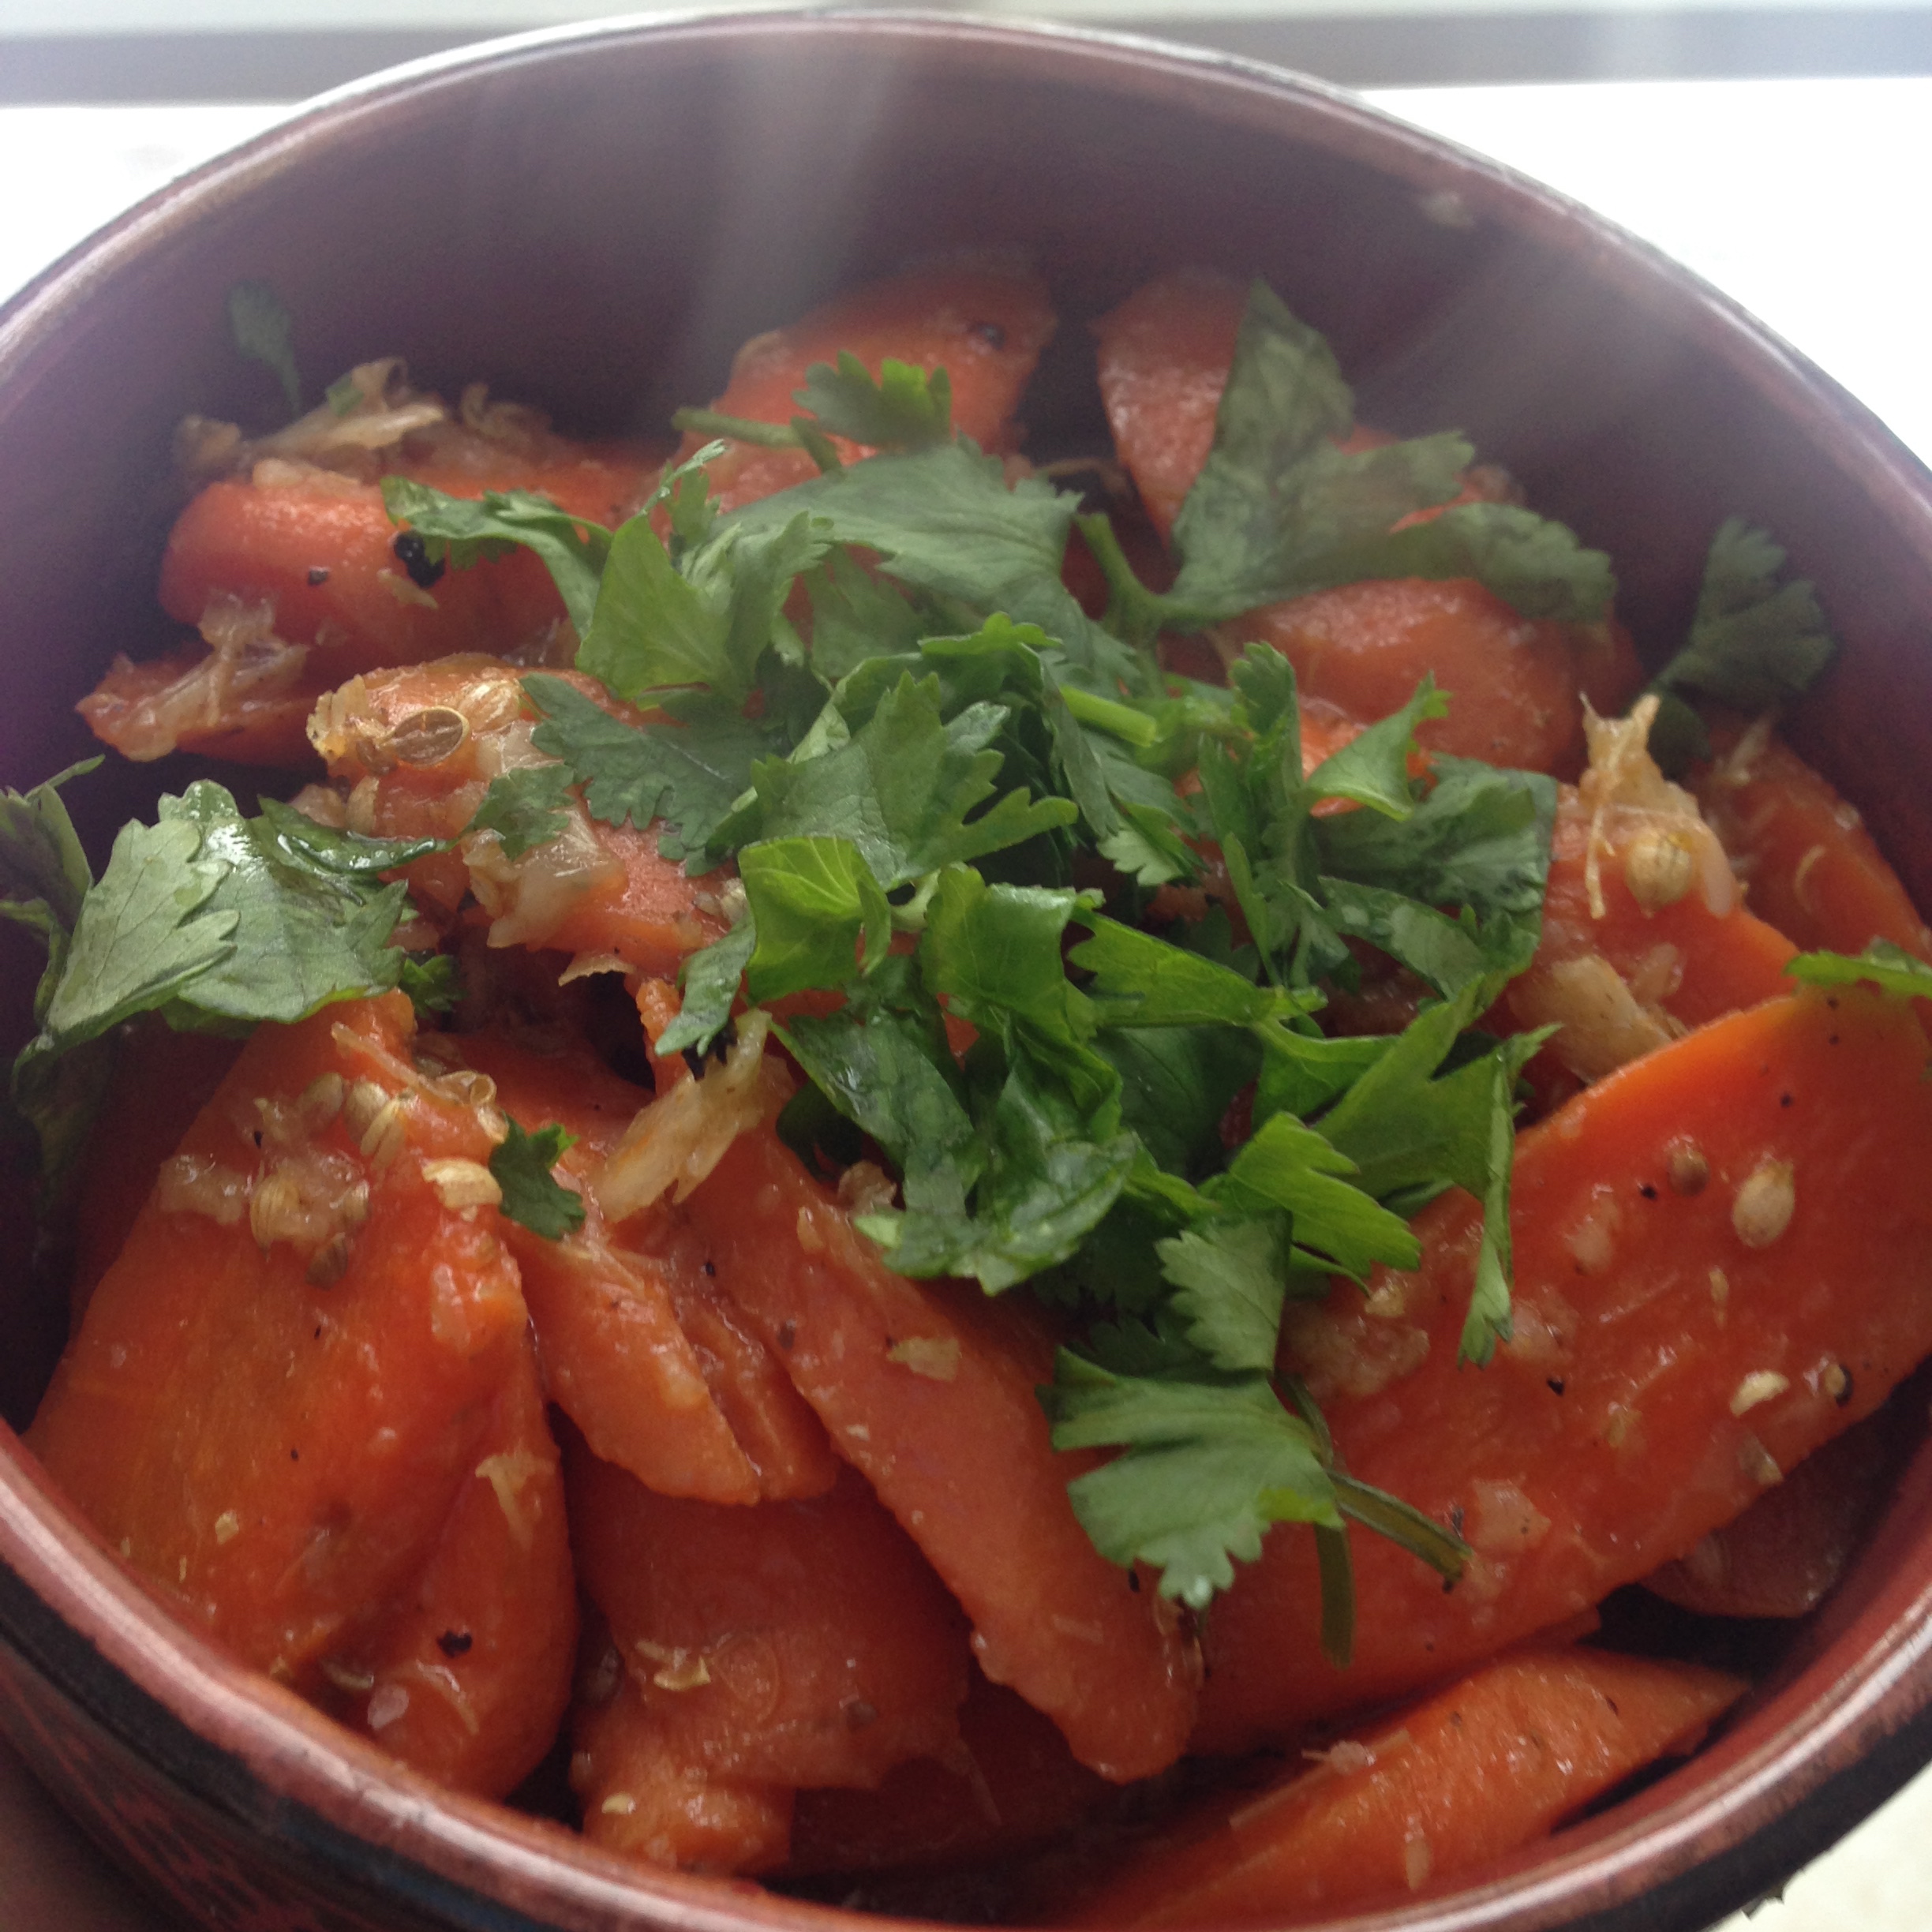
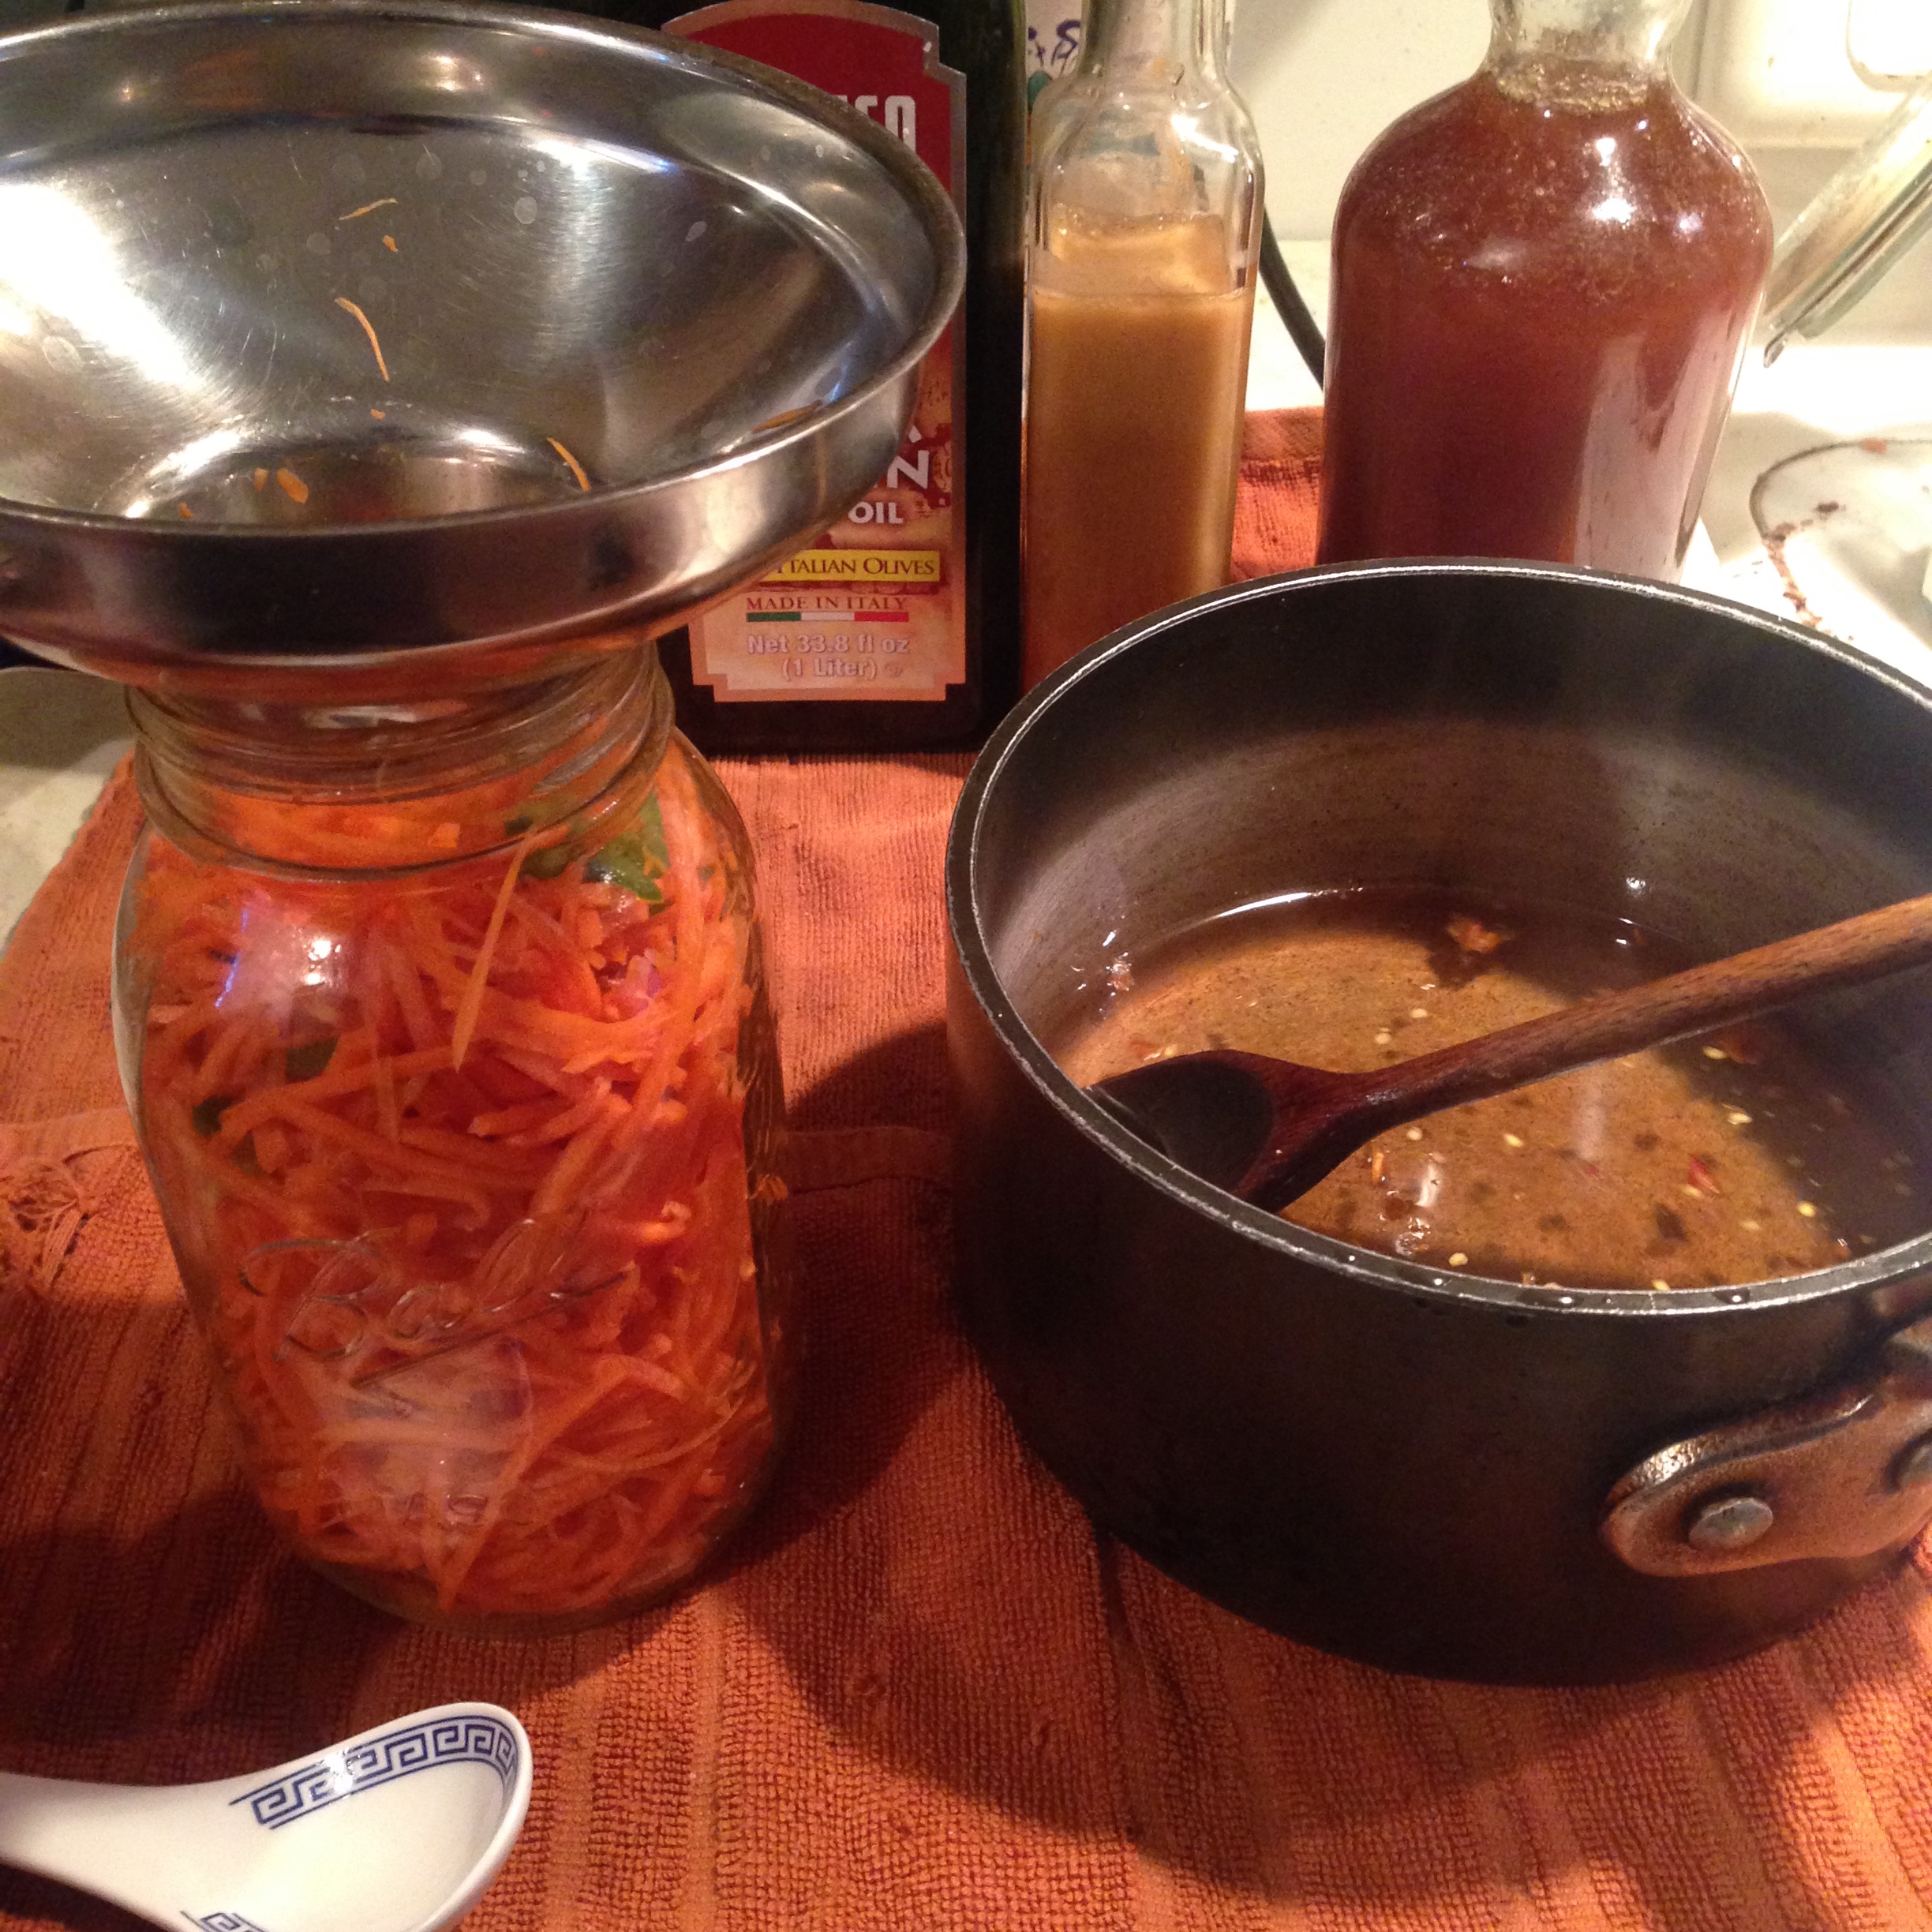
Serve right away or allow to sit. Reheat the next day and serve with fresh garnishes.

All times used are approximate. I cook by taste and texture. It’s far easier and more accurate than following a clock. In each stage of the sautée, the vegetables should be cooked until they begin to soften. If the pan gets too dry (which shouldn’t happen) you can add some extra sherry or wine, or water if necessary. The stewing process will take from an hour on, depending on how slow your simmer. Allow it to develop on its own, checking and stirring every 10 minutes or so. You will know when it is done.

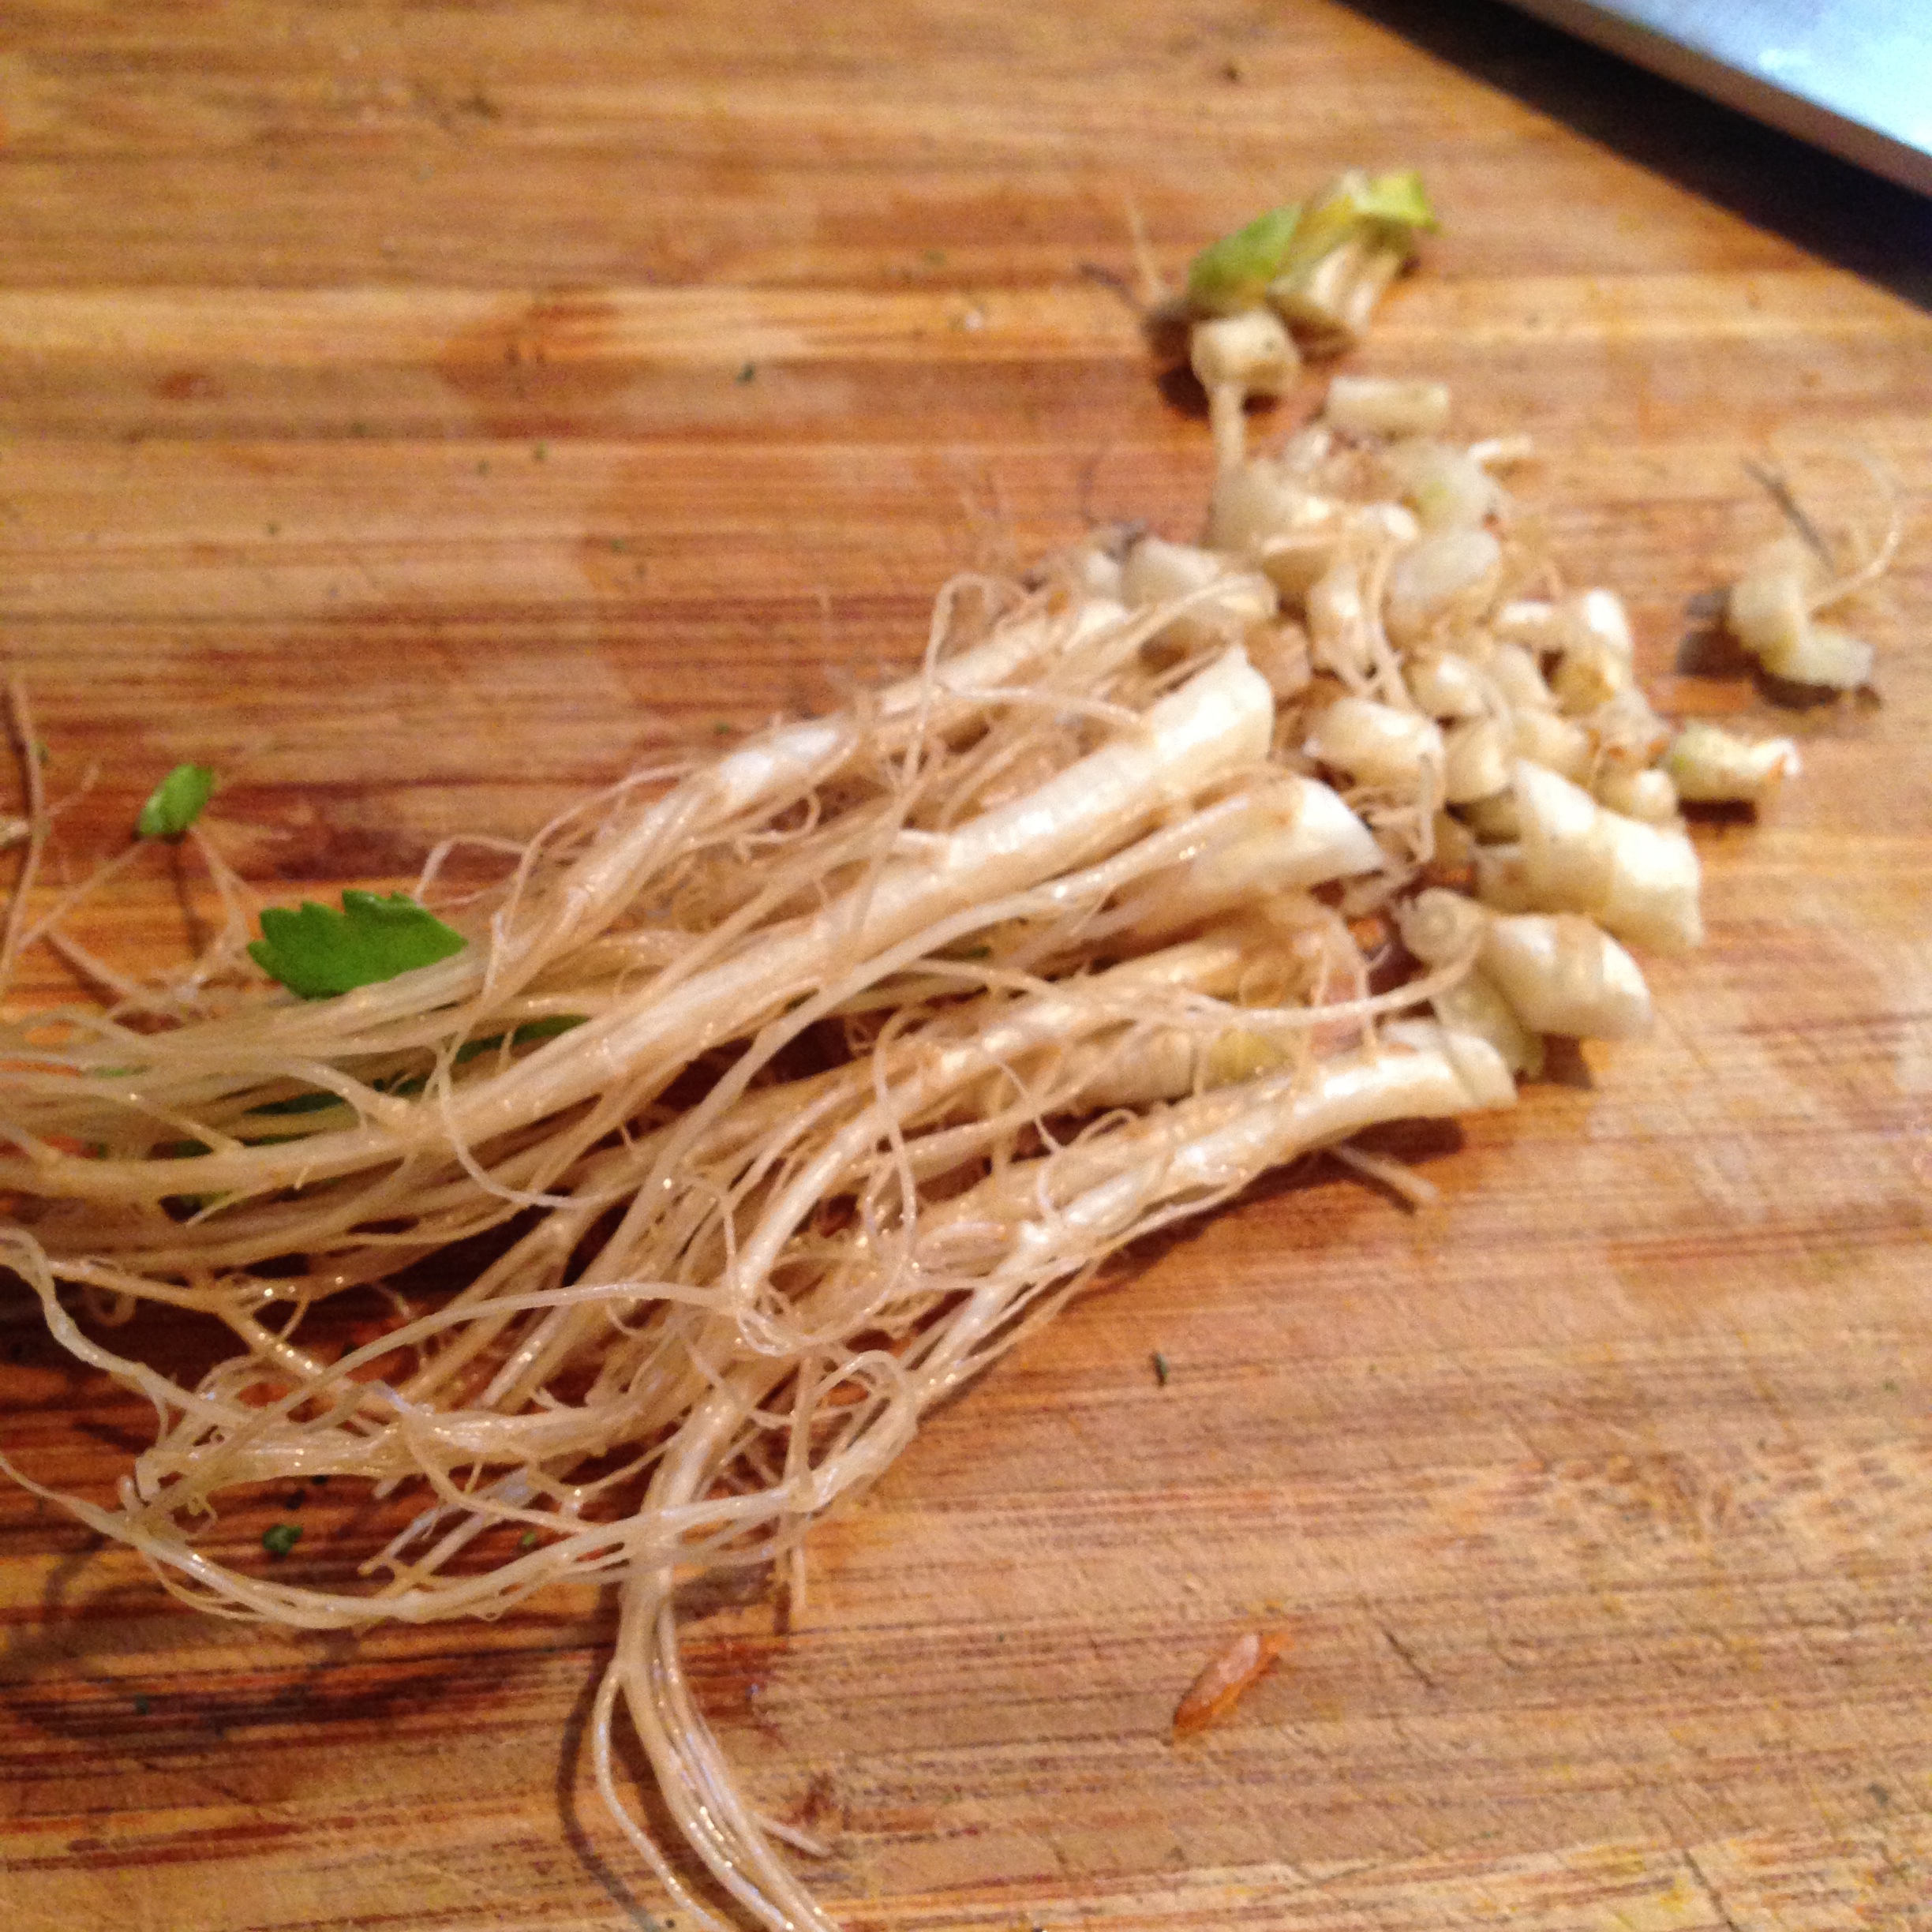
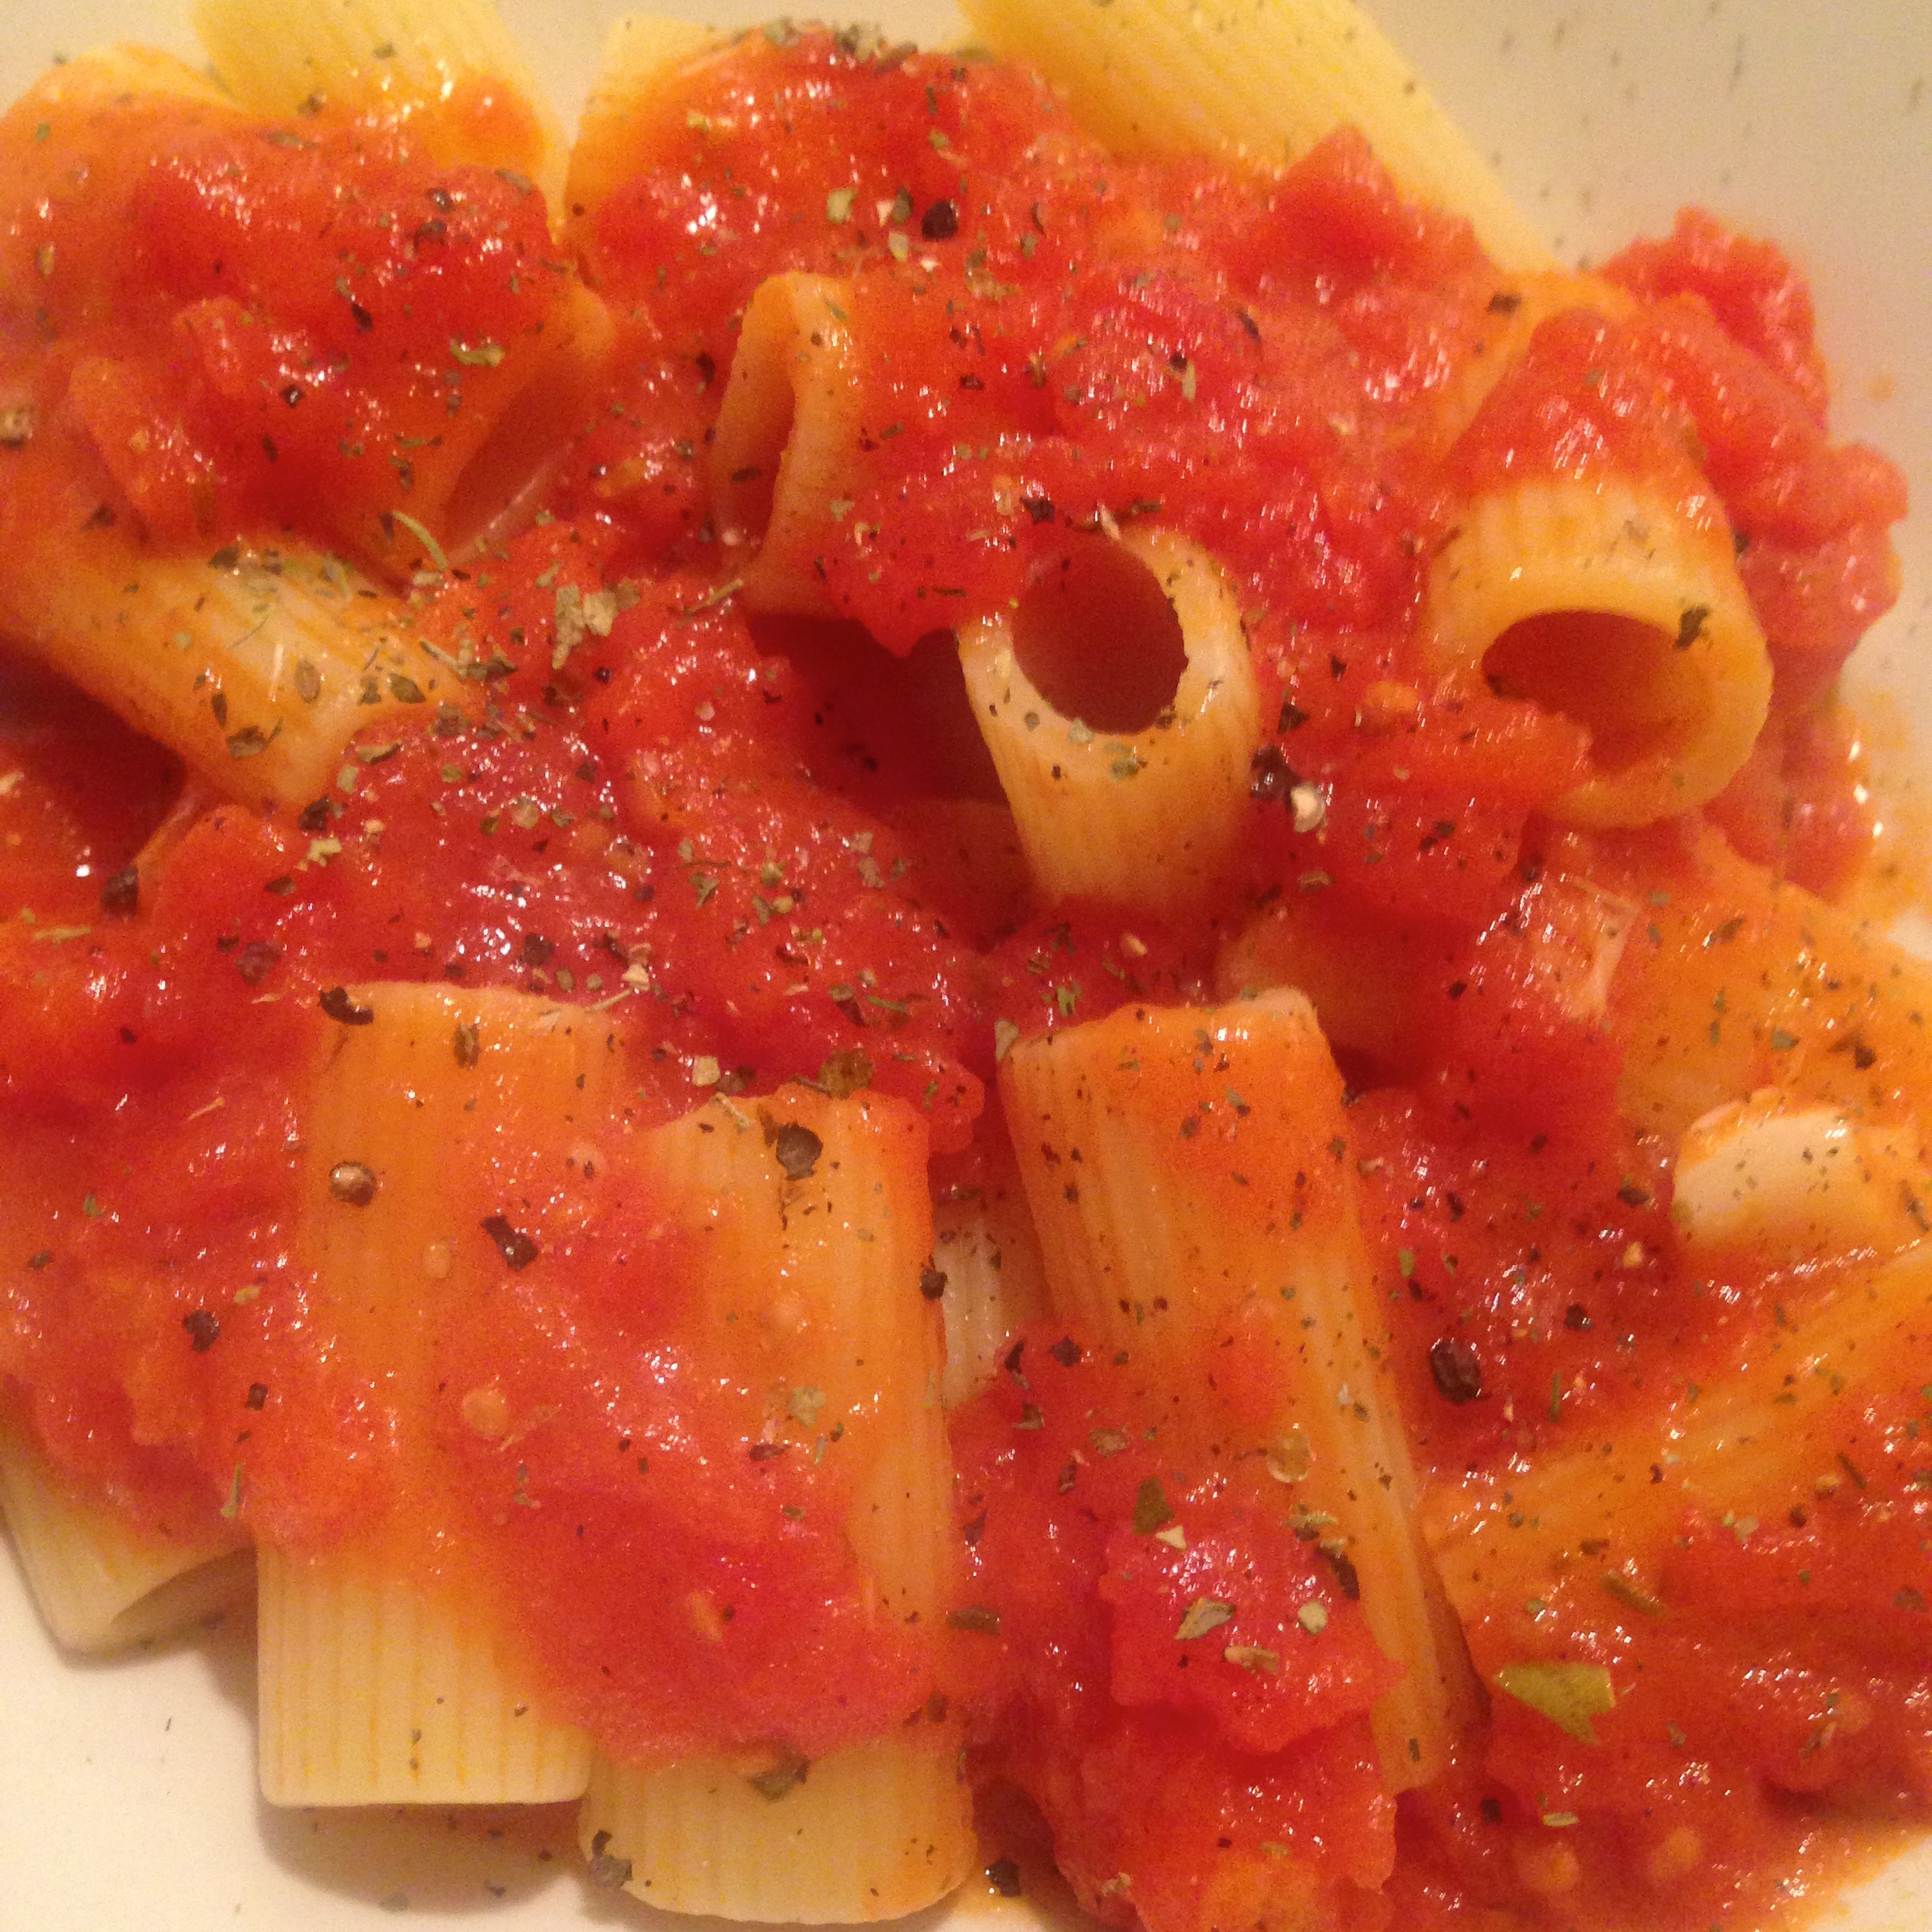
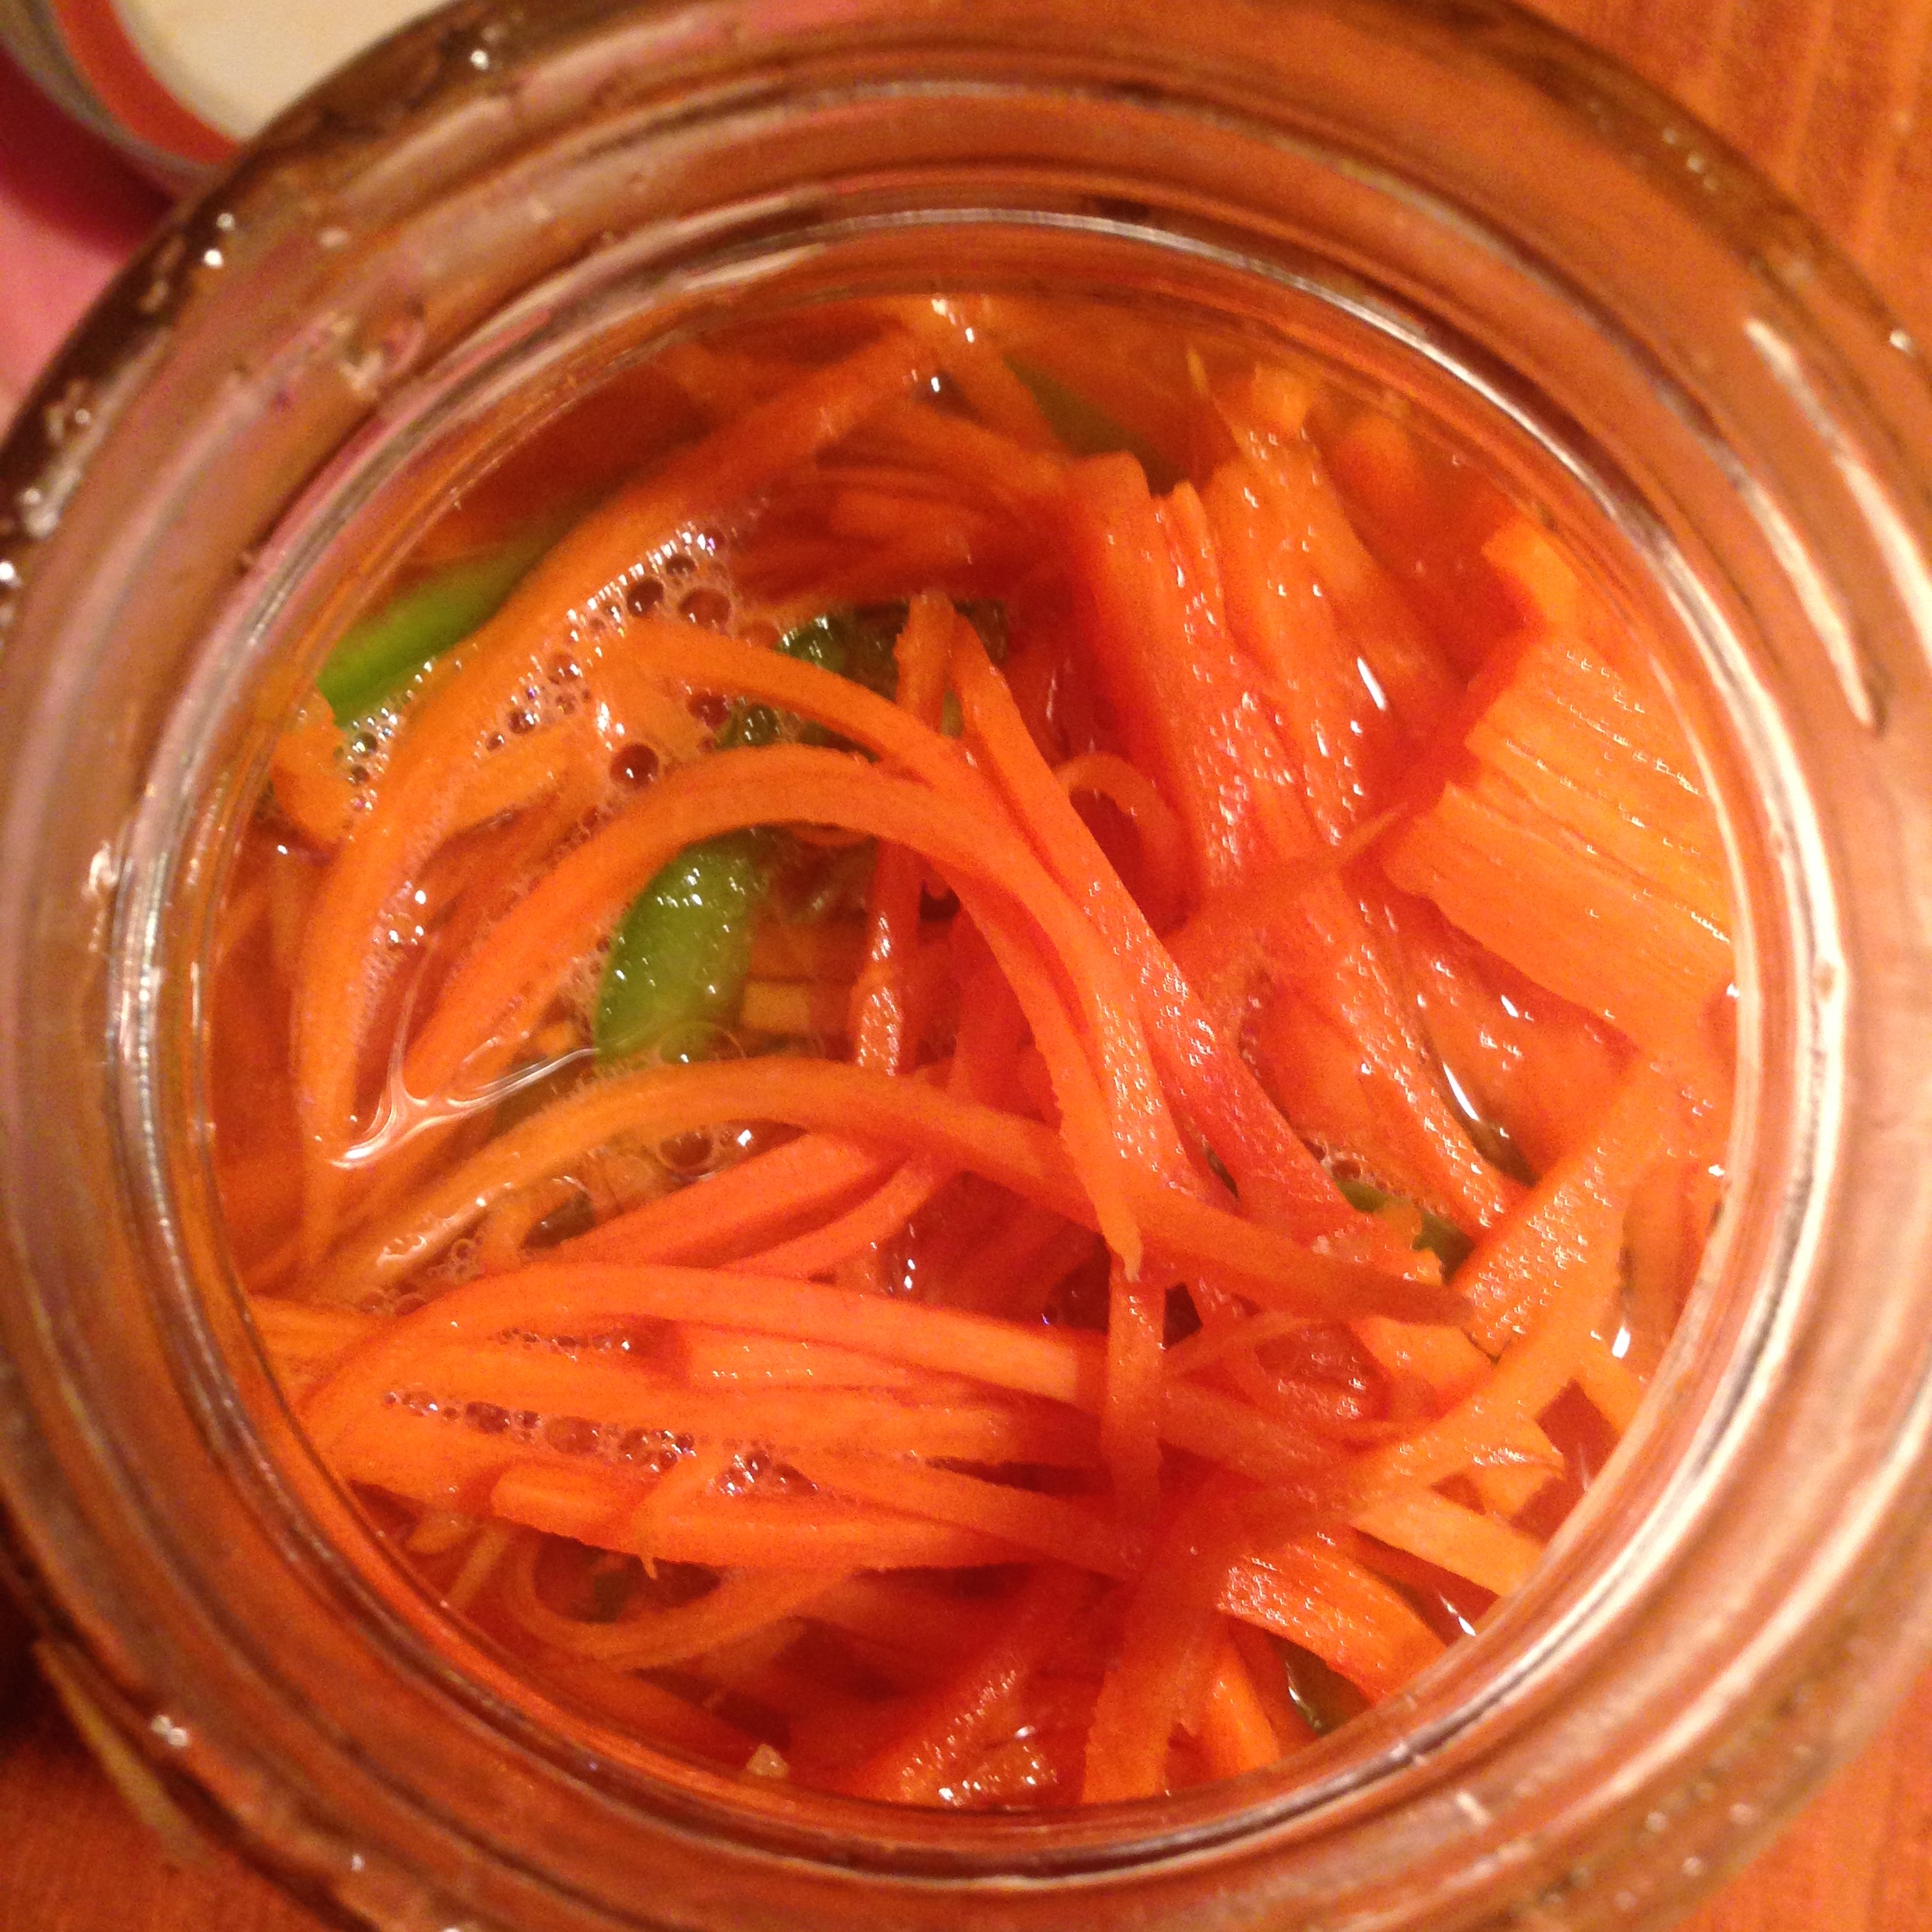
This recipe can be varied in what vegetables are used, provided they are approached with understanding of how long they take to become tender. Of course it could be garnished or accessorized in dozens of ways. It’s already pretty hearty in itself but if you wanted to serve it with noodles or rice I’m sure it wouldn’t be bad. I prefer to go the other direction, and add something sharp and bright as a garnish, like paper-thin slices of spicy black or daikon radish, fresh snips of chive or field garlic, raw chiles, pickled or preserved vegetables, and of course fresh herbs if available.

I have left the spicing at kind of an entry-level dosage. All of the seasonings can be added again at the end, which is usually when I toss in a little more thyme or juniper or mustard or what have you. The flavor is hearty, and deep. It may remind one of a treatment of beef or pork in terms of the flavorings used, but this is no meat substitution recipe. The combination of thyme, mustard and paprika complements the beet-celery root-carrot trinity. But perhaps you will discover an even more perfect one!

IMG_8530

Key : The key to this recipe is making all the vegetables the same consistency, particularly one that has a bit of texture to it. For some people that solution lies in very precise cutting, for me I’ve always just preferred to add the ingredients one by one and rely on intuition. Some people like to throw in everything at once and cook it long and slow. There’s no right way, just one that works.

Sweet Hot Pickled Carrots

IMG_8166

This recipe is so simple I will dispense with the usual list of ingredients and instructions and just describe the process. Just be sure to read it all the way through. We’re not children here.

What you need for this is a quart-sized mason jar stuffed all the way full with shredded carrots (preferably on the smallest blade set of a mandolin) and a jalapeño sliced or cut into matchsticks. Usually this entails about 12 oz of carrots, with maybe 1/4 of that going to waste on nubs too small to pass through the mandolin. You can also simply grate them, although the texture will be vastly inferior. You could also practice your knife skills on them and cut long julienne by hand but I am not responsible for any bodily harm.

Once you have this mason jar stuffed full of carrots, place a canning funnel in it. If you don’t have a canning funnel, go buy one. Then place a small saucepan on the stove and in it heat 2 cups of seasoned rice wine vinegar, 1/2 tsp salt, 1/3 cup of sugar, and dried, crushed hot red chiles to taste. I use the very hot chinese red chiles and usually grind two of them fresh in a mortar and pestle. Bring this mess up to something close to a boil, enough to dissolve the sugar. Stir it thoroughly.

IMG_8165

Being intelligent about the whole process and using how ever many towels you need, bring the still quite hot mixture in the saucepan over to the quart-sized mason jar stuffed full of carrots and pour the mixture in. It should come to about the point at which the “shoulders” of the jar begin.

Allow this to sit and cool without capping it. Theoretically you could sterilize both the jar and the cap in this procedure. My experience has been that these things just don’t last long enough around willing eaters to warrant that. Once the jar and its contents are cool, cap the jar and refrigerate. The pickle will be ready in a handful of hours (although of course 24 is best), and it is best served chilled.

This is one of the staples of my kitchen, and has proved quite popular with those I make food for. Especially me! These were styled on the Vietnamese do chua and primarily made for banh mi, alongside a spiced daikon pickle that I also make. So it goes without saying that they are a good sandwich topping. They also are great in composed salads and on tossed salads, added to noodle bowls, noodle soups, regular soups, as garnishes, in omelettes, etc. etc. etc. A real kitchen standby, and one that can be a vehicle for your own style and creativity. Tell me what you make with them!

Winter Broth with Foraged Herbs

IMG_8172Take :

2 cups broth of your choice (this is a drinkable broth, so the stronger the better, and homemade of course)

Bring to heat in a small saucepan, then keep warm.

Add :

1/2 cup of mixed dried yarrow, wild basil, and sweetfern (roughly equal amounts)

pinch of dried mugwort leaves, crumbled

hefty pinch or two of dried mint of any kind, crumbled

Keep warm for 5-10 minutes, stirring once or twice. The point at which to take the next step is ideally when the dried herbs have all settled to the bottom of the saucepan.

Strain the broth from the herbs and serve.

Obviously this could be embellished in a million ways. The broth itself can be varied endlessly, depending on what you have in your pantry. It’s best made from a broth that’s deep and flavorful that you just made, perhaps even with something as basic as leftover vegetable scraps or chicken bones. The herbs can be from your garden or the store or the wilds, as long as they are dried this will make a nice flavorful broth from these proportions. I would also recommend not using more than one very bitter herb and not more than one very sweet herb. You want to use the more “culinary” herbs whether wild or domestic.

This could be used as the base of a soup, or served as I sometimes do simply with thick noodles and whatever condiments suit you. Primarily, though, this is a warm nourishing broth somewhere between a tea and a soup. Strong, complex and slightly bitter. While not explicitly medicinal it contains quite a few medicinal herbs. I’m not making any claims it’ll heal you, but it feel good.

Roasted Eggplant With Preserved Lemon

IMG_8041

Take :

2 large unpeeled Italian eggplants (about 2 lbs), sliced in half, stem end trimmed.

Rub eggplants with olive oil and place in a large roasting pan, large enough that the halves do not touch.

Roast @ 425° for 15 minutes, then remove. Puncture each piece with a fork or knife.

Allow to cool.

Seperate the skin from the cooked pulp of the eggplant, reserve the skin for another use.

Mash the eggplant pulp to desired consistency, or puree if need be.

Add :

1/4-1/2 cup of preserved lemon, preferably homemade

*I would add 1/4 cup, combine, taste, and then add more as desired.

1 tsp or more of cumin, preferably freshly toasted and ground.

Salt to taste.

Allow to sit overnight.

Before serving, allow to come to room temperature.

Then add extra olive oil, if desired.

Before serving, garnish with :

Pinches of dried ground sumac or paprika.

Excellent served as part of many meze or appetizer dishes. Perfect with flatbreads of all kinds, but also makes an excellent dip for raw vegetables such as celery, carrot and parsnip. One could of course add many other ingredients to this before overwhelming the taste of the eggplant and preserved lemon. In addition to other spices or herbs, yogurt could be added, especially if one is looking for a creamier dish. I prefer to leave this one chunky, and scoop up big swathes of it in celery boats. Ah, to each their own.

KEY : The key fact to remember with this dish it so serve it at room temperature.

Winter Celery Root Salad

IMG_7968

Take :

1 lb celery root, peeled and grated or julienned on a mandoline

* Save the peels and leftover pieces from grating and use in celery root syrup (recipe to follow).

Toss grated root with:

1/2 tsp salt

Allow to stand for at least 20 minutes.

Add :

about 1/2 cup strong fermented greens, chopped fine

about 1/3 cup pickled onions, diced or chopped small

about 1/4 cup sweet hot pickled carrots

* These can be around these proportions of any variety of different homemade or purchased fermented or pickled vegetables. The key is to play off of celery roots sweetness and use more intense and tart flavors. I would also avoid adding too much quantity of any one thing rather than overpower the celery root.

Toss, add :

2 tbs capers, chopped fine

A splash of vinegar of lemon juice if desired

1/4 cup of sweet fern (Comptonia peregrina), crumbled

2 tbs or so of wild basil (Cliopodium vulgare) leaves and flowers, crumbled

1-2 jalapenos or other fairly mild chile, diced

Toss and Serve

This salad produces its own dressing in the seasoned liquid created by salting the celery root and the various brined or fermented vegetables. It shouldn’t require oil, but it certainly won’t mind it. Try it with the modest amount of chiles recommended and see how it suits. I found that the addition of more ruined the finish of the celery root. This is a dish that benefits from a night in the fridge to let the flavors meld. It can be served chilled or at room temperature.

This is excellent served as a contrast to more rich or heavy dishes, being sharp and clean and quite healthy (unless of course one is on a low salt diet). Essentially a mixed pickle in the guise of a salad, it would be a good compliment to dishes such as catfish, fatty tuna, pork, tofu, beans, eggplant, okra, potatoes, beets, noodles and noodle soups. It works best as a salad if used in a sequence of small dishes

Just as the fermented or pickled vegetables could be endlessly varied, so could the herbs used. In the winter I tend to use dried herbs, and in this case wanted to showcase two forage herbs, but in the remaining seasons I would use fresh herbs to fit my fancy.

KEY : The key fact to remember with this recipe is to taste it constantly, especially when you’re experimenting with different combinations of fermented and pickled vegetables, and adjust accordingly.