Macaroni and cheese is an iconic dish, indelibly associated in most peoples’ minds with American Southern or comfort cooking. Like many classic American dishes, its’ origins lie elsewhere–in this case Italy and France, via England. Leaving aside powdered and boxed versions, the idea of binding cooked pasta with a Mornay sauce (essentially a Bechamel with cheese) and baking it in the oven is at least a couple hundred years old.
To my mind there are exactly two kinds of macaroni and cheese : crispy and creamy. Endless additions and variations on these themes are all well and good as long as the results play out as either something crusty and crunchy and cheesy and dry or something thick and creamy and cheesy and soft. Inbetween measures are to be despised, as are most attempts to capture the best of both worlds by having a crusty top and soft interior. In my experience, such efforts are either doomed to end in failure or dissatisfaction.
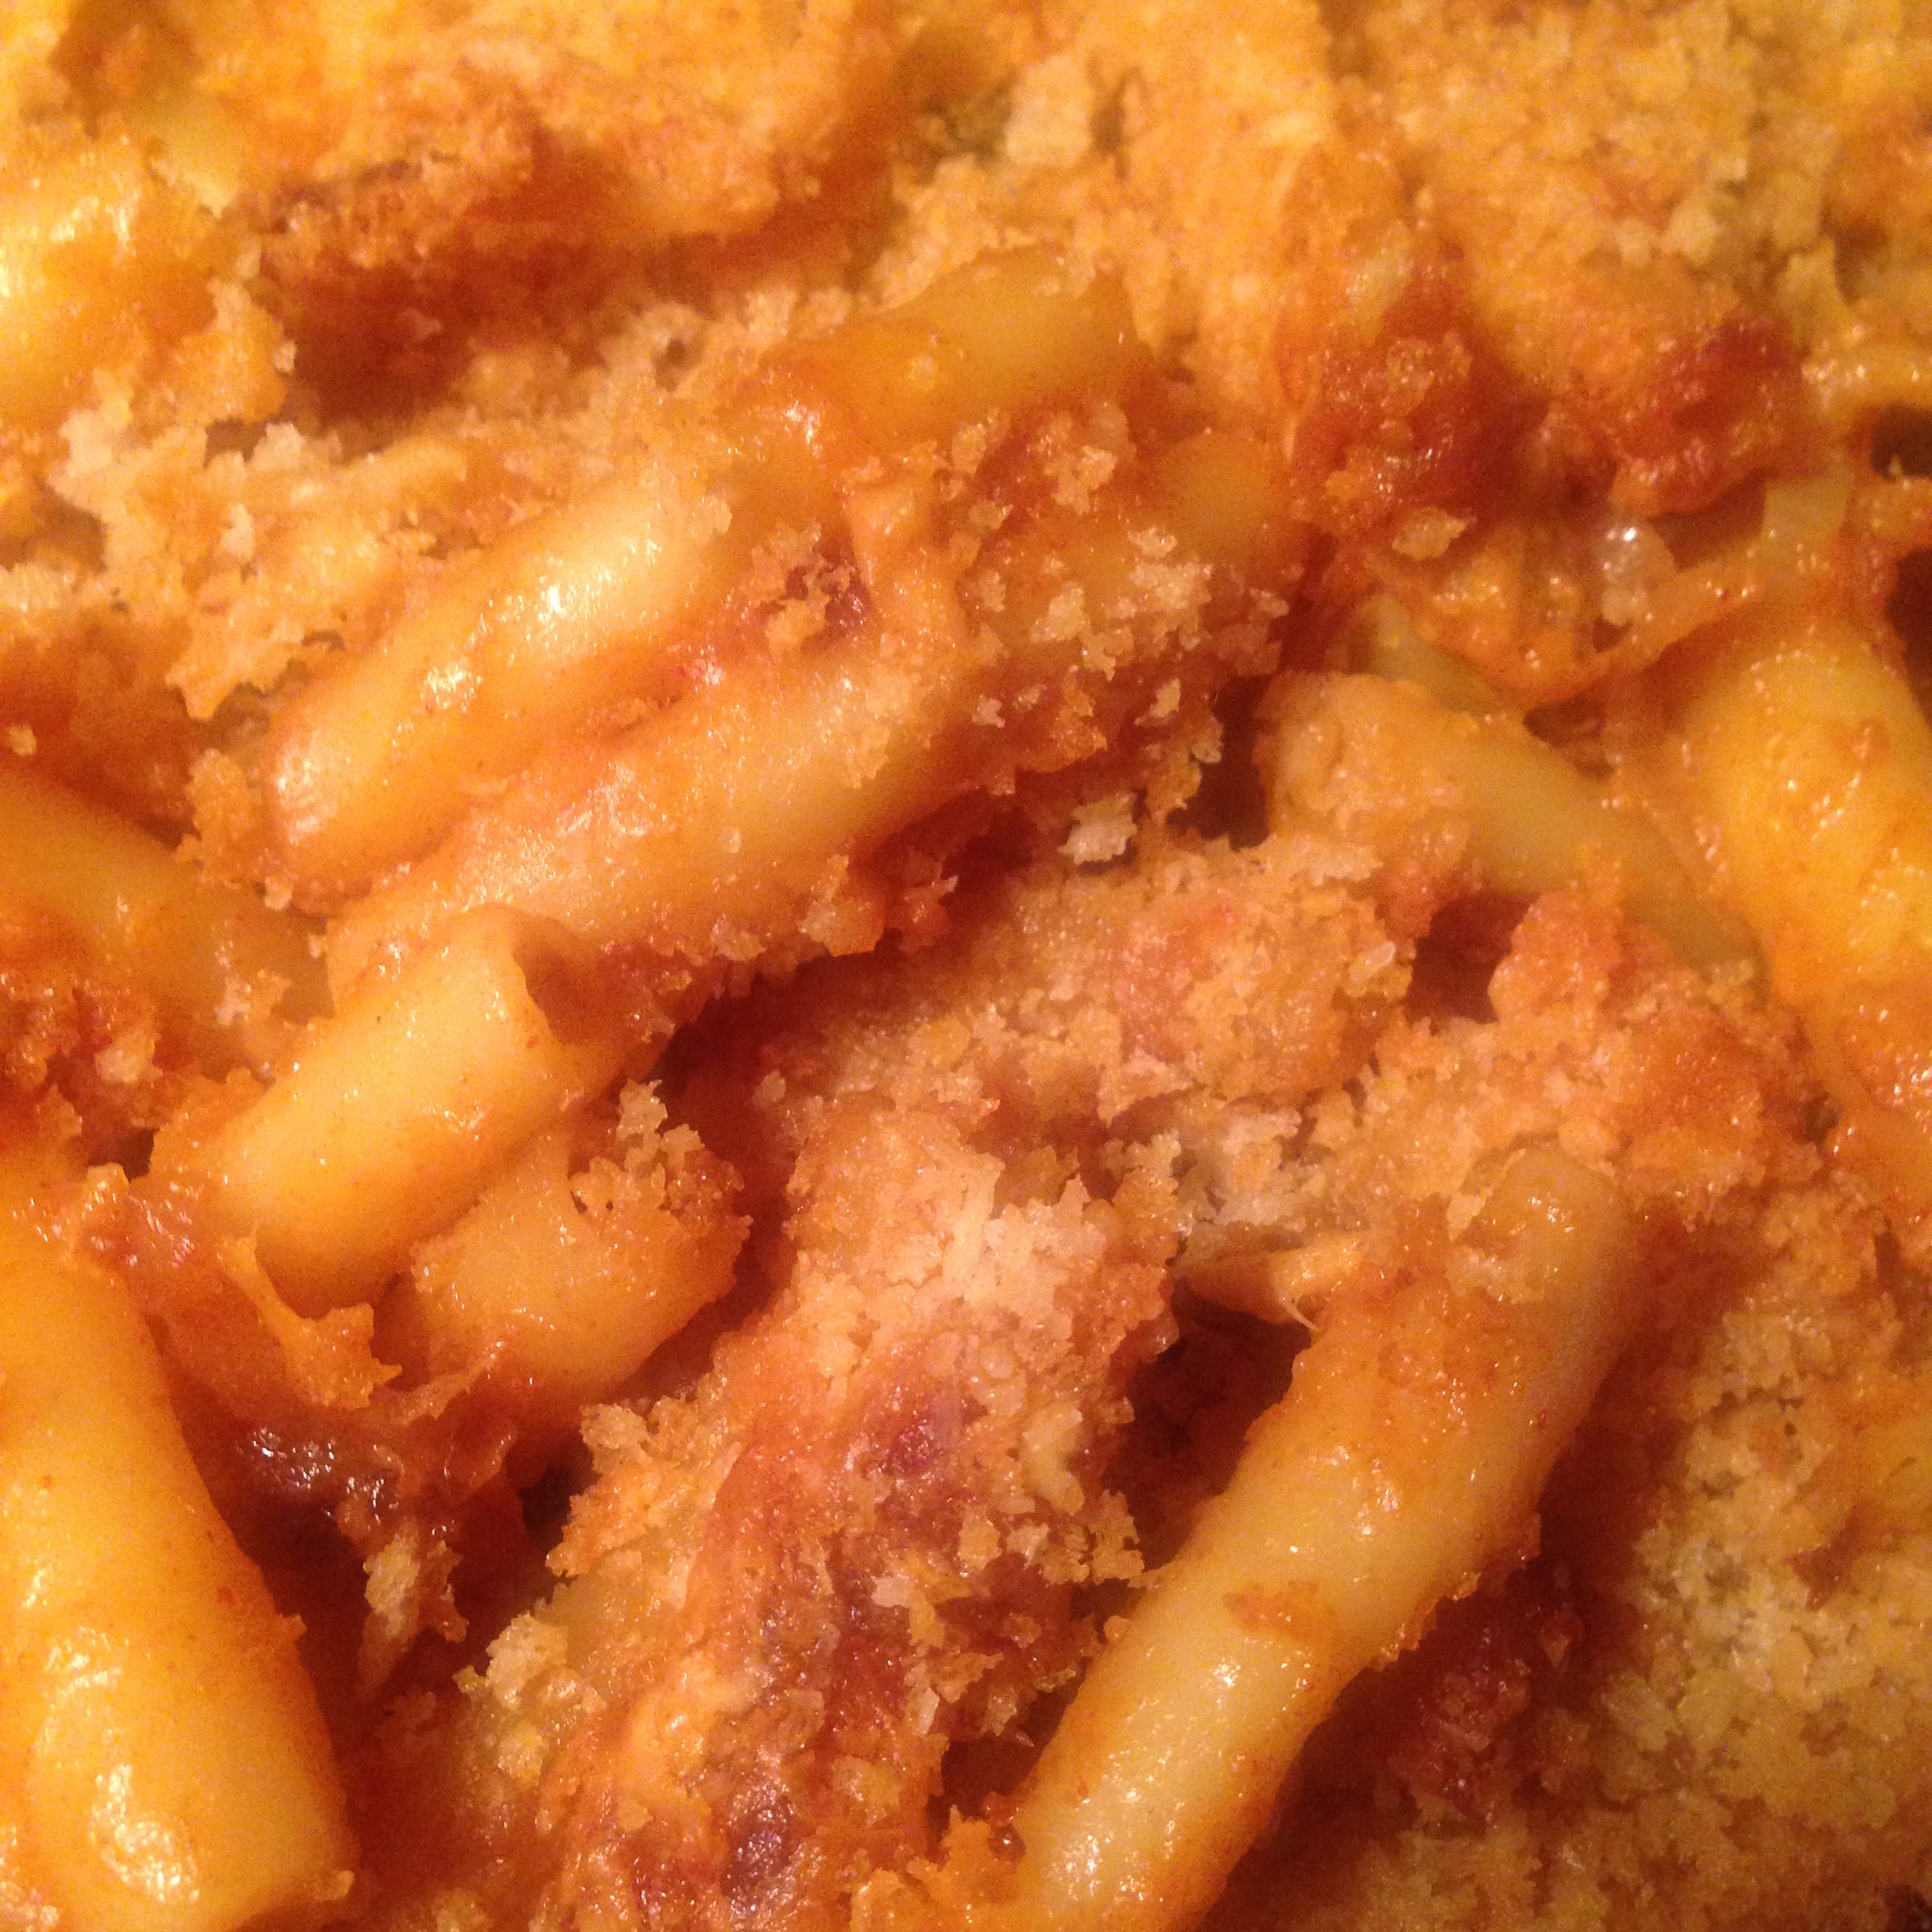
There are no shortcuts to a proper mac & cheese of either variety. Here we have the crusty, crispy kind. The kind that, when reheated, is dry (but in a good way) and chewy (but in a good way), bound with just enough sauce to keep everything toothsome but not to detract from the tactile pleasures of a proper crunchy mac.
The first thing to do is cook your pasta. You will want to make a pound of pasta, boiled until al dente or perhaps slightly stiffer than that. As for choice of pasta, I like to use a long pasta like thin ziti or cavatappi or penne in this type of mac & cheese. For the creamy variety, I would choose traditional elbows or small shells or orecchiette. These considerations have more to do with surface area than anything else. Boil the pasta, drain it and cool by washing it with cold running water. Then toss the pasta with :
2 tbs butter or 1 tbs butter and 1 tbs shallot oil
This is the only step that can reliably be done ahead of time in my mind. Some may disagree, but I find that a cooked and cooled bechamel or mornay becomes a bit stodgy and doesn’t integrate with the pasta very well. You can use pre-cooked pasta but from this point on the results will be most delectable if everything is composed and integrated at once. This mac and cheese is truly superior when first pulled from the oven, but also makes an excellent dish to be reheated and served again.
Next you will want to make the mornay sauce, and get the oven preheated to 425°. An excellent creamy mac can be made on a stovetop, but for this variety a nicely hot oven is required.
For the Mornay sauce :
Warm in a small saucepan :
2 cups milk, whole preferred
Melt in a medium saucepan :
2 tbs butter
Add to the butter :
2 tbs all purpose flour
Cook, stirring or whisking, for two minutes or more (this goes a long way towards removing the raw flour taste)
Slowly incorporate the warm milk into the sauce, a quarter cup at a time. You may whisk if you like, I usually use a flat-ended wooden spoon and then move to a whisk once about half of the milk has been added.
Once all the milk has been added, cook the sauce over a low heat for about 15 or 20 minutes. This will remove the rest of the floury taste from the sauce, as well as thickening it a bit.
Add, stirring :
4 oz. medium sharp cheddar cheese, grated
2 tsp hot paprika (smoked if possible) (optional)
2 tsp sweet paprika (optional)
2 tsp dry mustard powder (optional)
salt to taste
freshly ground black pepper to taste (optional)
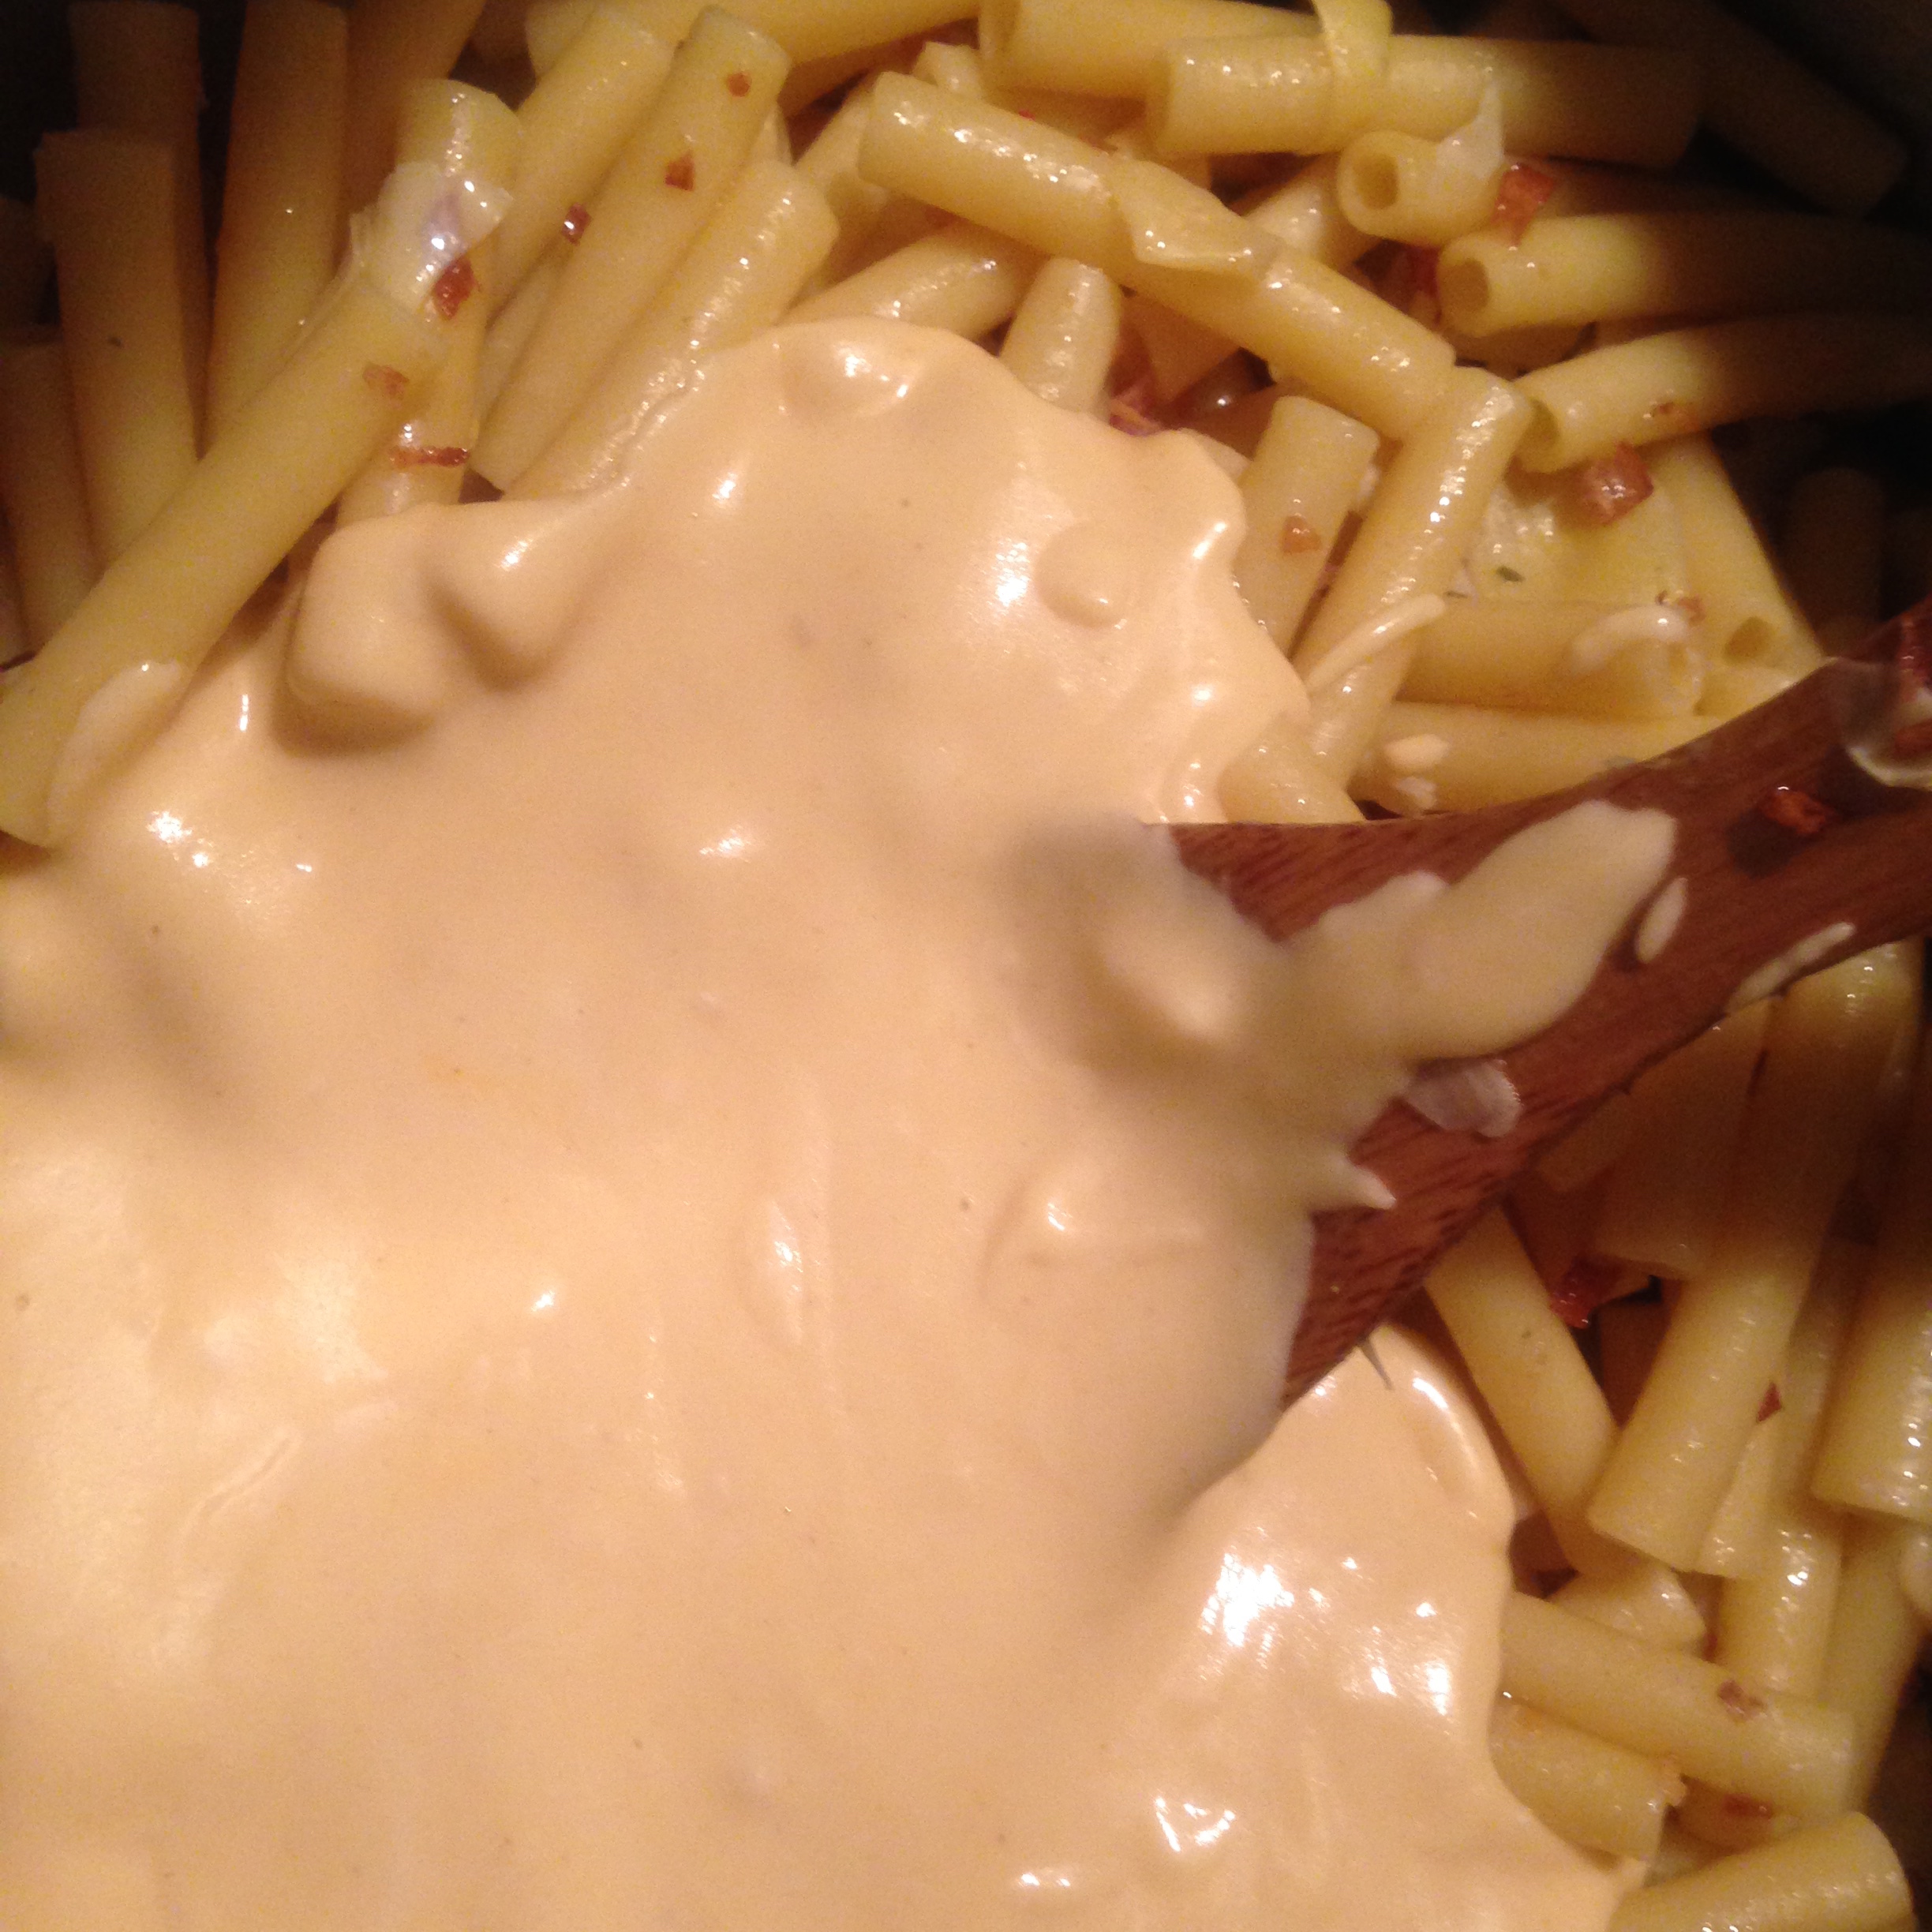
Once all these ingredients are incorporated, toss with the cooked pasta, and add :
1 cup of cooked artichoke hearts or drained marinated artichoke hearts, roughly chopped
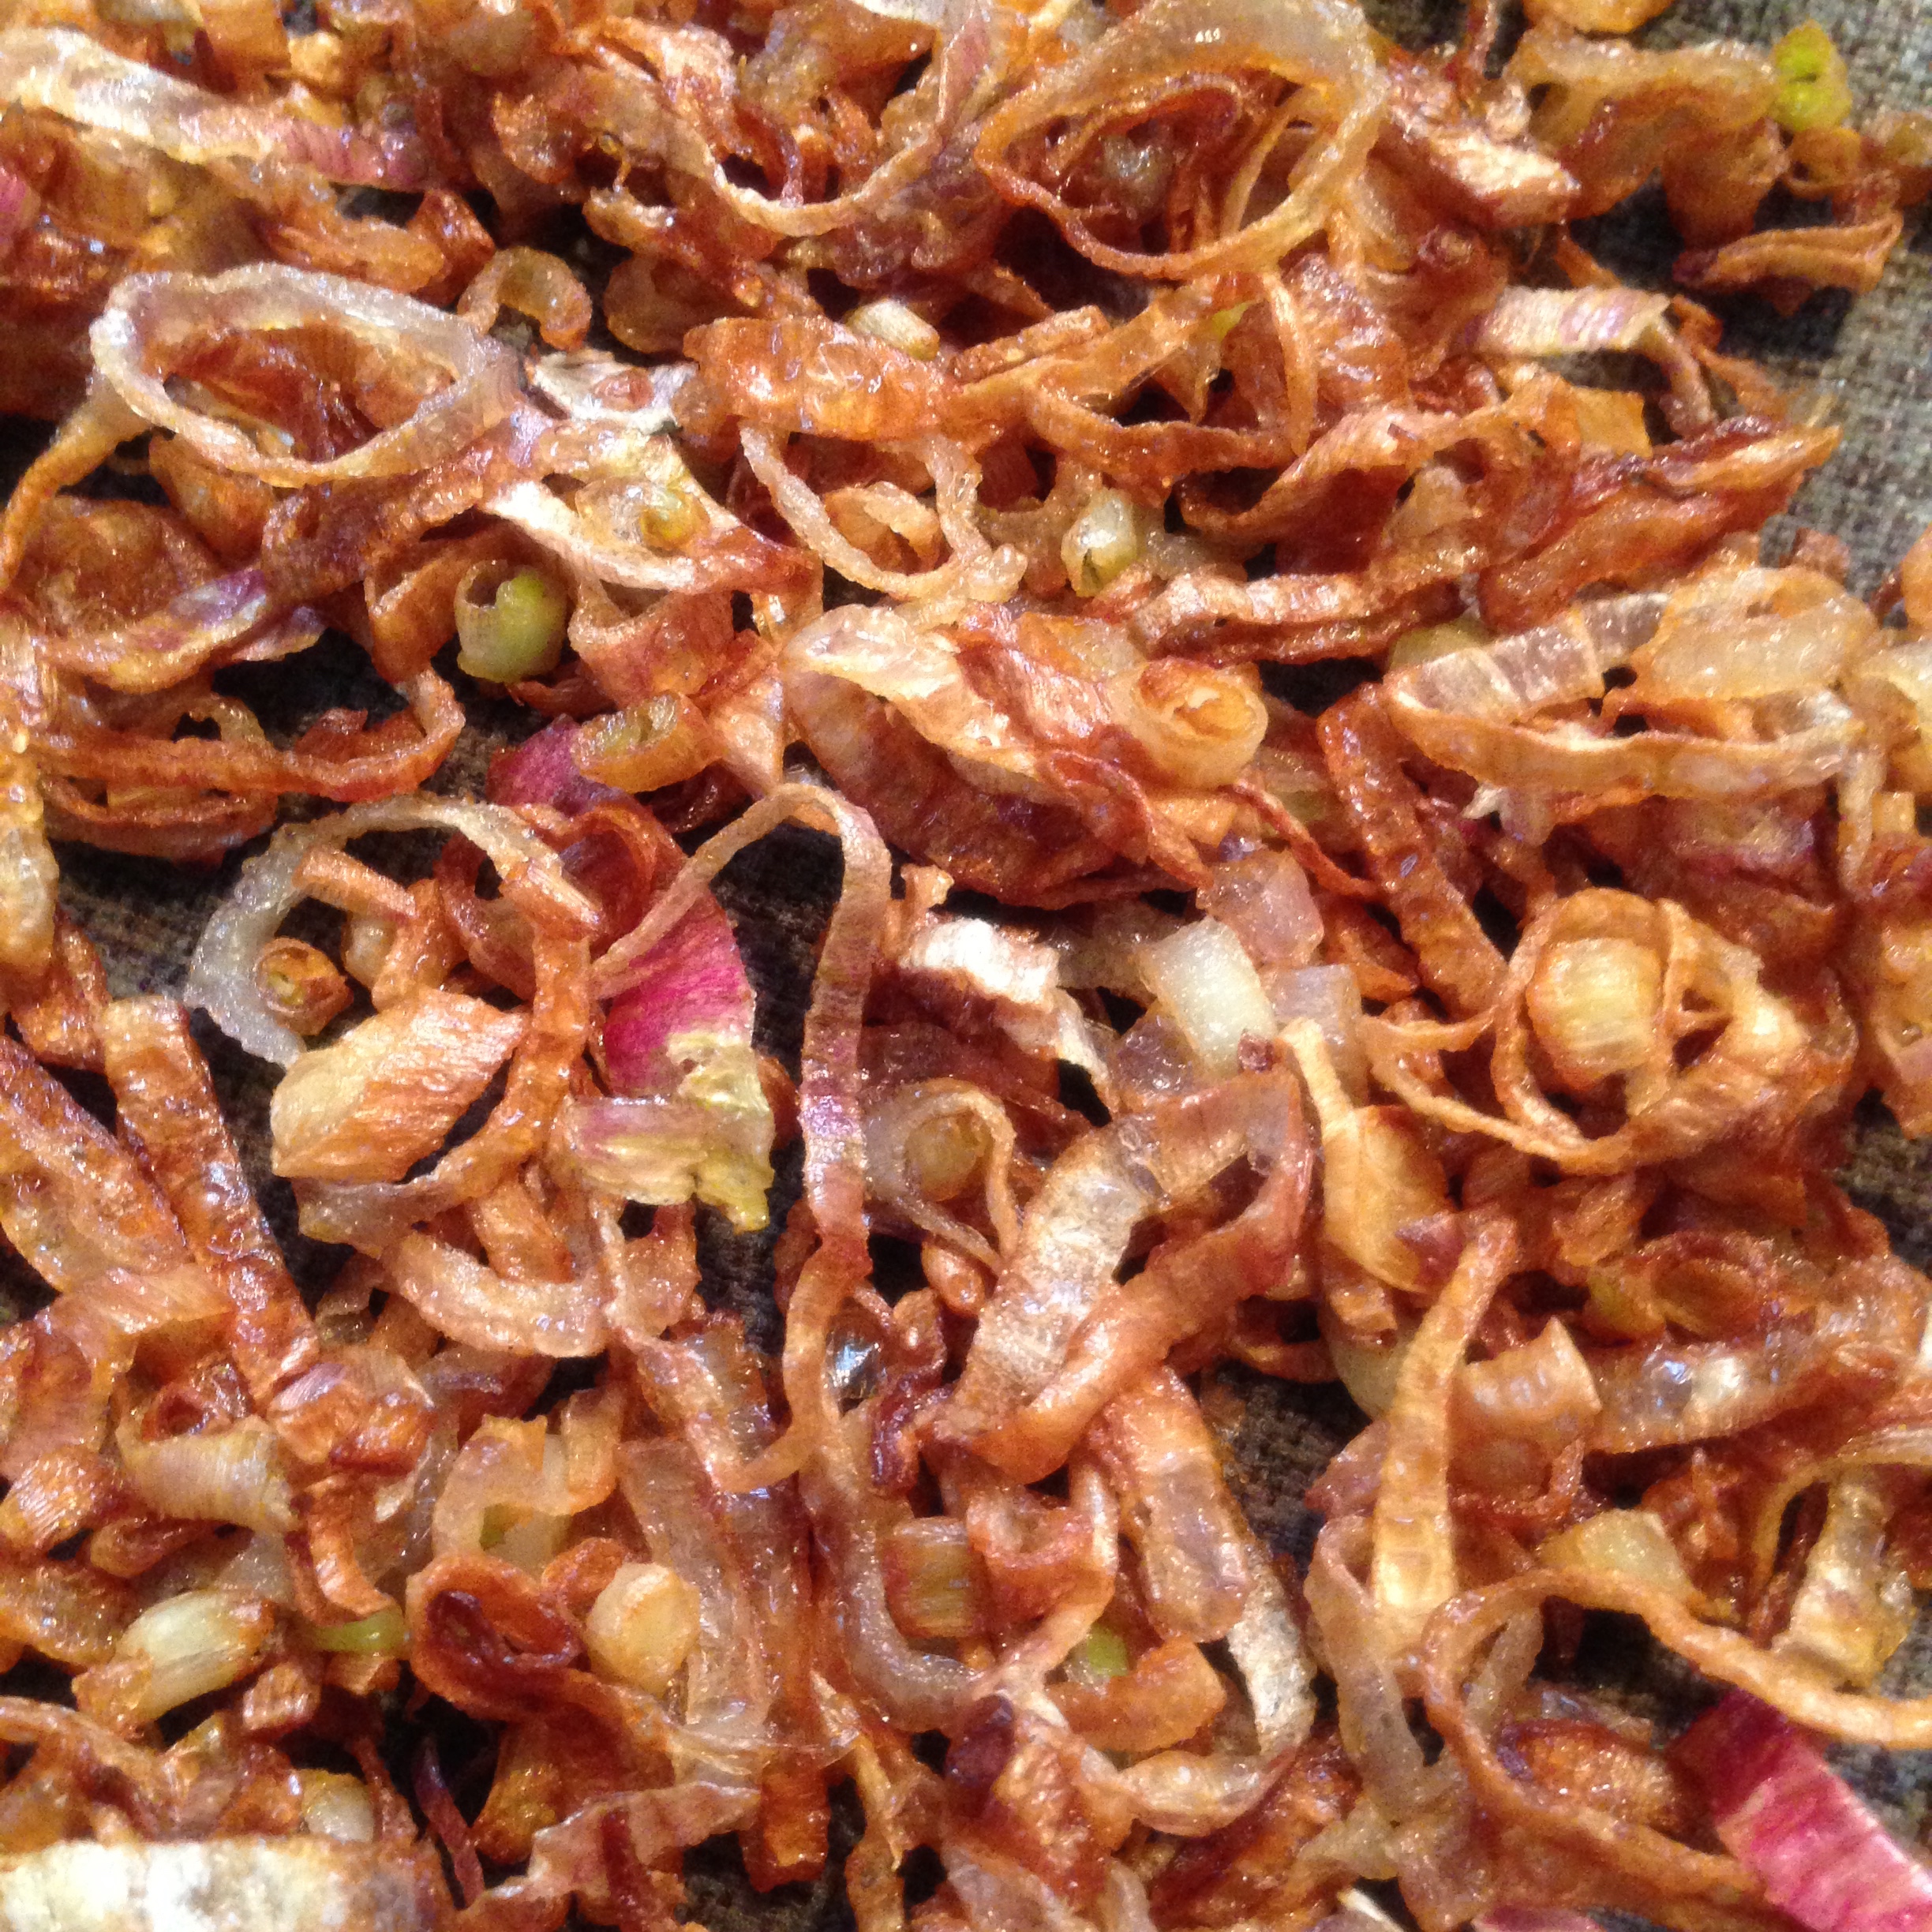
1/2 cup fried shallots, roughly chopped
Toss until well combined.
In a small skillet, heat :
1 tbs butter or shallot oil
Add :
1/2 cup panko breadcrumbs
Toast, stirring, for a few minutes.
Place the cooked, sauced pasta in an oven-safe casserole dish. I like to use a natural stoneware dish for this.
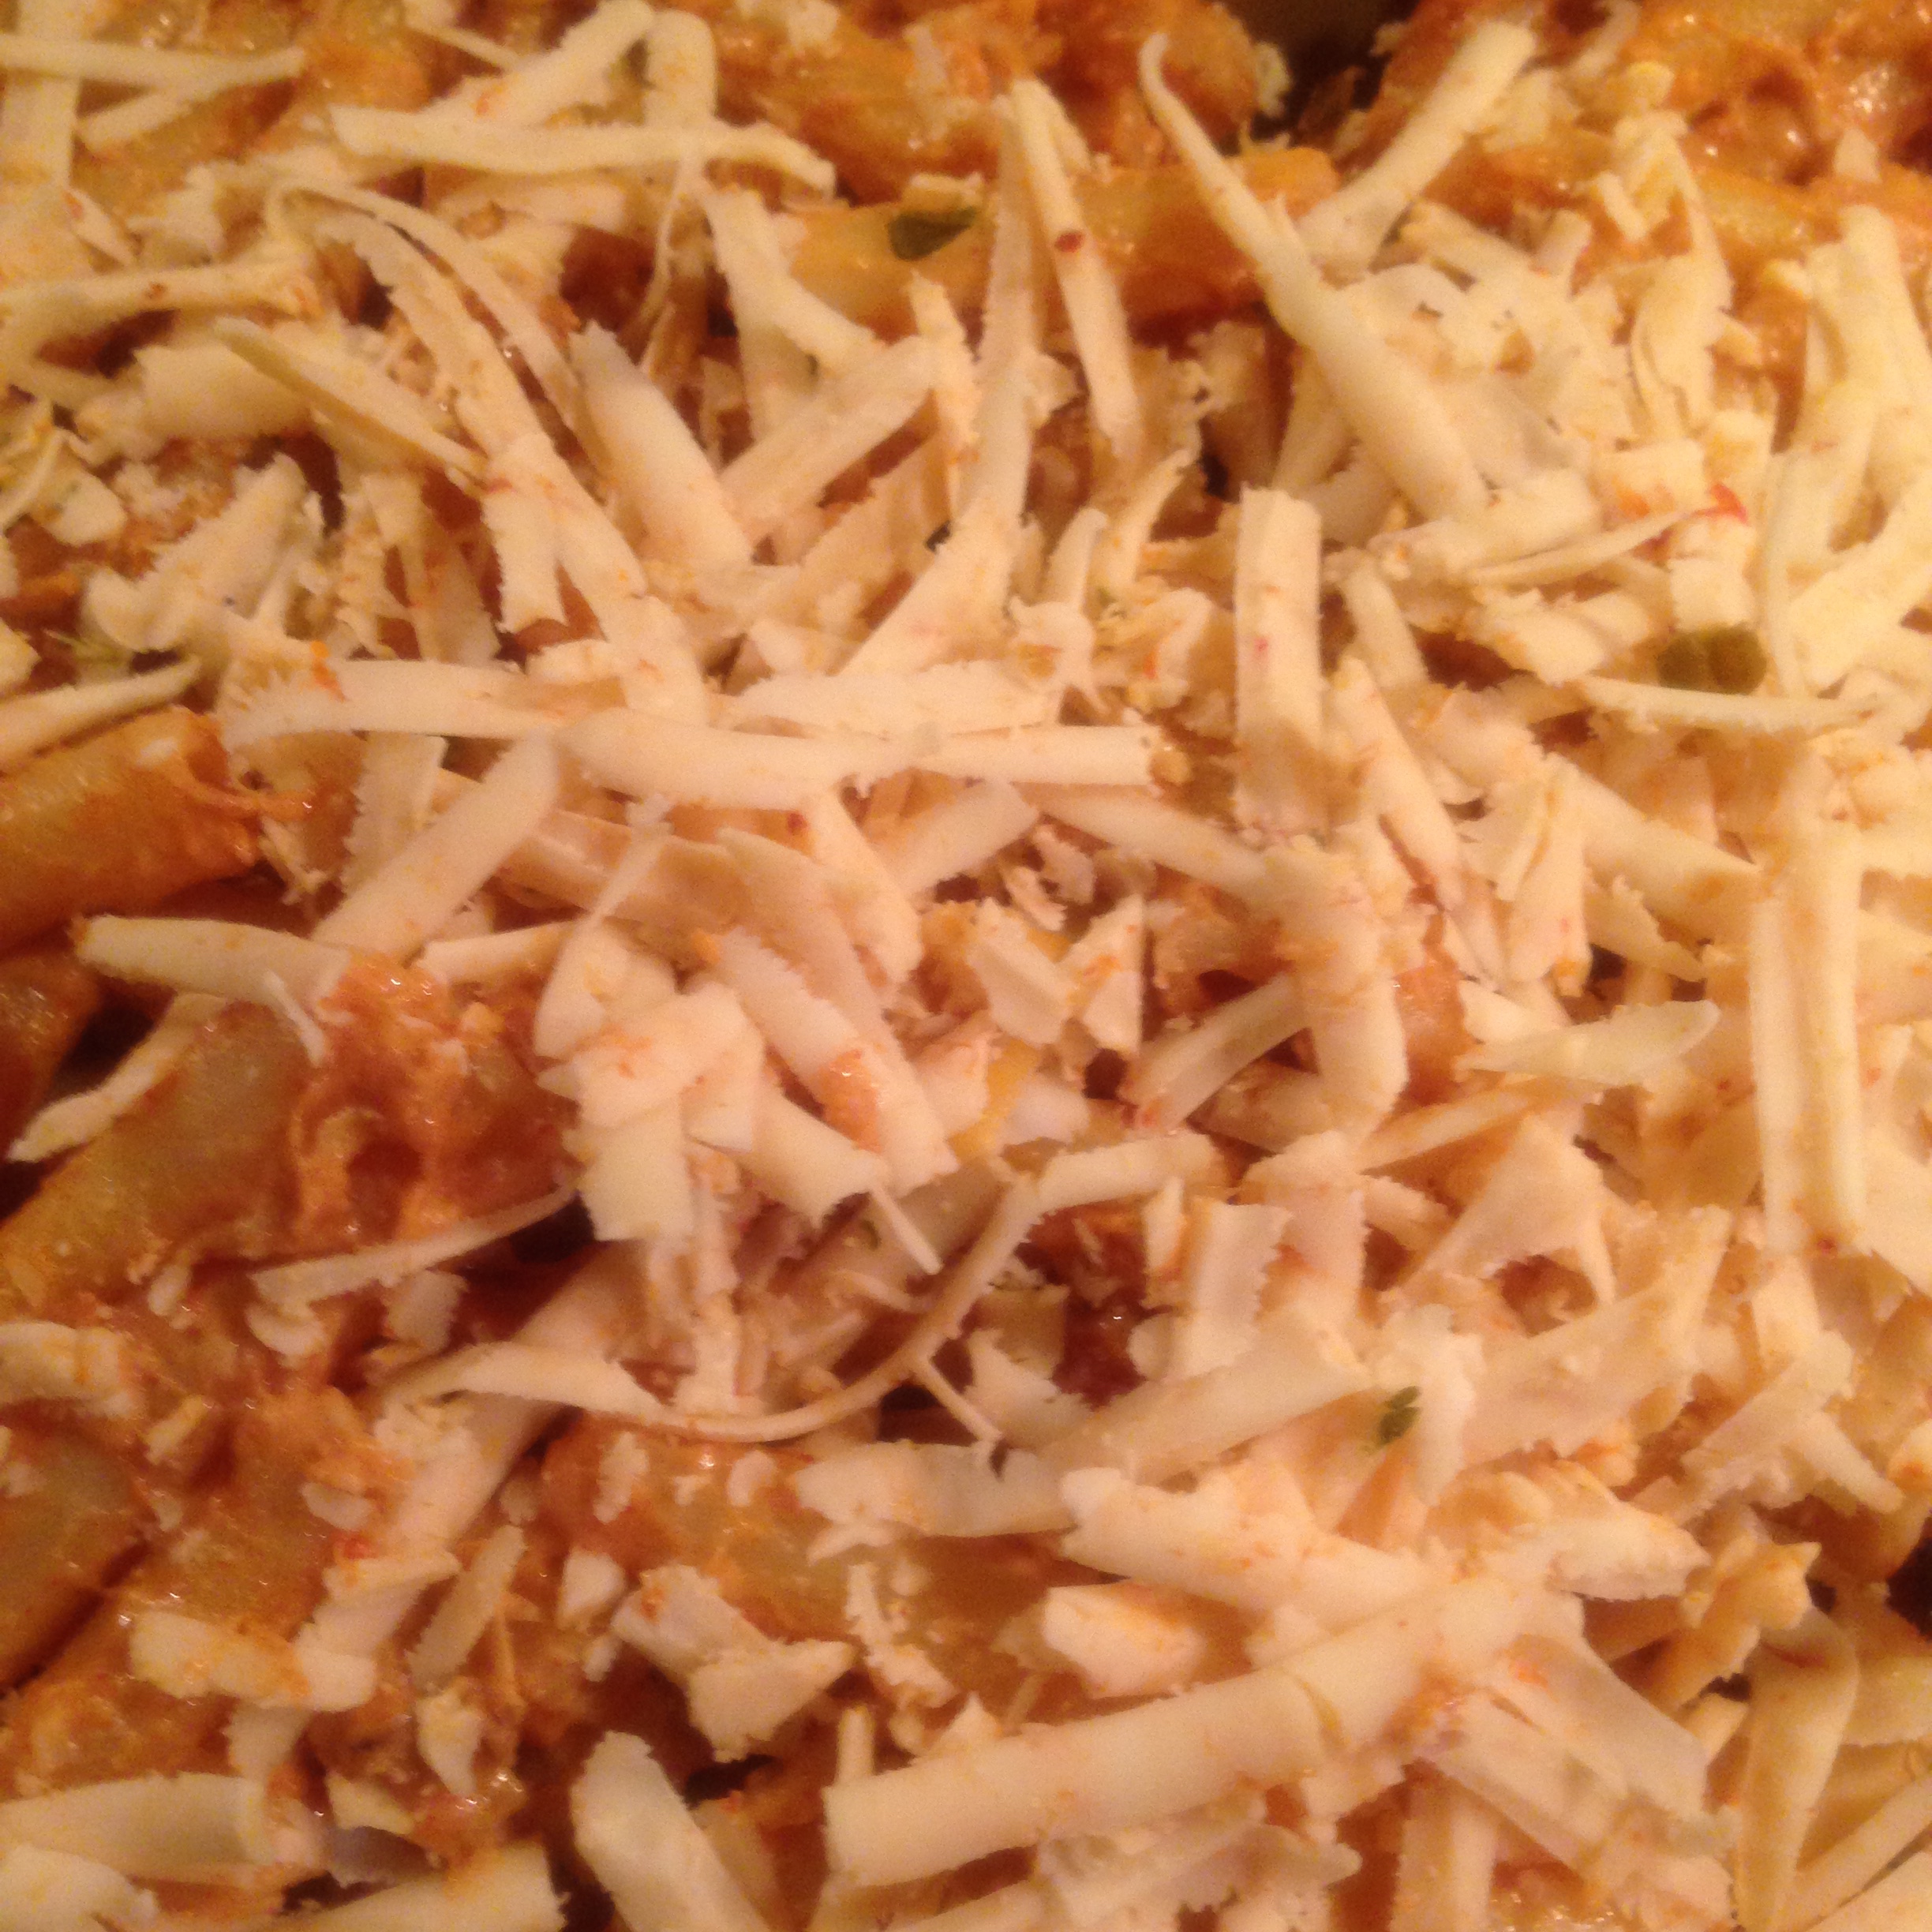
On top of the pasta, spread out thinly :
2 oz grated cheese of your choice (parmesan, a sharper cheddar or cheese with jalapenos or habaneros are all good choices. You may use the same variety used in the mornay sauce, but I find it is more interesting to add some variety here.)
A further 1/4 cup or so of fried shallots
The toasted panko
Place the dish in the oven. Bake, uncovered, for 15 minutes, then remove the pan and lightly press down on the surface of the mac & cheese with a wooden spoon, allowing air to escape from the dish, which should be bubbling and hot. Return the pan to the oven and bake for another 15-20 minutes, until the surface is crispy and browned. You may wish to add a tablespoon or two of butter, thinly sliced and dotted on the surface of the dish.
Once the dish is browned to your satisfaction, remove it from the oven and serve.
This dish will reheat well, but you will most likely want to cover it with foil during most of the reheating process, only removing the foil for a few minutes of baking. Otherwise the mac & cheese will become too dry.
Key : The key to this recipe is in the texture, the crispy and crusty tactile taste of panko and thick, heavy-cut macaroni tossed with just enough sauce to bind the ingredients. The artichokes and shallots are added primarily for sweetness and texture.